Ueda Castle: A Sanada Stronghold in Japan
Site at a Glance
- Country
- Japan
- Primary era
- Early Modern
- Eras represented
- Early Modern
- Civilizations
- Tokugawa
- Site type
- Military
- Remains
- Castle
On this page19 sections
History
Foundation and the Sanada battles
Ueda Castle is a Japanese castle on elevated ground at the northern edge of the Ueda Basin. Construction began in 1583, when Sanada Masayuki, head of the Sanada clan, built it as a Tokugawa-ordered stronghold against the Uesugi. The castle arose during the Sengoku period, an era of political fragmentation and warfare. After the Takeda clan fell and Oda Nobunaga died in 1582, rival powers contested control of Shinano. When the Sanada broke with Tokugawa in 1584, the castle’s defenses were redirected toward the east.
Around 1585, the Sanada probably shifted their main base to Ueda from either Masayuki’s fortified residence or Toishi Castle. That year, during the First Battle of Ueda, Masayuki’s outnumbered forces drove back an army led by Tokugawa Ieyasu, bolstering Masayuki’s reputation. The castle was enlarged around this period and substantially altered in 1590.
In the Second Battle of Ueda in 1600, Masayuki and his younger son, Sanada Nobushige, also known as Yukimura, supported the Toyotomi side. Masayuki’s elder son, Sanada Nobuyuki, remained with Tokugawa. The defenders inflicted heavy losses on Tokugawa Hidetada’s army and delayed its advance. Hidetada’s forces reached the Battle of Sekigahara too late to participate, while Tokugawa’s side won there.
Tokugawa rule and rebuilding
After the Tokugawa victory, Masayuki and Nobushige were exiled to Kudoyama. In 1601, Tokugawa forces dismantled Ueda Castle and filled its moats. Nobuyuki kept the former Sanada lands but made Numata Castle his principal seat, governing Ueda from a residence in the castle’s Third Bailey. His administration issued seven articles of territorial regulations in 1616. His request to rebuild and enlarge the castle was rejected in 1621, and he was transferred to Matsushiro the following year.
The Sengoku clan, transferred from Komoro, took control of Ueda. Sengoku Tadamasa began rebuilding the castle in 1626, broadly following the Sanada-era layout while reshaping it as an early-modern castle. Work ended when Tadamasa died in 1628, and no further major rebuilding followed. In 1706, a branch of the Fujii-Matsudaira family replaced the Sengoku as lords of Ueda and remained in control until the end of the Edo period, the era of Tokugawa rule.
Seven districts along the North Country highway served as post-town areas associated with the castle. In one district, a household combined the work of the principal inn and a wholesaler. In another, a wholesaler’s household also performed post-station duties. Sanada Shrine in the Main Bailey commemorates the Sanada ancestors. The castle’s reputation for having "never fallen" became associated with prayers by students preparing for examinations.
From abolition to public park
In 1871, the Japanese government took over the castle and established the Second Detachment of the Tokyo Garrison there. The detachment was disbanded in 1873, and the castle was abolished the following year. Its land and buildings were sold to private buyers. Six of the seven Main Bailey turrets were dismantled and sold; the West Turret remained. The South and North Turrets were moved away from the castle, then returned to their original positions in 1949. Two dismantled turrets had been joined into one building outside the grounds and used by two establishments in a licensed pleasure quarter. A local campaign led to their repurchase in 1942, after a proposed resale in 1941.
The West Turret housed a local-history museum from 1929. The museum took the name Ueda City Museum in 1953, and the turret closed when a new museum building opened in 1965. The castle grounds became a public park. In 1934, the Main Bailey area and most of the Second Bailey received designation as a National Historic Site of Japan. Reconstruction at the eastern entrance in 1994 used old photographs as a guide, and an archaeological investigation of the Second Bailey followed in 2016.
Remains
Landscape and overall layout
The castle occupied a rise above Amagafuchi, a branch of the Chikuma River, whose steep southern bank provided a natural defense. Mount Taro lay to the north, while the Yadazawa River was brought into the defenses along the north and west. A stream and wetlands protected the eastern approach, the principal route into the castle. The site was also known as Amagafuchi Castle and Matsuo Castle.
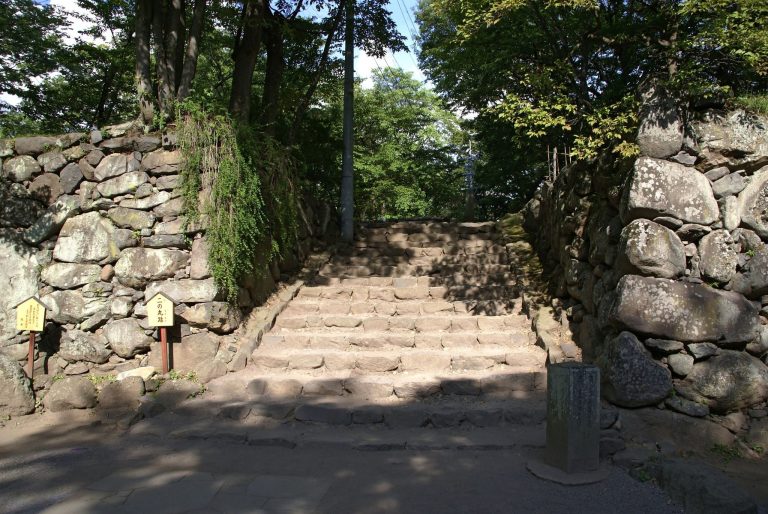
Its plan comprised three baileys, or enclosed defensive precincts. The Main Bailey lay to the south, with the Second Bailey extending around it to the north, east, and west. The Third Bailey lay between the Second Bailey and the main eastern gate. Residential development has reduced the surviving bailey remains, and parts of the moats have been filled.
Main Bailey
Plan and defenses
The Main Bailey was an east–west rectangle with its northeast corner cut back. The northeast corners of both the Main and Second Baileys were recessed, perhaps to counter the direction considered inauspicious. Two closely spaced turrets occupied the Main Bailey’s northeast corner. Its original defenses included moats and stone ramparts, and it contained seven two-story turrets and two turret-gates, structures combining a gate with a tower above it.
Possible main keep
A main keep, the castle’s principal tower, may have stood here during the Sanada period. It has been proposed as a structure with three stories and four levels, but its existence remains uncertain. An early Edo-period plan labels a keep site, and finds of gilded roof tiles provide circumstantial support without resolving the question.
Surviving turrets
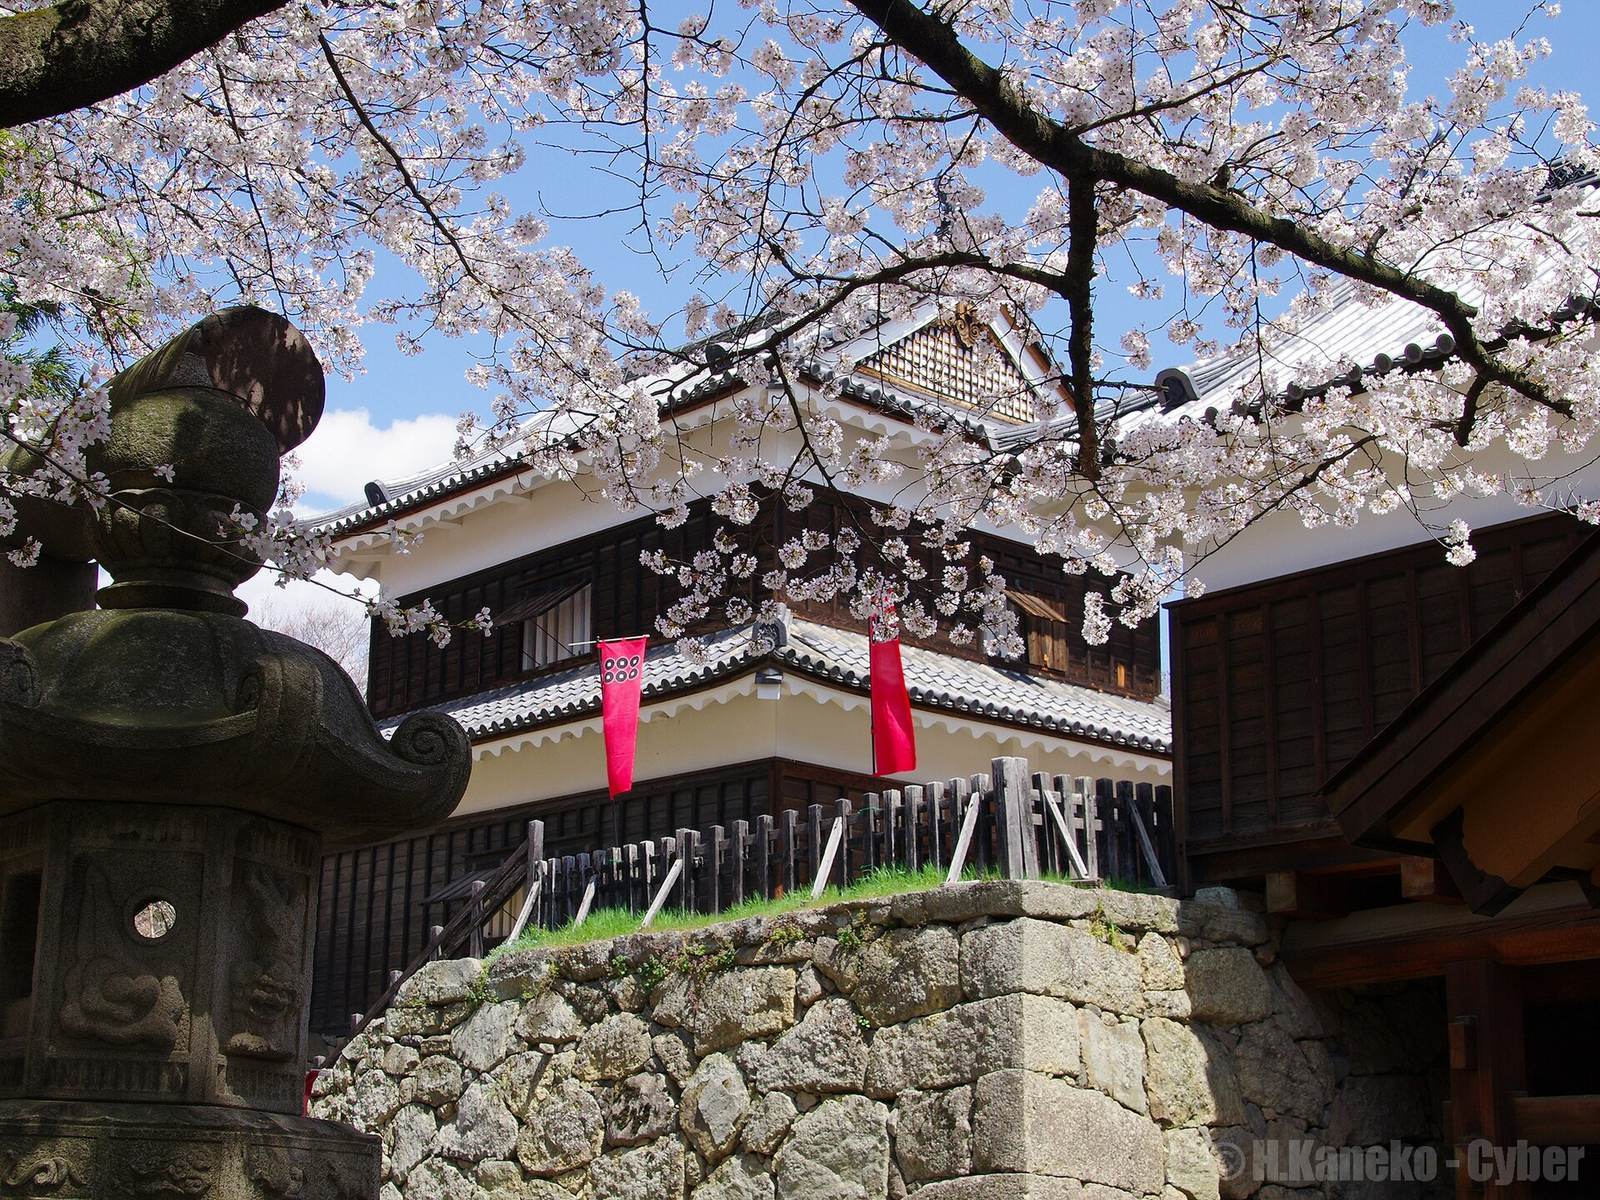
The South, North, and West Turrets survive in the Main Bailey. Their exterior walls are black, with board cladding weatherproofed using soot and persimmon tannin. The South and North Turrets stand in their original positions following their return to the castle grounds.
Eastern entrance
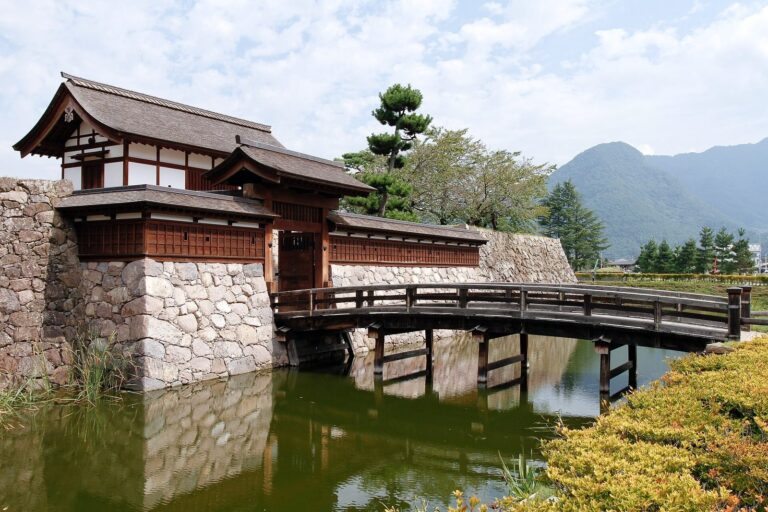
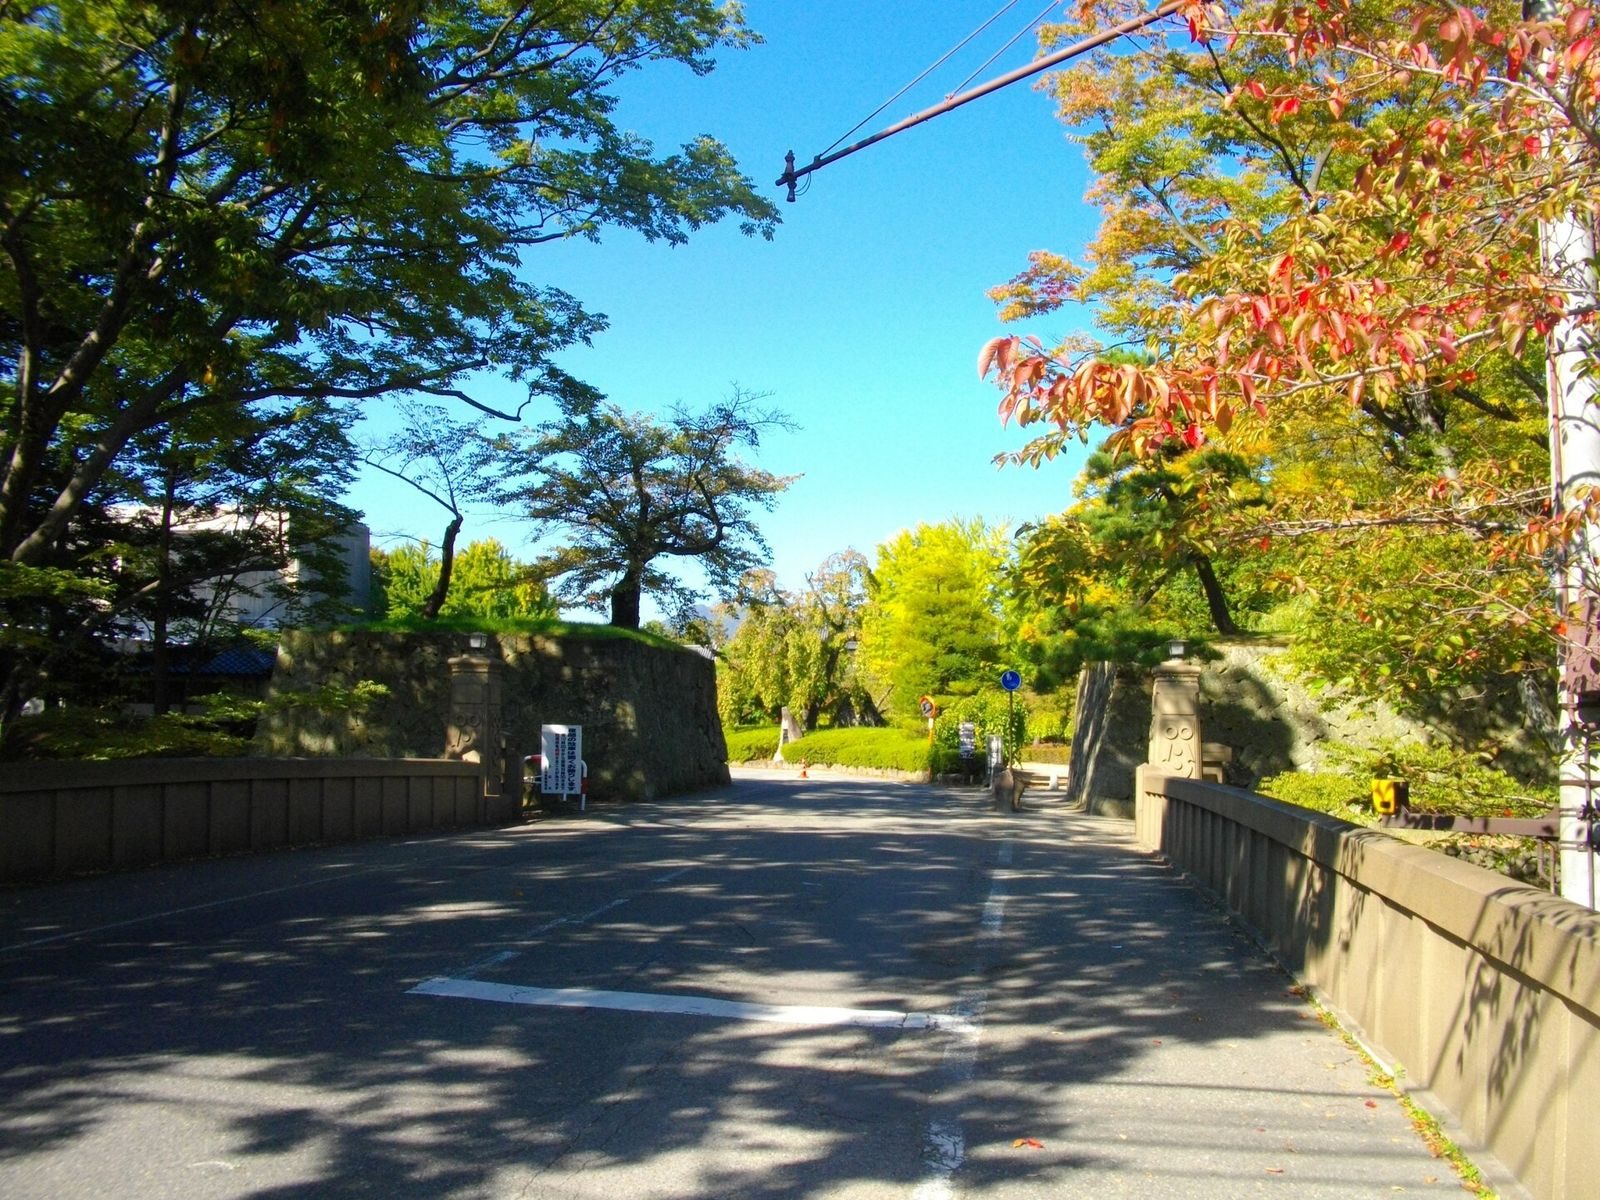
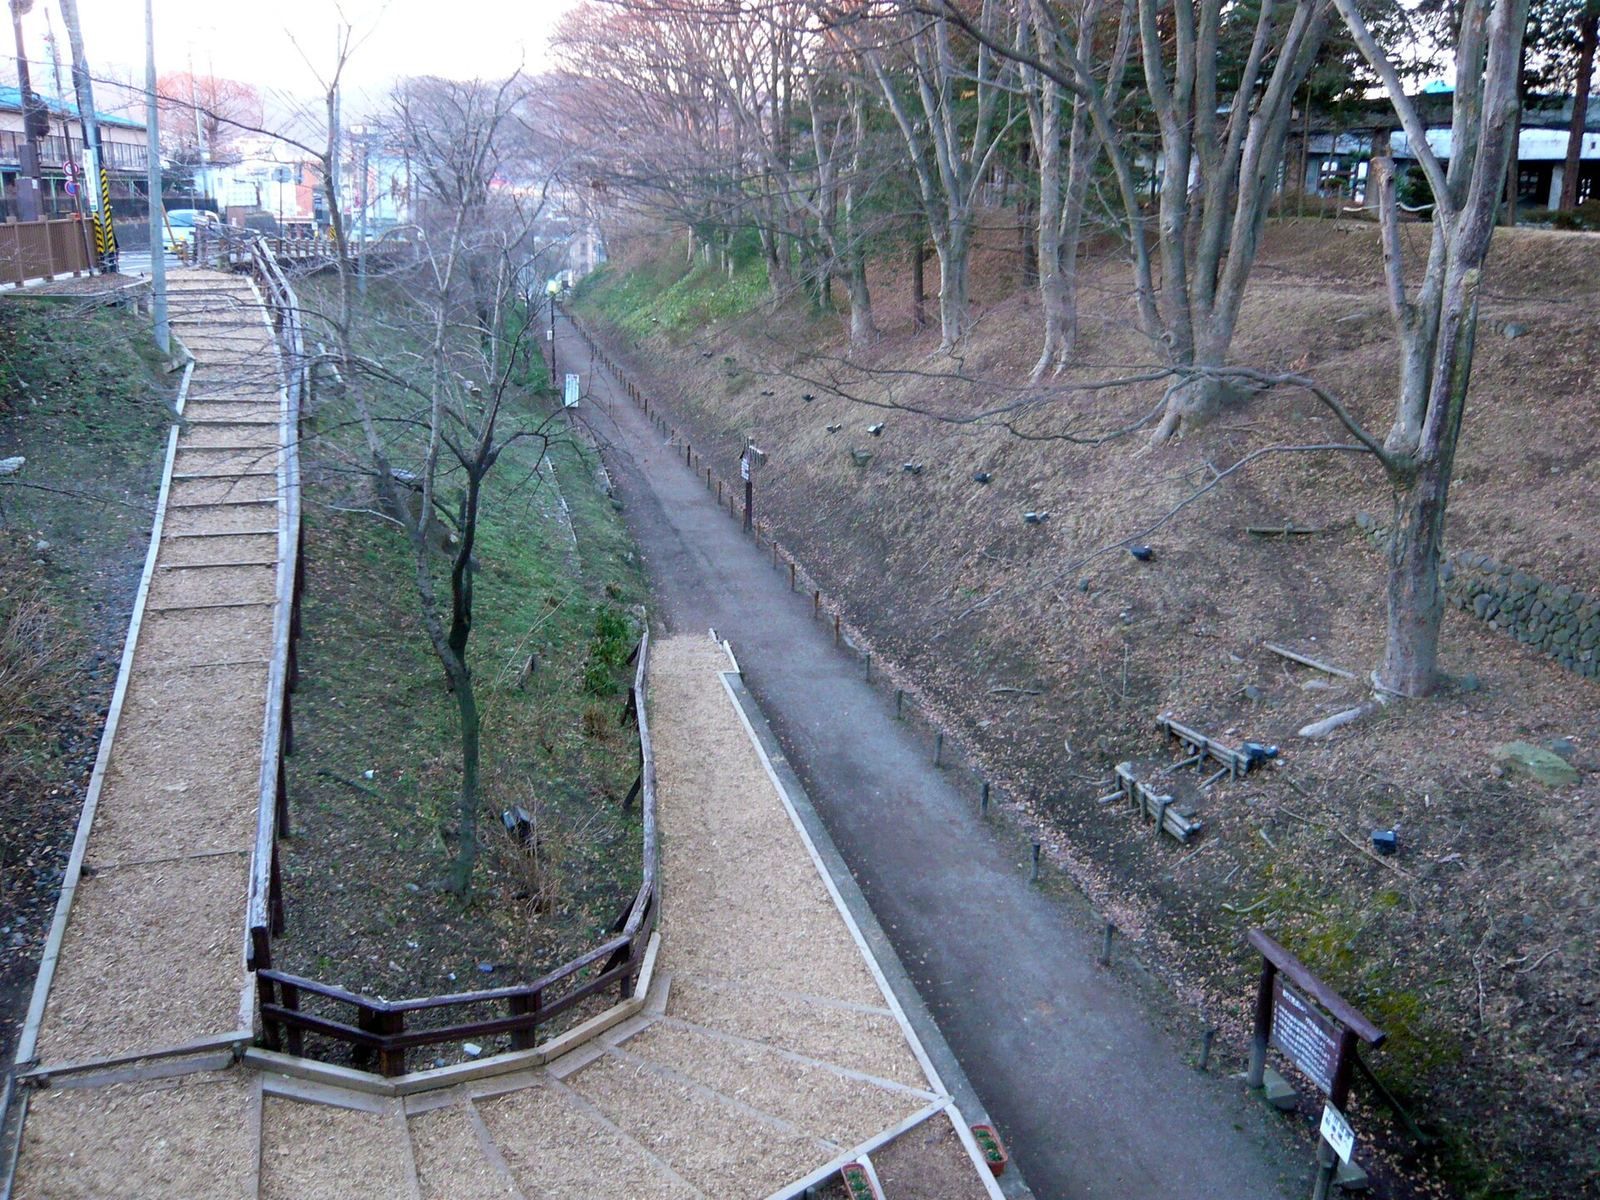
The East Entrance tower-gate stands between the South and North Turrets, with wooden walls on either side. A section of dry moat has also been restored.
Other baileys
Second Bailey
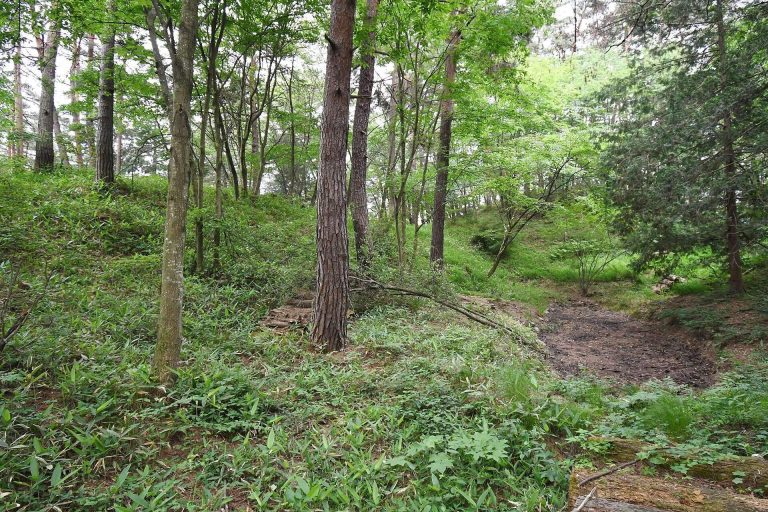
The Second Bailey had moats and earthen ramparts, along with built tower platforms. Its position around the Main Bailey formed a substantial part of the castle’s defensive layout.
Third Bailey
The Third Bailey contained the lord’s residence, gardens, a work area, and the main gate. A moat protected the residence, and foundations of additional turrets remain. Ueda High School now occupies the former residence grounds. A gate and moat from the Matsudaira-period residence survive, and the gate serves as the school’s main entrance.
Koizumi Bailey
West of the Second Bailey, Koizumi Bailey formed part of the western defenses. Local tradition identifies it as the site of an earlier fortified residence belonging to the Koizumi family.
Shrines and archaeological finds
Sanada Shrine and well
Sanada Shrine stands in the Main Bailey and commemorates the Sanada ancestors. A well in its grounds is linked to a tradition that it provided a secret passage out of the castle.
Shokon Shrine and museum
Shokon Shrine, a memorial shrine for people who died in service to their country, stands in the Second Bailey. A local-history museum also occupies part of the castle grounds.
Roof tiles and ornaments
Finds attributed to the Sanada-period castle include gold-leaf roof tiles, round roof-edge tiles with chrysanthemum patterns, and fragments of gilded shachihoko, mythical fish-shaped roof ornaments. Five gold-leaf roof-tile finds are recorded: two from 1927, two from 1991, and one from 2018. Fragments of demon-patterned roof tiles and shachihoko also retain traces of gold leaf.