Carrawburgh: A Roman Auxiliary Fort on Hadrian’s Wall
Site at a Glance
- Popularity
- Medium
- Country
- United Kingdom
- Primary era
- Classical
- Eras represented
- Classical
- Civilizations
- Roman
- Site type
- Military
- Remains
- Fort
On this page17 sections
History
Carrawburgh is a Roman auxiliary fort in Northumberland, United Kingdom, built around AD 130–132 as part of Hadrian’s Wall. Emperor Hadrian ordered the wall’s construction in AD 122 as a frontier barrier to protect Roman provinces from incursions from the north. Carrawburgh was one of sixteen forts along the frontier and guarded its eastern sector.
Construction and garrison
The fort was established after the Wall, probably by a detachment of Legio VI Victrix, the Roman Sixth Legion. Its location may reflect a shift of garrisons from forts on the Stanegate road directly to the Wall, as well as a decision to fill the relatively long interval between Chesters and Housesteads. A fragmentary inscription names Sextus Iulius Severus, governor of Britain after AD 130, while the fort’s construction over the Vallum, an earthwork and ditch system south of Hadrian’s Wall, also supports a date after the frontier’s initial construction.
Roman records preserve several forms of the fort’s name, including Brocolitia, Procolita, and Brocolita. Procolita appears in the late Roman Notitia Dignitatum, an official record of imperial offices and units, while the seventh-century Ravenna Cosmography uses Brocoliti. The Celtic place-name has been interpreted as meaning “badger holes,” “a place in the heath,” or “a rocky place.”
Occupation is generally divided into an early phase, around AD 130/132–200, and a later phase beginning around AD 200 and lasting into the late fourth century. Inscriptions associate the fort with Legio VI Victrix and several auxiliary cohorts, military units serving alongside legions: Cohors I Tungrorum, Cohors I Aquitanorum, Cohors I Cugernorum, Cohors I Frisiavonum, Cohors II Nerviorum, Cohors V Raetorum, and Cohors I Batavorum. The Tungrian cohort is attested for AD 122–138, the Aquitanian cohort around AD 133, and the Cugernian cohort in the late second century. The Batavian unit is linked to the fort in AD 213–222, in AD 237, and again around AD 400.
Excavations have found no evidence of military use after AD 368, although the association with Cohors I Batavorum around AD 400 remains part of the evidence for the site’s later history. An altar inscription records that Maus, a deputy officer in Cohors I Frisiavonum, had fulfilled a vow to Coventina. It is uncertain whether that particular altar marked the completion of his vow.
Religious activity
Three sanctuaries near the fort made Brocolitia a religious centre on Hadrian’s Wall. The Mithraeum, a sanctuary dedicated to the god Mithras, was damaged during the late third-century revolt of Carausius and Allectus, usurpers who ruled Britain against imperial authority. Around AD 296–297, northern groups raided the area while much of the Wall garrison had marched south-east. The sanctuary was rebuilt soon after, then renovated after the emperor Constantius Chlorus suppressed the revolt. It was destroyed again in the early fourth century, possibly by Christian zealots, and appears to have been abandoned.
The nearby shrine to the Nymphs and the protective spirit of the place remained in use into the early fourth century. A destruction layer dates to around AD 300, and material from the shrine was reused when the Mithraeum was rebuilt. Coventina’s Well continued in use into the late fourth century. Its coins and other offerings accumulated as gifts to the spring over time, rather than as a cache buried during an attack. The cult honoured the spring itself, not a healing practice.
Investigation and later history
In the early eighteenth century, British Army road-building crews under General George Wade dismantled standing Roman masonry for material used in a military road, now the B6318. John Horsley examined the fort in the mid-eighteenth century. John Clayton excavated its bathhouse in 1873; a group of 66 denarii, Roman silver coins, was found beneath a large stone in the fort’s centre in 1875. Excavations in 1876 exposed a tower near the south-west corner, while lead miners discovered Coventina’s Well, later investigated by Clayton and John Collingwood Bruce.
The Mithraeum was discovered in 1949 and excavated by I. A. Richmond and J. P. Gillam in 1950. The shrine to the Nymphs was found in 1957 and excavated from 1957 to 1960. Further work followed in 1964, and David J. Breeze carried out trial excavations between 1967 and 1969. A 1934 survey established that the fort’s construction had filled the Vallum’s southern ditch; a later survey in 1984 recorded the fort and its condition. In January 2020, Jennifer Du Cane, whose family had owned the site since the 1950s, gave it to the nation. Historic England owns the fort, and English Heritage administers it.
Remains
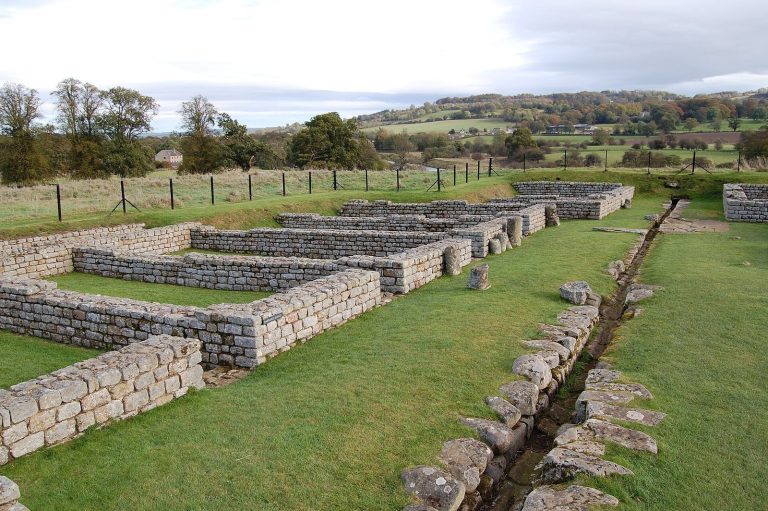
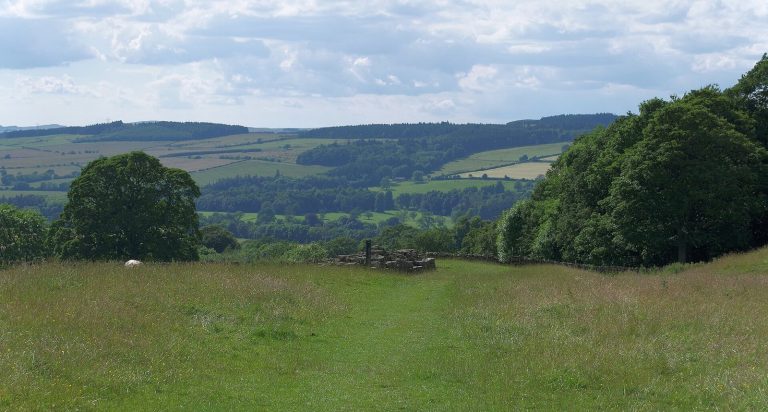
The fort occupied low, open moorland near the northern end of the Wall’s Limestone Corner sector, about 2.4 kilometres west of Chollerford. It stood roughly one Roman mile west of Milecastle 30, with a view south across the Maggie’s Dene Burn valley. Roman roads linked the site with Chesters, Housesteads, Vindolanda, Newbrough on the Stanegate, and Coesike. The fort’s roughly rectangular enclosure, rounded at the corners, covered about 1.5 hectares and measured approximately 140 by 110 metres.
Fort and defences
Enclosure and walls
The defences combined a stone wall with an earth rampart that also served as a walkway. The fort’s northern side either incorporated Hadrian’s Wall or stood parallel to it as a separate rampart; this stretch now lies beneath the B6318. Elsewhere, the fort’s platform and earthworks remain visible, including rises about half a metre high near the southern end of the west wall. The west wall survives to several courses, with stretches about 1 to 3.2 metres high. Other masonry includes part of the south wall, the north flanking tower of the west gate, and a tower between that gate and the south-west corner.
The wall had four internal corner towers and probably eight square towers set at intervals, two on each side. The tower south of the west gate was found standing to as many as ten courses. An inscription in the lower west wall states that a unit of soldiers commanded by Thruponian built 24 feet of wall. Its two lowest courses were wider than those above.
Gates and ditches
Four gates pierced the enclosure, facing north, east, west, and south. Each probably had two passageways separated by supporting piers and was flanked by square towers. The east and west gates lay north of the centre of their respective walls, aligning with the Wall road, which also served as the fort’s main east–west route. This placement left a larger-than-usual area behind that road. One passage through the south gate was later blocked with stone taken from demolished buildings.
A double ditch enclosed the fort, with a level strip about four metres wide between the ditches and wall. The strip remains visible around much of the perimeter as a terrace roughly two metres below the crest of the Wall; the south-west ditches are especially clear. A third ditch may also have existed. Farther along this stretch, Hadrian’s Wall was built in its narrow form. Near Carrawburgh it lies beneath the B6318, while farther west the road turns south into a valley and the Wall continues over Sewingshields Crags towards Knag Burn and Housesteads.
Buildings within the fort
Stone robbing, farming, and excavation have affected the fort’s interior. Beside the west gate, south of the main east–west road, excavators found the west side wall of a granary. The headquarters building had a plan similar to the one at Arbeia. Later alterations in two of its rooms are undated and may have followed settlement of the filled Vallum beneath the building. An underfloor heating system in another room appears never to have been completed. A large surviving stone fragment bears a carved phallic symbol.
Settlement and burial ground
Civilian settlement
A civilian settlement associated with the fort spread across about four hectares of low, marshy ground west of the defences. Most of its buildings have been lost, but six terraces remain on the west slope, with some scarps reaching 2.1 metres. The northern terraces overlap a fort ditch. Foundations and house platforms were concentrated about 60 metres west of the fort, and building traces also occurred to the south. A paved road, 3.5 metres wide and incorporating reused tombstones, ran about 50 metres south-east of the Mithraeum. Coins of Claudius II and Tacitus found near some wall remains suggest a date in the late third or early fourth century.
Bathhouse
The bathhouse stood outside the west gate within the civilian settlement. Its seven rooms formed a line and included a changing room, a toilet, and warm, hot, and cold bathing rooms. It may have received its final renovation in the fourth century. Its exact position is uncertain, though a rise west of the fort is considered the likeliest location. A paved road found in 1977 led from the area towards Maggie’s Dene Burn.
Cemetery and inscriptions
A cemetery for soldiers and civilians lay east of the fort, between it and Milecastle 31. Bones were found there in 1807, and Roman urn burials came to light during earthworks in 1817. Five tombstones have been found at Carrawburgh, although their original locations are unknown. A small structure interpreted as a temple or tomb was also discovered in 1964.
Forty-eight Roman inscriptions are known from the surrounding area: 31 dedicatory altars, five building inscriptions, four stones naming military units or subunits, and six tombstones or funerary inscriptions. The 66-denarius group found beneath a large stone in the fort’s centre ranges in date from Marcus Antonius to Geta.
Sanctuaries
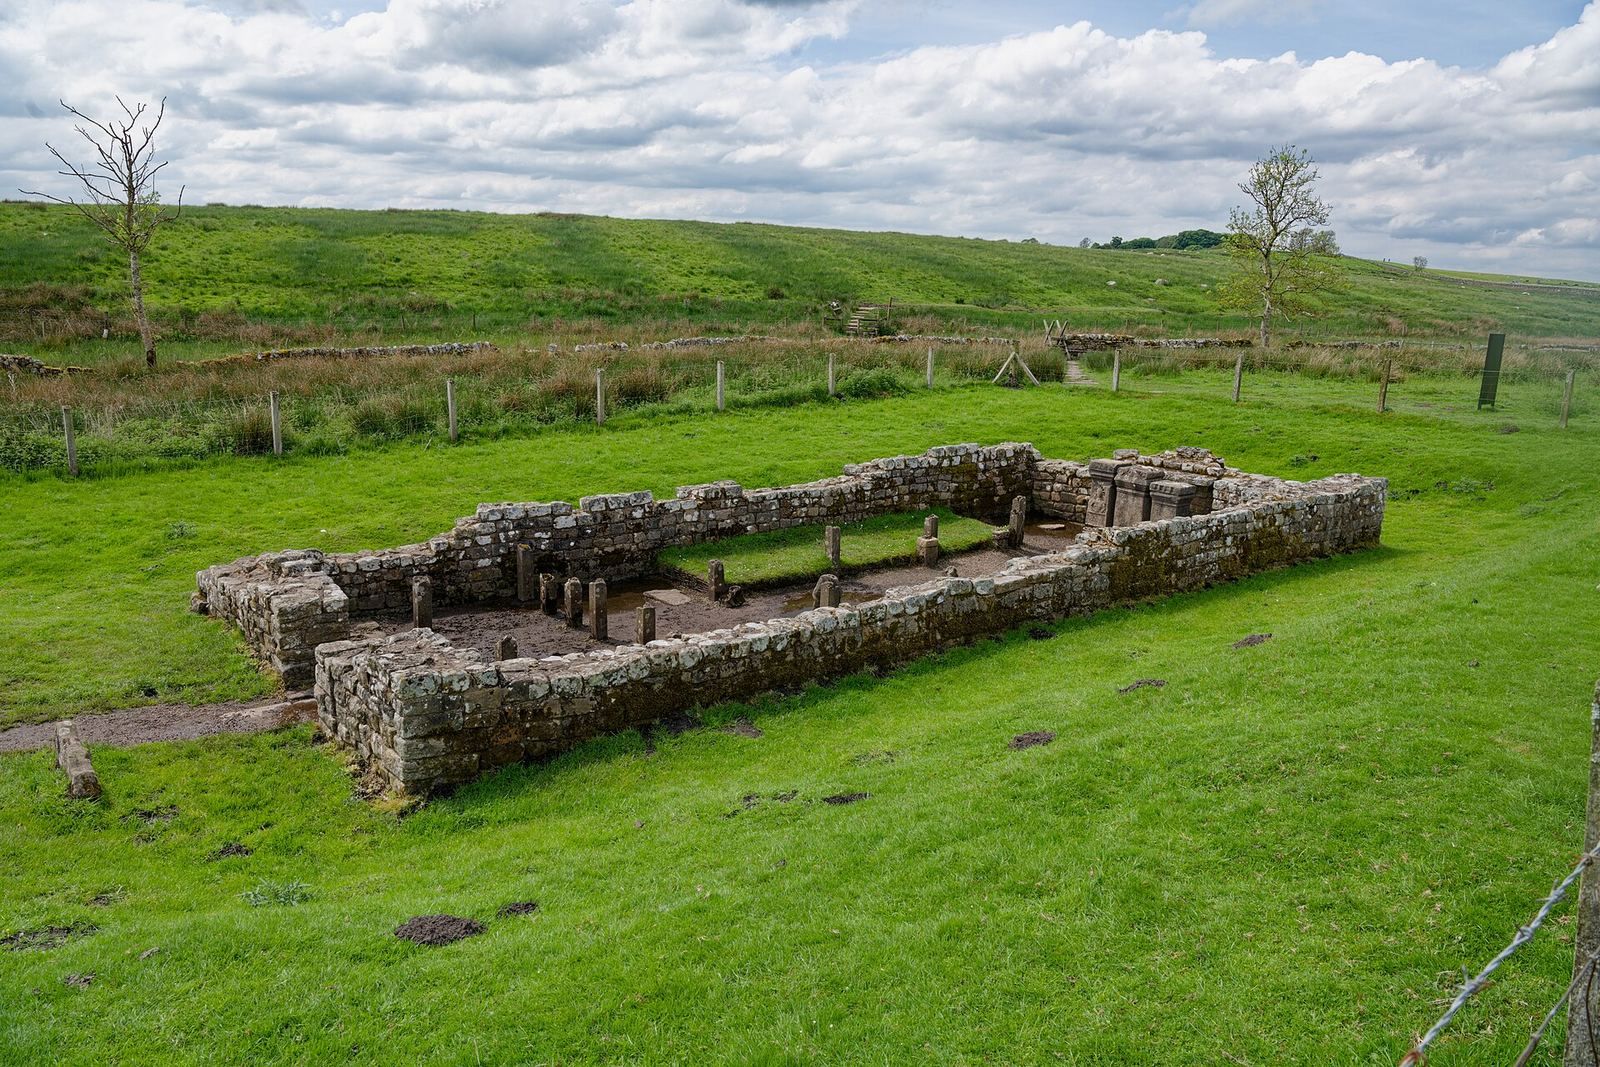
Mithraeum
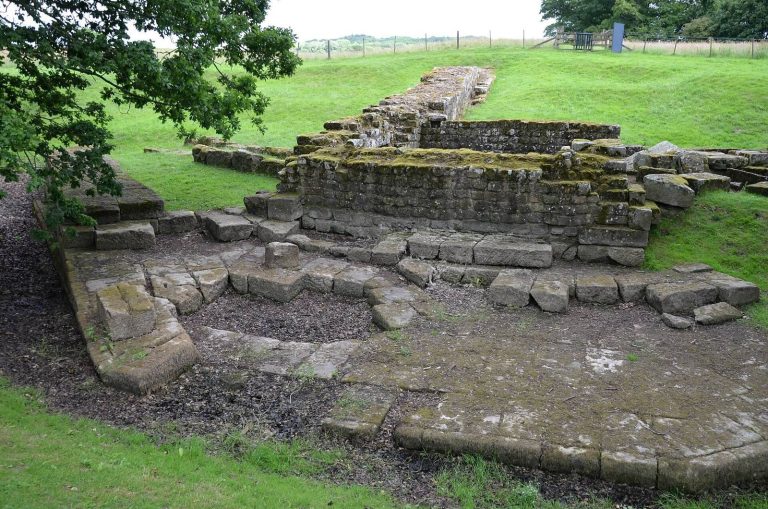
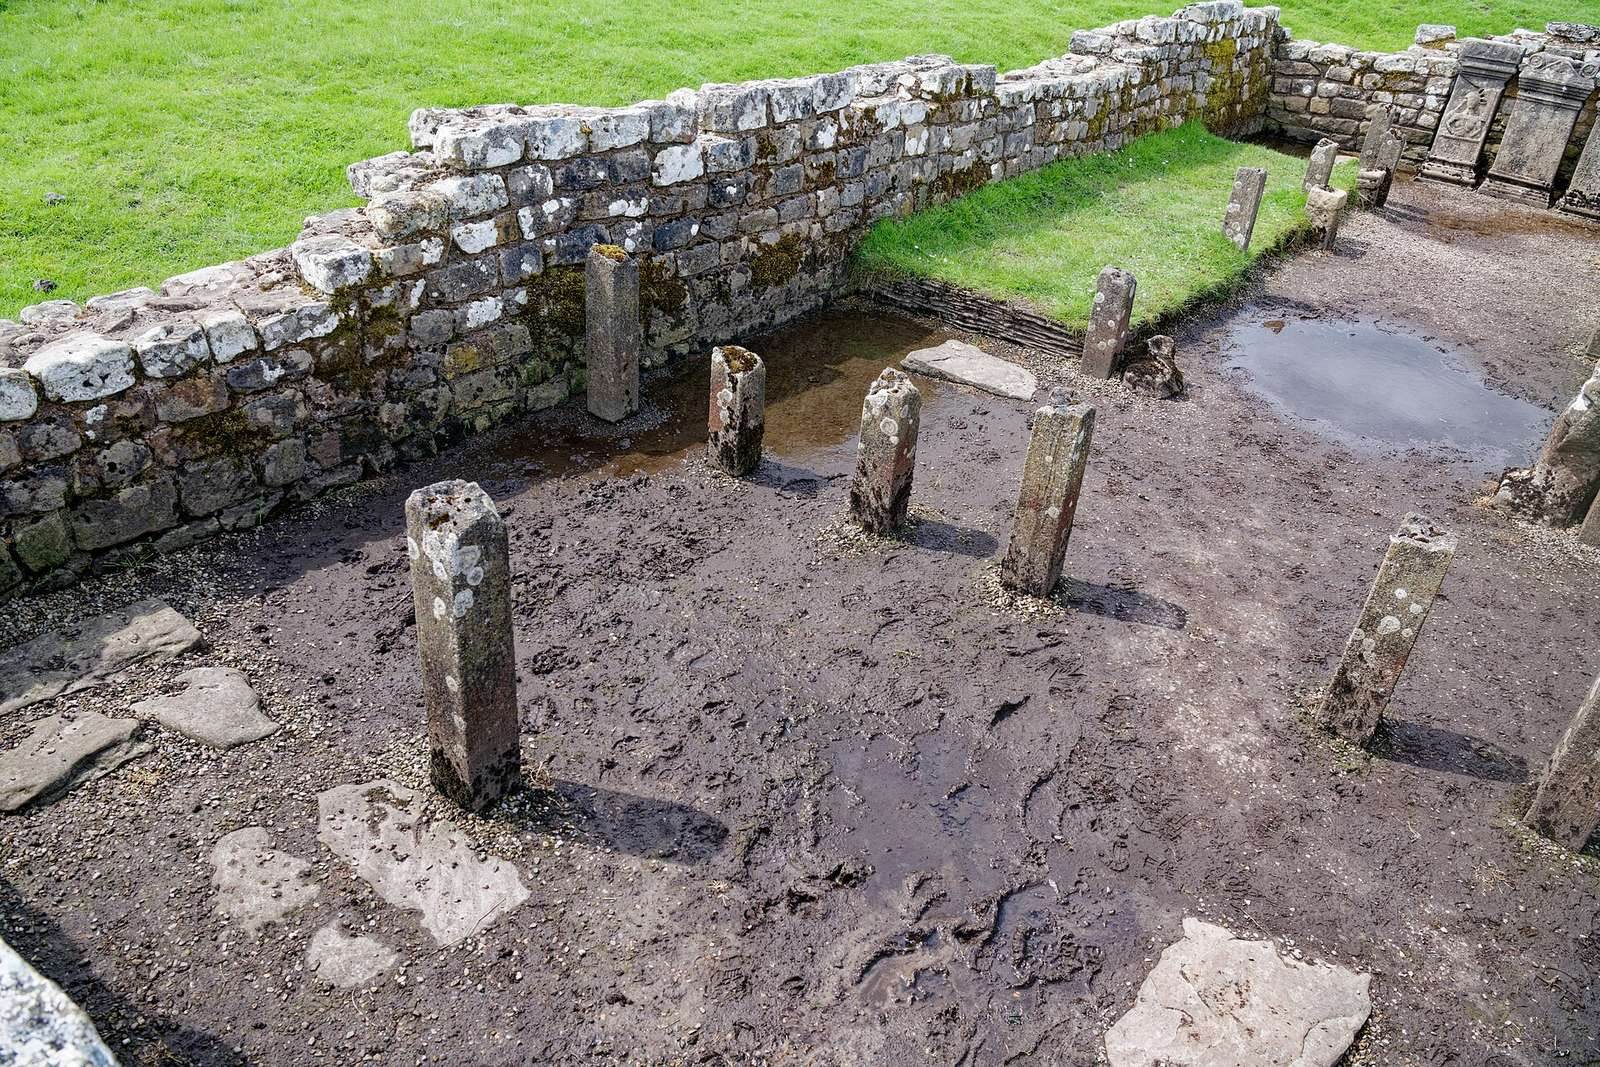
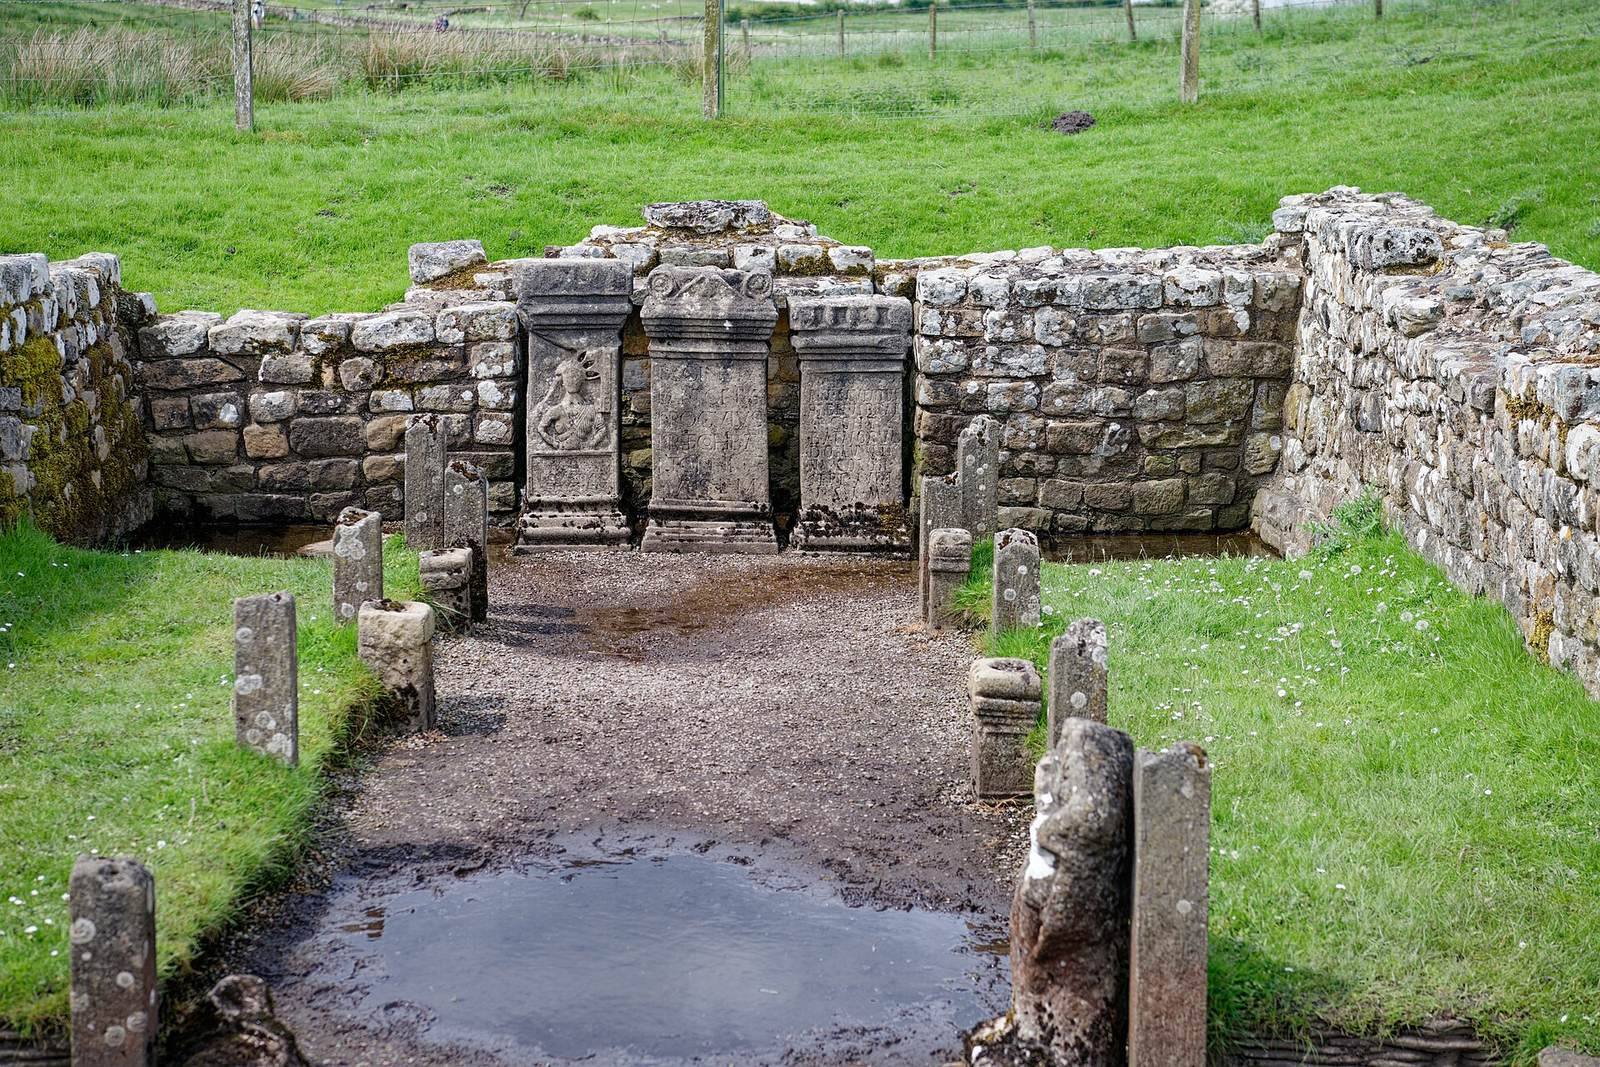
The Mithraeum stood on the east bank of a stream, about 80 metres from the fort’s south-west corner. Its first phase, probably built around AD 200, measured about 5.5 by 8 metres and had a packed-earth floor. A woven screen separated an entrance room from the place of worship. Raised benches ran along both sides, and a small platform at the north end held altars. A fire pit in the entrance room contained burned pine cones and was probably used to prepare ritual meals; a nearby offering pit held pig, lamb, and goat bones. Another pit beneath the main altars contained a thin-walled bowl, a cup, and poultry bones.
In a second phase, the building was lengthened to 11 metres and given a rectangular niche for a relief of Mithras, elaborate furnishings, and a substantial timber roof. Dried heather covered the floor. Several courses of masonry survive, and wooden stakes marking the bench supports remain visible. The main relief showed Mithras killing a bull and was deliberately broken; only a fragment was recovered. Reliefs of the torch-bearing figures Cautes and Cautopates were also damaged. The left main altar depicted Mithras with a halo illuminated from behind by a torch, and the main relief stood behind that altar. A statue of the goddess Vagdavercustis stood to the right of the entrance.
The original altars and reliefs are held in museum collections; casts of the altars and the Cautes and Cautopates reliefs are displayed at the site. A small iron altar shovel from the third century also survives. A reconstruction of the sanctuary is displayed at Newcastle University’s Great North Museum.
Shrine to the Nymphs
The shrine to the Nymphs and the protective spirit of the place stood on the south side of the Mithraeum entrance, immediately in front of it. A semicircular stone bench was built into the slope beside a paved floor and a low, stone-lined basin that collected spring water. The arrangement was probably open to the sky. A sandstone altar dedicated around AD 213 by M. Hispanius Modestinus carried the same inscription on both faces, suggesting it stood where people could walk around it. Two other altar stones were found: one dedicated to the Nymphs by soldiers of Legio VI Victrix, and another dedicated by the Batavian cohort to Coventina and the protective spirit of the camp. A relief showing three Nymphs may originally have stood at the shrine.
Coventina’s Well
Coventina’s sanctuary stood west of the fort beside a tributary of Maggie’s Dene Burn. It was a square, probably roofless building about 12 metres on each side, with a stone perimeter wall 0.9 metres thick and an entrance five metres wide on the west. When excavated, the wall stood about a metre above ground. The basin measured about 2.6 by 2.4 metres and was two metres deep, with a gravel floor and carefully cut stone walls. Four courses survived above the waterline. A block on the north side was carved as a trough, and a stone drain served the basin. Only a few stones of the east and south walls remain in place, and one upright stone marks the site.
The well yielded 22 stone altars and 13,487 coins: four gold, 184 silver, and the rest copper alloy. They range from the early reign of Augustus to AD 388, and many are heavily worn. More than 300 coins of Antoninus Pius commemorate the suppression of a revolt in northern Britain in AD 155. They depict Britannia with bowed head beside a Roman military standard. Clayton melted down 3,000 worn coins to make an eagle sculpture for his library; it is now in Chesters Museum. Many other finds were stolen after being left overnight in a pit beside the spring, while the remaining coins went to the British Museum in the 1960s.
Other finds include a three-part stone relief of Coventina, bronze animal figures, brooches, rings, beads, glass vessels, leather fragments, and metal pins probably symbolizing birth. Two clay incense burners bear the inscription “Augusta Coventina.” Horse and dog sculptures were also found: the horse represented fertility, while the dog was associated with Asclepius, the god of healing. Most of these objects are held in the Chesters Museum collection.