Konda Gobyōyama Kofun: A Keyhole-Shaped Imperial Tomb in Japan


Site at a Glance
- Rating
- 4.2
- Popularity
- Low
- Country
- Japan
- Primary era
- Classical
- External website
- Open
- Eras represented
- Classical
- Civilizations
- Yamato
- Site type
- Religious
- Remains
- Tomb
On this page12 sections
History
Konda Gobyōyama Kofun is a large ancient Japanese burial mound in Habikino, Osaka, Japan, built during the Kofun period in the early fifth century, probably between AD 401 and 420. Its keyhole-shaped design combines a circular rear mound with a broad square front section. Traditionally identified as the mausoleum of Emperor Ōjin, the fifteenth emperor of Japan in the imperial chronicles, it is one of the principal tombs in the Furuichi Kofun Group.
Construction and Imperial Attribution
The person buried at Konda Gobyōyama Kofun is not known. The Imperial Household Agency identifies the mound as the Ega no Mofushi no Oka Mausoleum, the tomb of Emperor Ōjin. This attribution has been maintained for a long time, but it is a formal imperial identification rather than a proven archaeological conclusion.
The mound’s date is supported by the study of cylindrical haniwa, clay objects placed on or around burial mounds, as well as Sue ware, Haji ware, archaeological calendar research, and tree-ring dating. These lines of evidence place its construction in the first quarter of the fifth century. A chronology proposed by Mitsusada Inoue, which placed Ōjin’s reign around AD 370 to 390, does not correspond with the archaeological date of the mound. By contrast, Kojiro Naoki’s comparison of the Chronicles of Japan with Korean records concerning the Baekje kings Asin and Jeonji places Ōjin in the late fourth or early fifth century, a chronology compatible with Konda Gobyōyama Kofun.
The attribution to Ōjin is therefore considered plausible, although it creates broader inconsistencies in the conventional identification and chronology of several imperial tombs in the southern Osaka Plain. It also weakens earlier theories concerning a Kawachi political regime. The mound measures approximately 420 to 425 metres in length and is about 36 metres high. Its volume is approximately 1,433,960 cubic metres, placing it second among the tombs traditionally associated with ancient sovereigns, after Daisenryō Kofun.
Damage, Religious Association, and Modern Administration
The front section is thought to have collapsed partly because of major inland earthquakes recorded in AD 734 and 1510. The active Ikoma Fault Zone is estimated to pass beneath the collapsed area. After the 1934 Muroto Typhoon, a very large vertical stone coffin was reportedly found in the collapsed front section. The former Imperial Household Ministry investigated the discovery. A report found in 2025 records the event, and the Imperial Household Agency planned to verify and publish its contents.
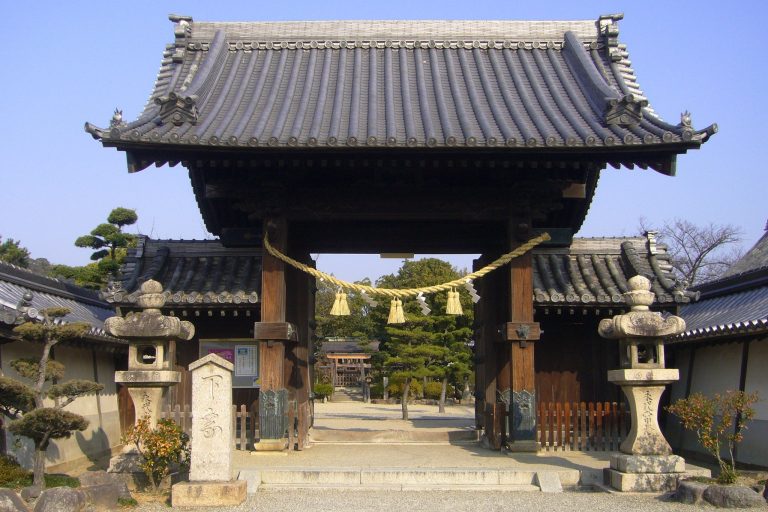
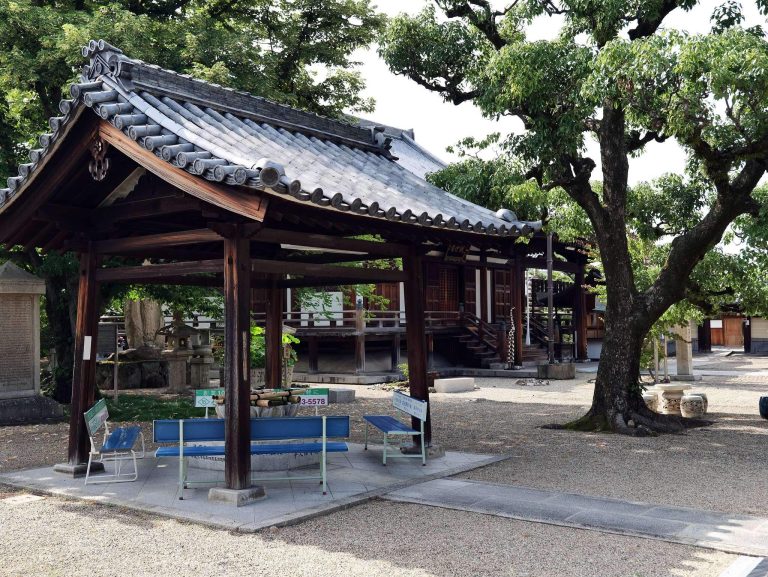
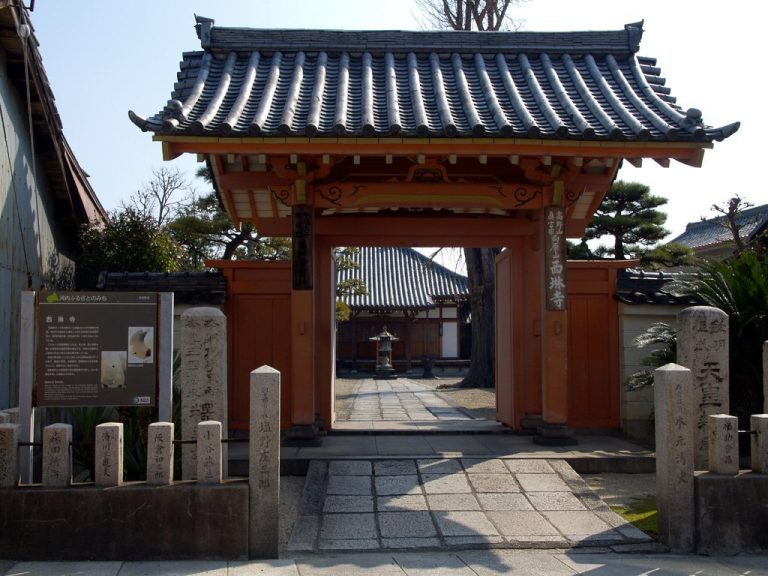
Konda Hachimangu Shrine developed beside the tomb. Hachimangu shrines are Shinto institutions dedicated to Hachiman, a deity associated with the imperial tradition and martial protection. The shrine helped preserve the mound’s vegetation and associated ecosystem as a sacred forest. Before the modern worship arrangement, people approached the tomb from the rear beside the shrine and climbed steps to a hexagonal hall on the summit of the circular rear section. The present worship area dates from repairs carried out during the Bunkyū period, between AD 1861 and 1863.
The tomb is administered by the Imperial Household Agency, the Japanese government institution responsible for the imperial family and officially identified imperial mausoleums. Entry and academic investigation of the tomb area are prohibited. The agency’s Furuichi Mausoleum District Office stands within the tomb precinct. The outer moat and outer bank received national historic-site designation in 1978. The tomb forms part of the Mozu-Furuichi Kofun Group, the combined heritage designation for the Furuichi and Mozu clusters, which entered Japan’s World Heritage tentative list in 2008 and became a UNESCO World Heritage cultural property in 2019.
Remains
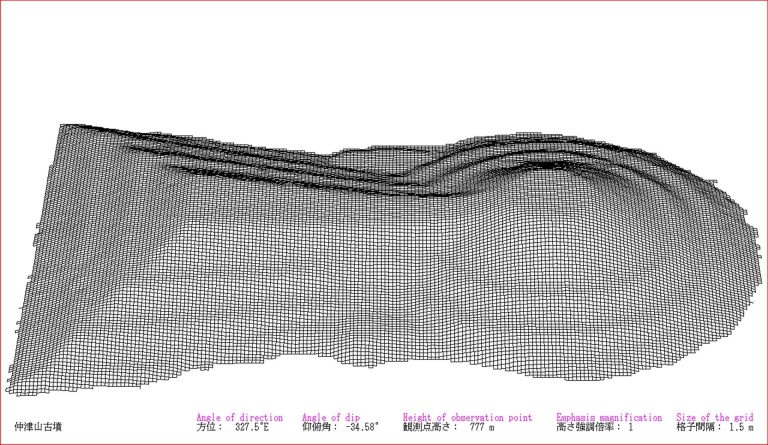
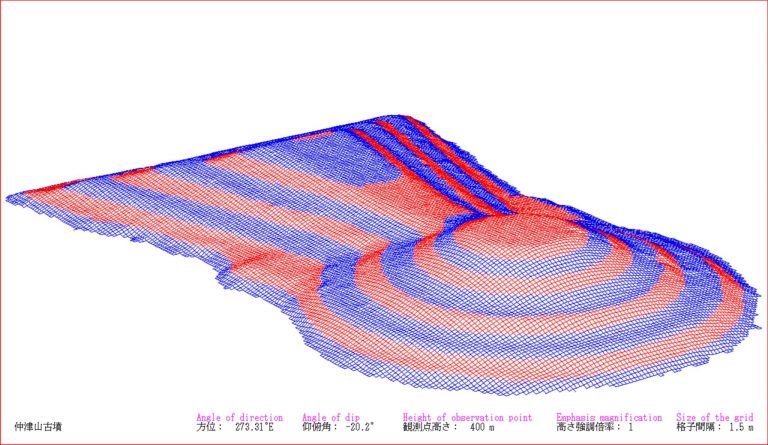
Konda Gobyōyama Kofun consists of a circular rear section joined to a broad square front section. Its reported dimensions vary because surveys do not always define the foot of the mound in the same way. Estimates place the total length at about 415 to 425 metres, the front section’s width at approximately 300 to 330 metres, and the rear section’s diameter at roughly 250 to 267 metres. The monument crosses two contrasting landforms, a stable terrace and an unstable floodplain. A pre-existing Futatsuzuka Kofun constrained the layout, producing a distortion in the surrounding moat and inner bank.
Mound and Moat System
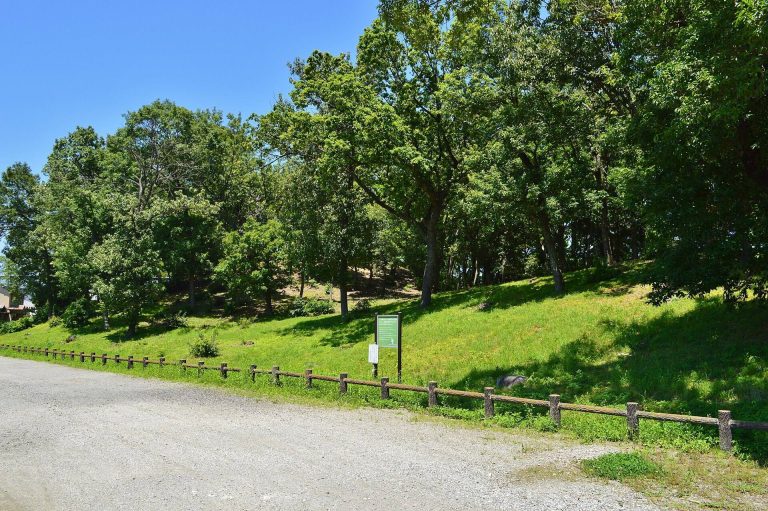
Two moats surrounded the tomb. Beyond the broad inner moat lay an intermediate bank about 48 metres wide, followed by an outer moat estimated at about 35 metres wide and an outer bank about 15 metres wide. The moats were approximately 1.7 to 2.5 metres deep. The second moat and outer bank extended only along the western side, while the eastern side had a different arrangement. Vegetation covers the mound, and the inner moat provides habitat for the firefly species Luciola lateralis.
Many haniwa were recovered from the mound and its surrounding areas. They include cylindrical forms and figures representing parasols, houses, shields, armour, protective skirt plates, and waterfowl. Cylindrical and circular haniwa were also found beyond the outer moat on the side of the rear section, together with horse-shaped examples. A wooden parasol-shaped haniwa, measuring 74 centimetres across, was found among the burial goods. Evidence indicates that wooden objects may have stood on the outer bank as well as on the inner bank.
Ten fish-shaped clay objects were found in the inner moat with Haji ware, a lower-fired earthenware tradition of the Kofun period. The objects were shaped as whales, squid, octopuses, sharks, and dolphins. Their meaning remains uncertain and has received several interpretations.
Subsidiary Burial Mounds
Scallop-Shell-Shaped Mound
Northeast of the main tomb and outside its moat stood a subsidiary mound shaped like a scallop shell. It may be earlier than the main mound and contained a long wooden coffin formed like a split bamboo stem. Its finds included bronze mirrors, beads, a cuirass, a helmet with a projecting neck guard, iron swords and arrowheads, tubular bronze objects, a greenstone bracelet, a bamboo comb, and ten shields. A concentrated group of 61 iron swords, double-edged swords, and spears came from the front section.
Western Square Mound with Clay Chambers
A square mound west of the shield-bearing mound contained two clay-lined burial chambers, each enclosing a composite wooden coffin. One coffin held a bronze mirror, beads, a cuirass, a helmet with a projecting neck guard, iron weapons, a bamboo comb, and shields. The other contained a bronze mirror, beads, a cuirass, and iron weapons. The armour used riveted construction, and some of the beads were gold. Riveted armour and gold objects were still uncommon during this period.
Circular Mound near the Worship Area
A large circular subsidiary mound near the worship area measured approximately 45 metres in diameter. It produced gilt-bronze saddle fittings and other horse equipment, including a wooden saddle with attached gilt-bronze mounts. The saddle is regarded as an exceptionally fine example among saddles excavated from kofun. Its openwork decoration uses linked dragon designs resembling motifs from tombs at Goryeong in Gaya. Other pieces of horse equipment were imported from the Korean Peninsula. Konda Hachimangu Shrine holds the saddle, which is designated a National Treasure.
Northern Circular Mound
Another circular subsidiary mound north of the shield-bearing mound contained a coffin made as a wooden box. The burial goods included a bronze mirror, beads, armour, weapons, and horse equipment. This mound is later in date than both the shield-bearing mound and the circular mound near the worship area.
Other Square Mounds
A square subsidiary mound west of the imperial tomb yielded numerous cylindrical haniwa. Another square mound, measuring approximately 43 metres on each side, also produced many haniwa. A further square mound, about 30 metres per side, contained cylindrical haniwa. Five subsidiary mounds are designated, while other mounds continued to be destroyed because their land remained privately owned.
Shrine and Historical Interpretation
Konda Hachimangu Shrine, immediately south of the tomb, preserves the medieval illustrated scroll Origin and Merits of the Konda Sacred Mausoleum. Created during the Muromachi period, the scroll depicts the construction of Ōjin’s tomb, the establishment of the shrine, and the religious merits associated with the sacred mausoleum. Together with the surviving mound, subsidiary burials, moats, haniwa, and funerary objects, it reflects the long religious and historical interpretation attached to Konda Gobyōyama Kofun.