Antonine Wall: Rome’s Frontier in Scotland
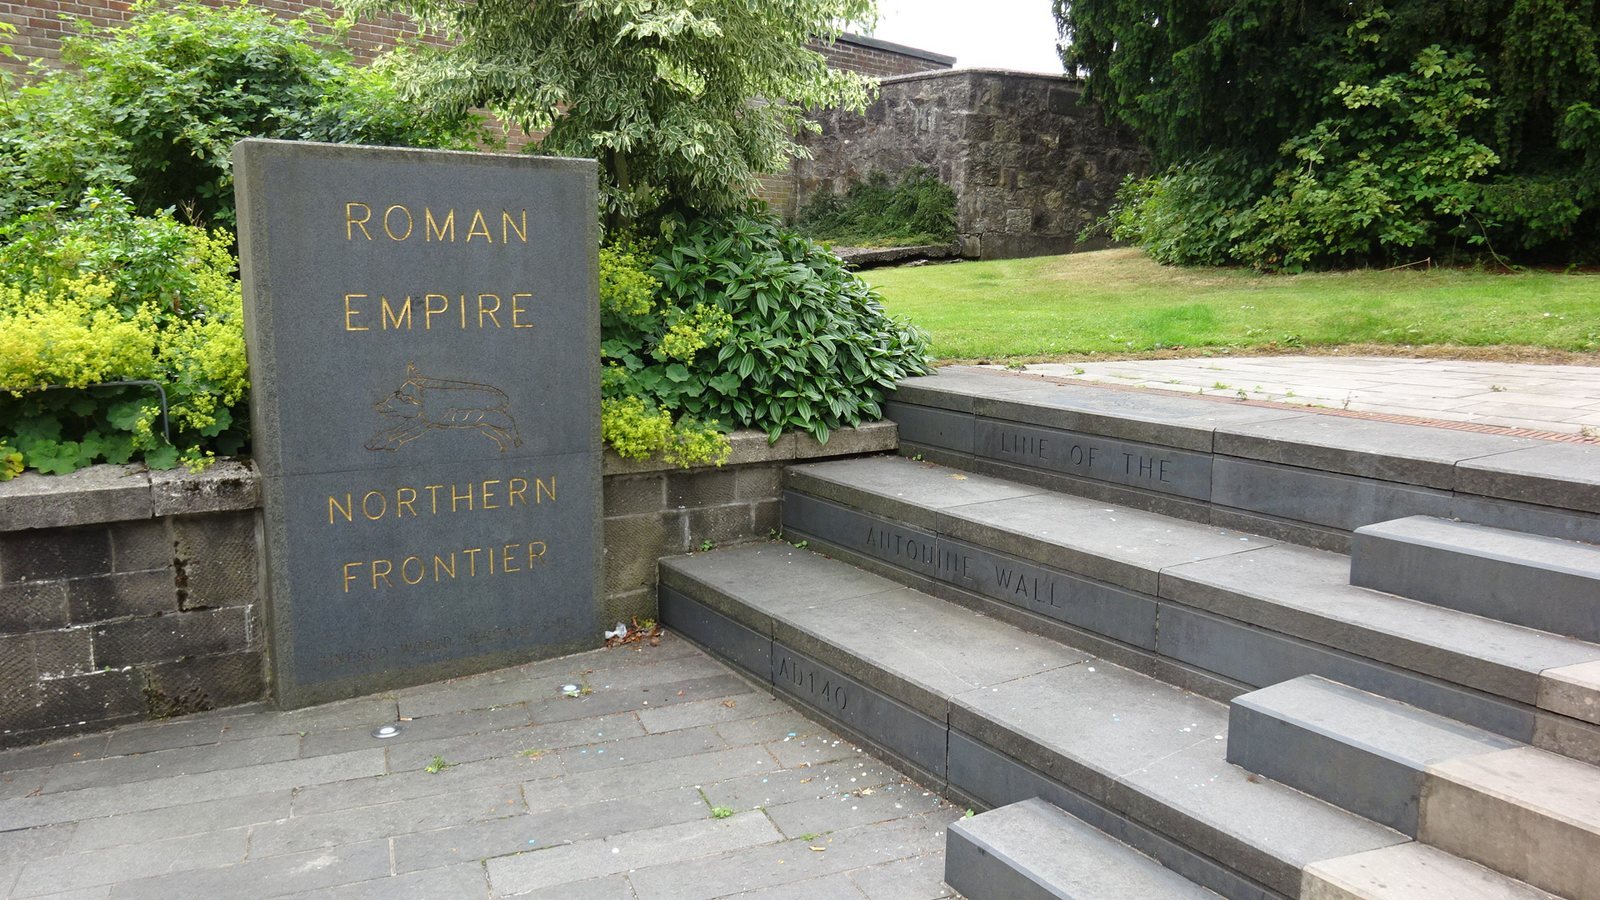
Site at a Glance
- Popularity
- Very High
- Country
- United Kingdom
- Primary era
- Classical
- Eras represented
- Classical
- Civilizations
- Roman
- Site type
- Military
- Remains
- Wall
On this page20 sections
History
The Antonine Wall was a Roman frontier across Scotland’s Central Belt, between the Firth of Clyde and the Firth of Forth, in the United Kingdom. Built under Emperor Antoninus Pius, its main earthwork dates to AD 142–144 and was intended to replace Hadrian’s Wall as the northern frontier of Roman Britain, extending Roman territory farther north.
Roman forces led by the governor and military commander Gnaeus Julius Agricola entered Scotland in the late first century AD. They established forts on or near the later line of the Antonine Wall and along the Gask Ridge, an earlier line of Roman forts and outposts in Perthshire. Roman troops withdrew from much of Scotland in the mid-80s, apparently because they were needed elsewhere in the empire. Around AD 122, Emperor Hadrian established a frontier farther south.
Construction and Roman occupation
After becoming emperor, Antoninus Pius, who ruled from AD 138 to 161, ordered a new frontier farther north. Its precise purpose remains uncertain. Possible aims included extending Roman authority, gaining strategic or economic advantages, and responding to pressure or unrest among northern peoples. Clashes with local groups may have taken place in AD 139–141. Serious unrest in the Lowlands accompanied Roman efforts to clear traditional hillforts and move people to settlements on the plains, where they could be more easily controlled.
Construction began around AD 142 under Quintus Lollius Urbicus, the governor who administered Roman Britain. The main wall was built in AD 142–144, while completion of the wider frontier system may have taken as long as twelve years. Roman forces did not conquer the Caledonians, and the frontier came under attack.
Detachments from Roman legions, the army’s major units, served alongside auxiliary troops, who belonged to units outside the legions. The garrison may have numbered about 7,000. Forts and temporary camps north of the wall protected routes farther into Scotland, while outposts and forts briefly brought back into use extended Roman military activity toward the Gask Ridge and Perth.
Withdrawal and later campaigns
The frontier was briefly abandoned around AD 155 and then occupied again. Most troops moved back to Hadrian’s Wall around AD 160–162, followed by the remaining garrisons around AD 182. Major incursions on the Danube frontier may have prompted this final withdrawal. Roman occupation at the northern limit was temporary, and Hadrian’s Wall once again served as the frontier in Britain.
After attacks in AD 197, Emperor Septimius Severus campaigned in Scotland from AD 208 against the Maeatae and Caledonians, peoples of northern Britain. He carried out substantial work on Hadrian’s Wall. There is no evidence that his forces worked on the Antonine Wall during the campaigns of AD 208–210, although the wall and its forts may have been occupied again briefly. Later references to Severus building a wall contributed to confusion about which Roman frontier he had repaired.
Later names and historical understanding
In the early eighth century, Bede, an English monk and historian, followed the sixth-century writer Gildas in wrongly attributing the turf wall to the Britons. Bede also misdated the stone wall now known as Hadrian’s Wall and linked the earthwork south of it to Severus. It took many centuries for the histories and builders of Britain’s different Roman barriers to be distinguished.
Medieval histories called the Antonine Wall “Gryme’s Dyke,” a name later also given as “Graham’s Dyke.” Antiquaries used names including “Wall of Pius.” Explanations for the medieval name varied, drawing on legend and associations with the Graham family.
Survey and heritage recognition
William Roy, a Scottish surveyor and military engineer, made the first systematic map of the wall in 1764. His drawings remain the only reliable record of some sections later destroyed by development. The Ordnance Survey mapped visible remains in the nineteenth century. Sir George Macdonald’s systematic study appeared in 1911, with an expanded edition in 1934.
Later Ordnance Survey work included a large-scale map in 1931, a revised folio published between 1954 and 1957, a smaller-scale map in 1969, and a complete resurvey in 1979–1980. Digital surveys have since mapped the frontier in three dimensions and examined the Roman distance units used in its construction. In 2008 the Antonine Wall became an extension of the transnational UNESCO World Heritage property Frontiers of the Roman Empire, which recognizes Roman frontier remains judged to have outstanding universal value. Several individual sites along the wall are cared for by Historic Environment Scotland, Scotland’s public body for historic places.
Remains
The frontier stretched about 63 kilometres from Old Kilpatrick in the west to Carriden near Bo’ness in the east, roughly 150–160 kilometres north of Hadrian’s Wall. Its earthworks and military installations followed a varied route across the narrow Central Lowlands, using higher ground and a combination of turf, earth, and stone construction.
Route and defensive earthworks
Route and terrain
The line crossed elevated ground, including the Kilpatrick Hills, and passed over the Croy and Bar Hill basalt outcrops toward the Kilsyth Hills and Campsie Fells. From heights above the Forth, Carron, and Kelvin valleys, it overlooked surrounding land and offered views north. The wall crossed the Avon and Kelvin rivers near the forts at Inveravon and Balmuildy. The precise route between Bridgeness and Carriden remains uncertain.
Turf bank and foundation
Rather than forming a continuous stone wall, the main barrier was a bank of layered turf and occasional earth resting on an unmortared stone foundation. The bank was generally about 3–4 metres high and 5 metres wide. Its foundation, about 4.3 metres wide, had a rubble core faced with stone. A walkway ran along the top; a wooden fence or woven barrier may have protected it. Foundations and projecting side walls at early forts indicate that builders initially planned a stone wall before changing the design.
Northern ditch
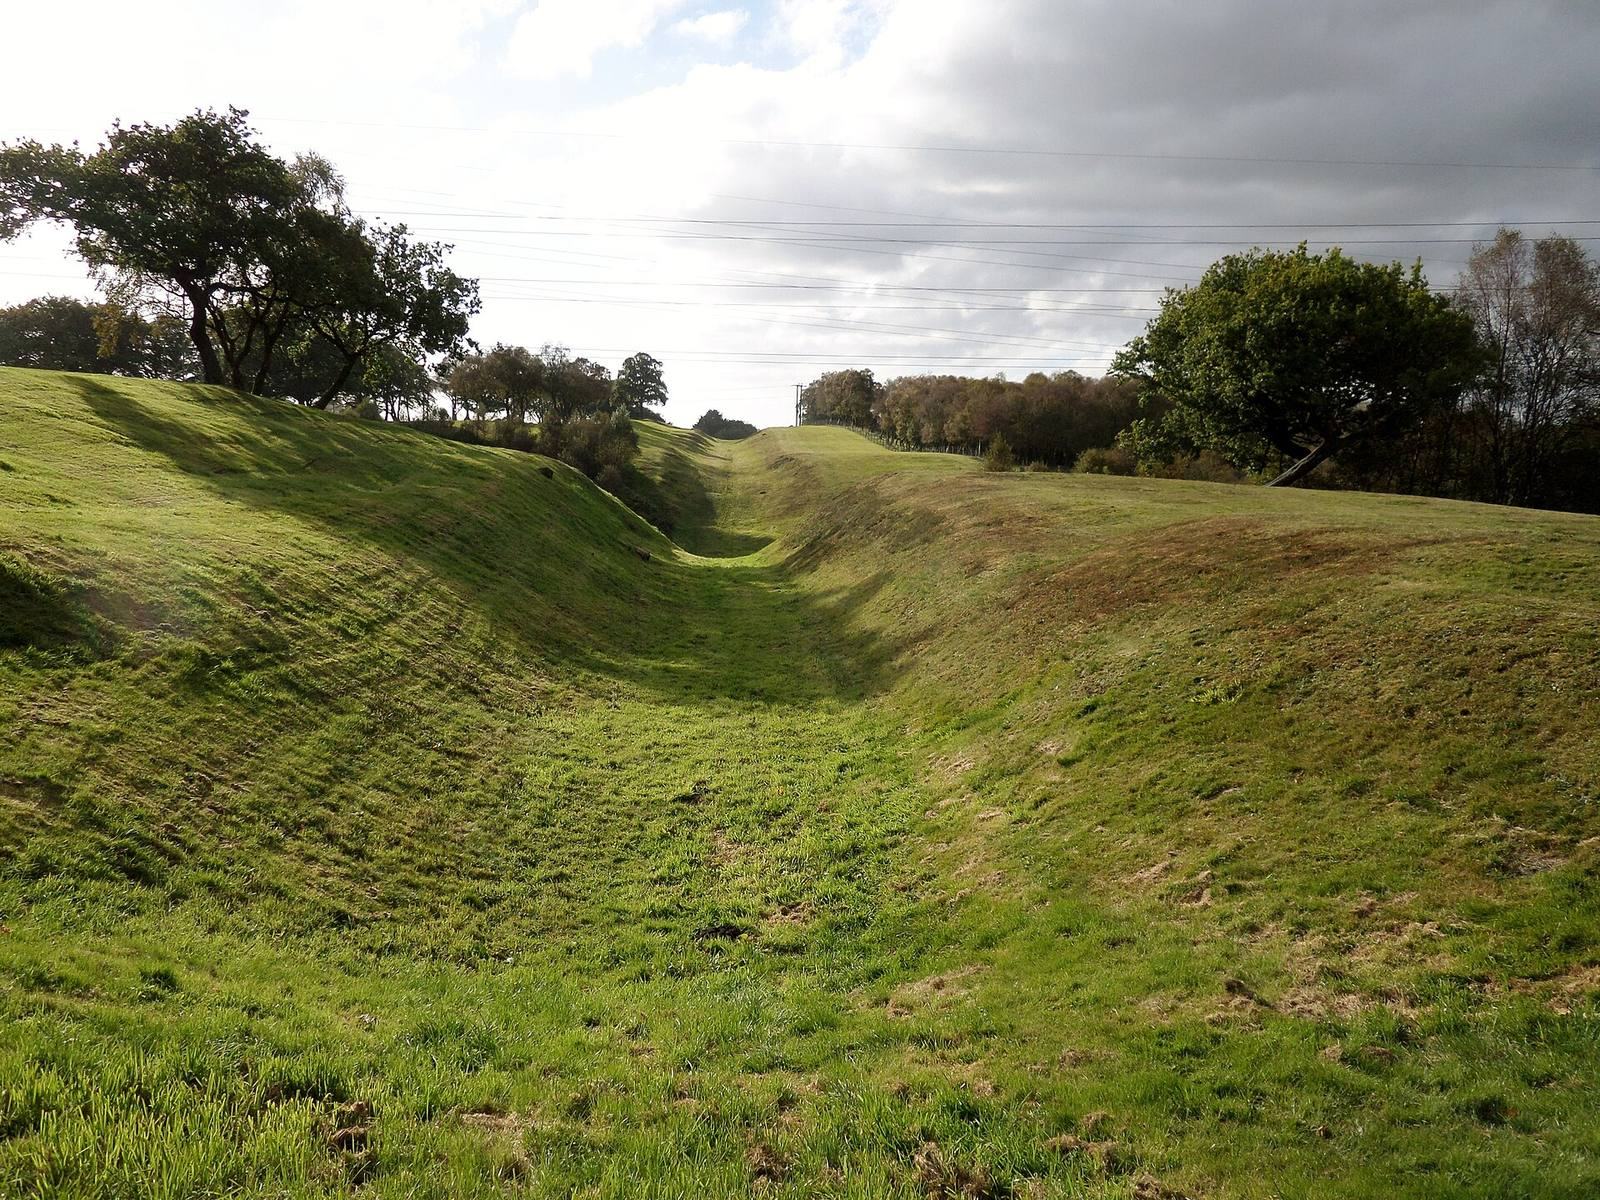
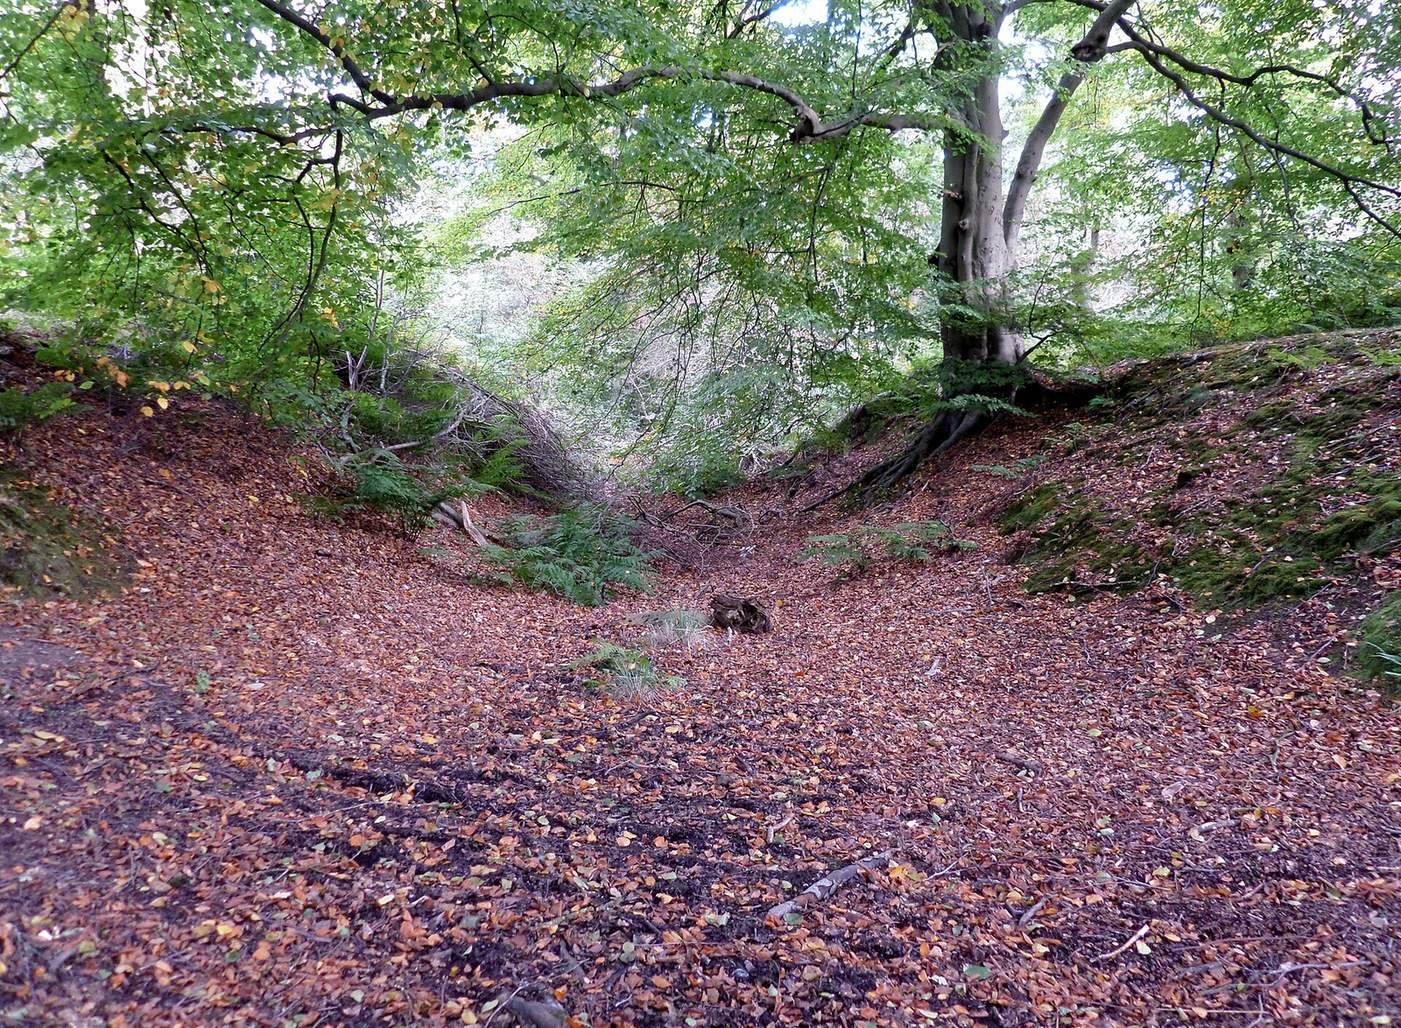
A deep, pointed ditch protected the northern side of the wall. It averaged about 12.2 metres across and 3.5–4 metres deep, with a strip of ground about 6–9 metres wide between the ditch and the bank. Excavated material was piled along the ditch’s northern edge. Basalt interrupted the ditch at Croy Hill, so people needed crossings made from earth causeways or bridges. One crossing has been identified at Watling Lodge.
Military road
A military road ran generally east–west, about 37–46 metres south of the wall. It was approximately 5–8 metres wide, slightly raised in the middle, and drained by ditches on both sides. Its surface ranged from compacted gravel and sand to layers of stone, with paving on heavily used sections. Civilian traffic was excluded. Some forts incorporated the road as their main east–west route, and at Duntocher, Cadder, Bar Hill, and Bonnyside it appears to have been laid before the wall was finished.
Forts and military installations
Principal forts
A chain of about 19 forts secured the frontier. A detailed reconstruction identifies 15 forts built of turf and timber at intervals of roughly two Roman miles, about 3.2 kilometres, with stone-walled examples at Castlecary and Balmuildy. The first six principal forts were initially about 13 kilometres apart; smaller forts were later added to reduce the gaps. Most had a rounded rectangular plan, a single passage through each gate, and a north-facing entrance. Three differed from this pattern, and the last forts built faced east. Several forts had multiple ditches.
Rough Castle is the best-preserved fort and was among the smallest. At Bearsden, the defenses incorporated a bath building, while some forts gained additional enclosed areas. Open ground within forts may have served for wagons, animals, or workshops. Three stone platforms near Croy Hill and Rough Castle, each about 5 by 5 metres, may have supported signal stations.
Fortlets and mile forts
At least nine small fortified posts, or fortlets, formed part of the original plan, and some were later replaced by larger forts. Fortlets have been identified at Duntocher, Wilderness Plantation, Croy Hill, Seabegs, and Kinneil; some were joined directly to the wall. Kinneil, near the eastern end, is the most visible fortlet. Seven Roman-period installations have been identified as mile forts, small posts that may have been planned at intervals of about 3.2 kilometres. About 40 may originally have been intended. These installations may have had timber interiors and held eight to twelve soldiers. Their entrances were on the south, through a tower, with none on the north.
At Rough Castle, pits about 27 metres in front of the fort may have held pointed stakes to obstruct an approaching force.
Outposts and supply bases
Coastal forts at Inveresk in the east and Outerwards and Lurg Moor in the west have been interpreted as outposts or supply bases. The small forts at Outerwards and Lurg Moor also monitored the southern coast of the Clyde estuary. North of the wall, forts at Ardoch, Strageath, and Bertha near Perth, and probably those at Dalginross and Cargill, were brought back into use.
Inscribed stones and other monuments
Distance slabs
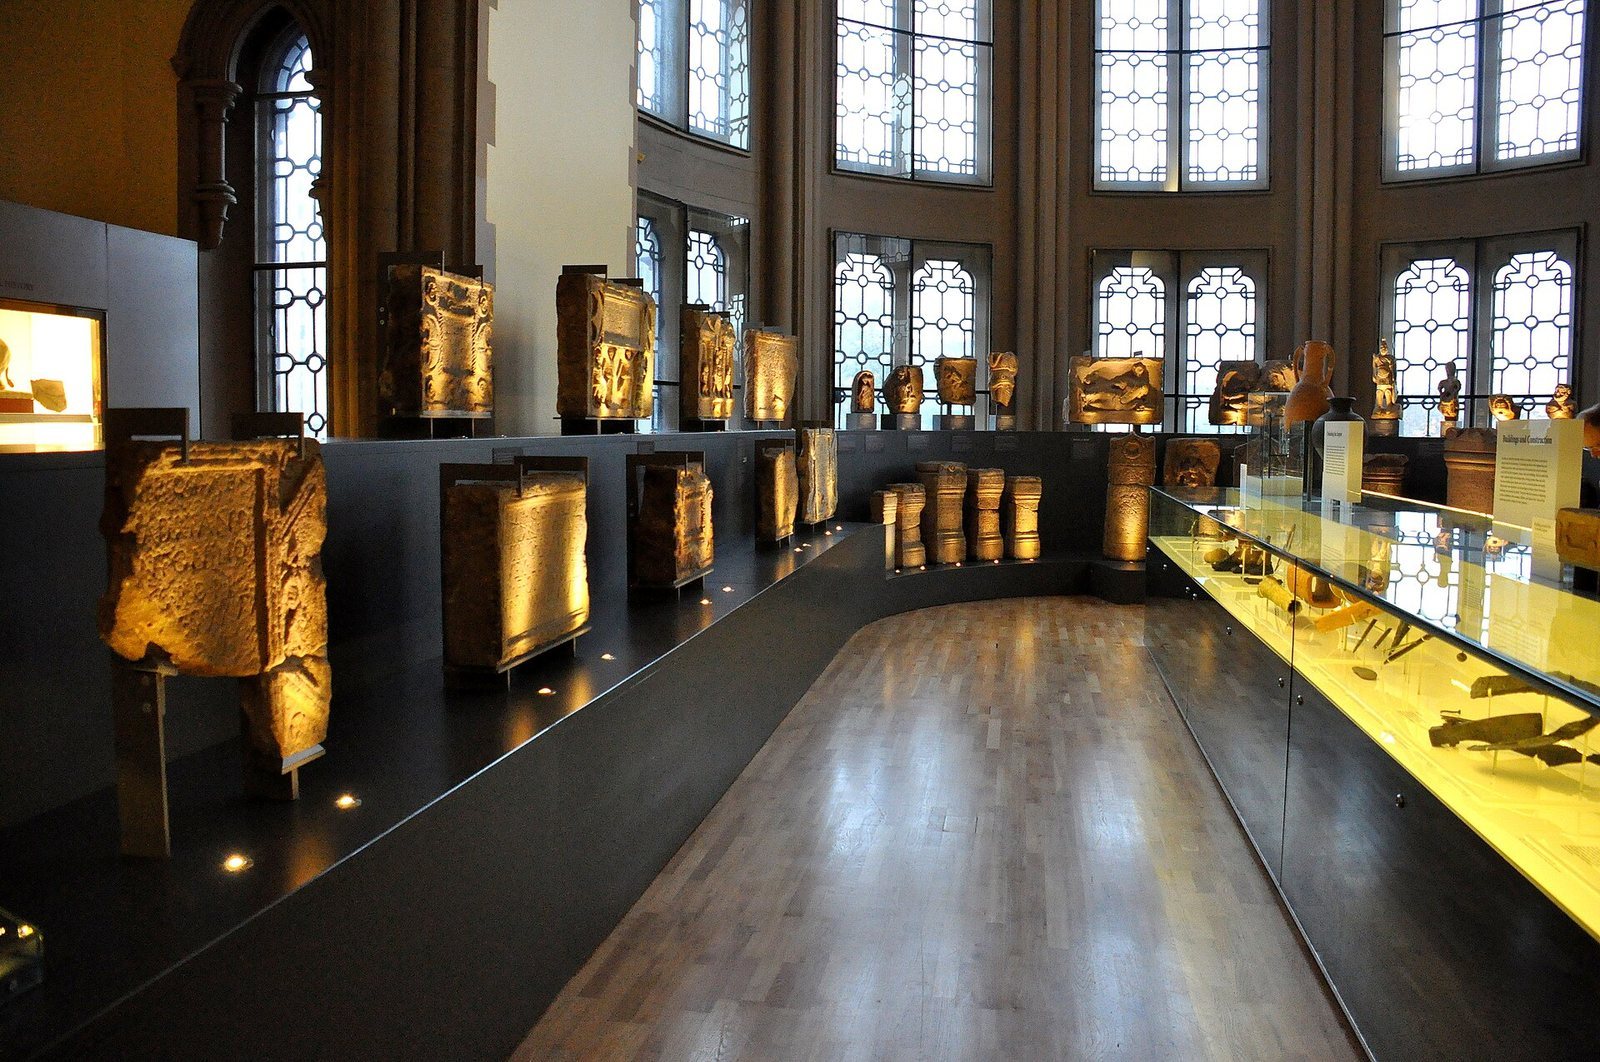
Twenty carved distance slabs survive. These inscribed stones marked lengths of the wall built by particular legions, and their inscriptions help identify the military units involved. They were originally brightly painted, and scientific analysis has detected tiny traces of pigment. Some are held in Glasgow University’s museum.
The richly carved Bridgeness slab was found face down on Windmill Hill at the eastern end of the wall in 1868. The original is in the National Museum of Scotland in Edinburgh, and a replica is displayed in Bo’ness. Its inscription dedicates the work to Antoninus Pius and credits the Second Augustan Legion, a Roman army unit stationed in Britain, with building a 4,652-Roman-pace section. Small, crescent-shaped infantry shields frame the inscription. One carved scene shows a Roman cavalryman trampling Britons depicted naked; another shows an offering to Mars, the Roman god of war, of a bull, pig, and sheep.
Stone reused at Dunnottar
In the sixteenth century, George Keith, 5th Earl Marischal, took a stone from the wall and incorporated it into Dunnottar Castle. It was painted and gilded, probably by Andrew Melville of Stonehaven. The stone is now in Glasgow’s Hunterian Museum, where traces of its later paint have been analysed.
Arthur’s O’on
Arthur’s O’on was a circular, domed stone monument at Stenhousemuir, within sight of the wall. It may have been a temple or a victory monument. The structure was demolished for its stone in 1743, and a replica stands at Penicuik House.
Surviving earthworks
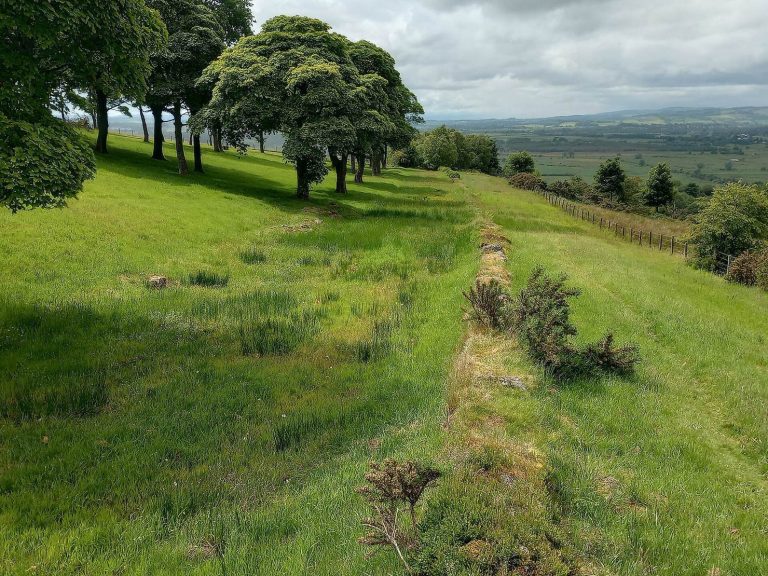
Sections of the turf-and-timber defenses remain visible at Bearsden, Kirkintilloch, Twechar, Croy, Falkirk, and Polmont. Much of the original bank has eroded or been destroyed, while the northern ditch remains visible along substantial stretches.