Hadrian’s Wall: A Roman Frontier in Northern England
Site at a Glance
- Popularity
- Very High
- Country
- United Kingdom
- Primary era
- Classical
- Eras represented
- Classical
- Civilizations
- Roman
- Site type
- Military
- Remains
- Wall
On this page25 sections
History
Hadrian’s Wall was a Roman frontier running across northern England, United Kingdom, from Wallsend on the River Tyne to Bowness-on-Solway. Construction may have begun around AD 120 and was underway by AD 122, during the reign of the emperor Hadrian, who sought to consolidate the empire’s boundaries. The wall became Rome’s northern frontier in Britain and regulated movement across it.
Construction and frontier policy
The route lay slightly north of the Stanegate, an earlier Roman frontier road whose line had been strengthened with new forts under Trajan. Fragments of an inscription found at Jarrow, dated to AD 118 or 119, connect Hadrian’s frontier policy with preserving the empire’s limits. Its fuller wording has been reconstructed. Inscriptions establish that construction was already in progress under the provincial governor Aulus Platorius Nepos, rather than first being commissioned by Septimius Severus. Nepos oversaw the work and was succeeded around AD 126–127 by Trebius Germanus.
Work on most of the wall took about six years. The three Roman legions stationed in Britain, major units of the imperial army, took part alongside members of the fleet. Inscriptions also name auxiliary troops, specialists, marines, and, in later work, civilians from nearby communities. The frontier served several purposes: controlled crossings allowed officials to monitor people and goods and collect customs, while restricting smuggling and unauthorized movement. The wall could hinder small raids and give warning of attacks, but it was not designed to stop a determined invasion on its own. It also made Roman authority visible.
A shifting northern frontier
After Hadrian’s death in AD 138, his successor Antoninus Pius moved the main frontier farther north and began the Antonine Wall, a turf-built Roman frontier in what is now central Scotland. Hadrian’s Wall was not entirely abandoned. Some troops remained, and repairs may have started as early as AD 158. When Rome gave up the Antonine frontier, Emperor Marcus Aurelius ordered most troops back to Hadrian’s Wall. It was operating fully again by about AD 164, with repairs overseen by the governor Calpurnius Agricola.
In the late second century, incursions from the north caused serious losses. During the reign of Commodus, forts including Birrens and Haltonchesters were destroyed, although the precise frontier involved in the fighting is uncertain. A victory celebrated in AD 184 was followed by extensive rebuilding. Central towers were raised again, parts of the western turf frontier were rebuilt in stone, and six forts between Birdoswald and Bowness were reconstructed in stone. Other work included a water supply for Concangis and repairs to the fort and a gate at Risingham.
Repairs and military crises
Preparations for Emperor Septimius Severus’s northern campaign of AD 208–211 brought repairs to military sites along the frontier. At Birdoswald, work on a granary is recorded for AD 205–208. Arbeia, formerly a cavalry fort, was converted into a supply centre with 20 storehouses. Around AD 220, some turrets were dismantled and their stone reused in the wall’s upper course. Further repairs followed through about AD 240, though their possible connection to attacks by the Maeatae, a confederation of peoples in northern Britain, remains uncertain.
During the rule of Carausius and Allectus, who held power in Britain while claiming imperial authority, the wall became poorly maintained and may have been damaged. The garrison was probably reduced, but the cause and extent of any destruction are unclear. An inscription at Birdoswald dated AD 297–305 records the rebuilding of structures that had decayed and partly collapsed. Other renewal included new or altered gates and changes to barrack accommodation.
Northern attacks and wider military emergencies continued to affect the frontier in the fourth century. Emperor Constantius Chlorus campaigned in Britain in AD 305–306. Destruction at outpost forts between the early fourth century and AD 367 points to serious attacks, though their perpetrators are uncertain. Later, the Roman general Theodosius led a campaign to restore order, and forts and watchtowers again protected the west coast of Cumbria. Inscriptions also record repairs to the wall.
Withdrawal and life after Roman rule
By the late fourth century, the wall was no longer part of a centrally organized frontier system. Magnus Maximus’s recruitment of troops for a campaign on the continent probably left the northern garrison inadequate; further withdrawals followed under the Roman commander Stilicho and the usurper Constantine III. Military use did not end everywhere at once. Some sites remained occupied into the fifth century, and the Notitia Dignitatum, a late Roman register of offices and military units updated around AD 420, still lists frontier troops on the wall. Its list may already have been out of date.
After Roman rule ended, the frontier’s forts and other sites followed different paths. Some became settlements or local strongholds, while others were abandoned or used as sources of building stone. At Birdoswald, existing infrastructure remained in use until it became unusable; simpler timber buildings then took its place, including a large hall built over a ruined granary. The extent and character of occupation varied along the wall.
Memory, reuse, and preservation
The frontier influenced settlement and movement on both sides. Roman-style settlements developed south of the wall in the early second century, while the wall probably divided a cultural region that had existed beforehand. The garrison and associated newcomers may have formed roughly 22–30 percent of the local population and relied partly on local resources that were taxed or requisitioned. Trade across the frontier was restricted but continued, possibly concentrating at a few crossings, including the area around Portgate.
Around AD 550, the Byzantine historian Procopius of Caesarea described an old wall dividing Roman and non-Roman parts of Britain but did not identify its Roman builders. Around AD 730, the Northumbrian monk and historian Bede described the wall’s dimensions but mistook the Vallum, the ditch-and-bank earthwork to its south, for a rampart built by Severus. That interpretation persisted for centuries. Stone from the frontier was reused in local buildings, including the monastery churches at Jarrow and Monkwearmouth. A wall stone was incorporated at St Paul’s, Monkwearmouth-Jarrow, before the church’s dedication stone was set in AD 685.
The wall appears to have remained well preserved into the Elizabethan period, after which stone was increasingly taken for buildings and farms. In the eighteenth century, General George Wade’s military road, built in response to the Jacobite rising of 1745, reused substantial amounts of wall stone. Antiquarian interest grew in the early nineteenth century. From 1834, Newcastle town clerk and antiquary John Clayton bought land along parts of the wall to limit further stone removal. He excavated at Cilurnum, now Chesters, at Housesteads, and at several milecastles, and used income from his farms to restore stretches, generally to about seven courses. The National Trust later acquired land along the route.
Repairs to a water main in central Newcastle uncovered a previously unknown three-metre stretch in 2021. Hadrian’s Wall became a UNESCO World Heritage Site in 1987 and was included in the transnational Frontiers of the Roman Empire World Heritage Site in 2005.
Remains
The wall and its construction
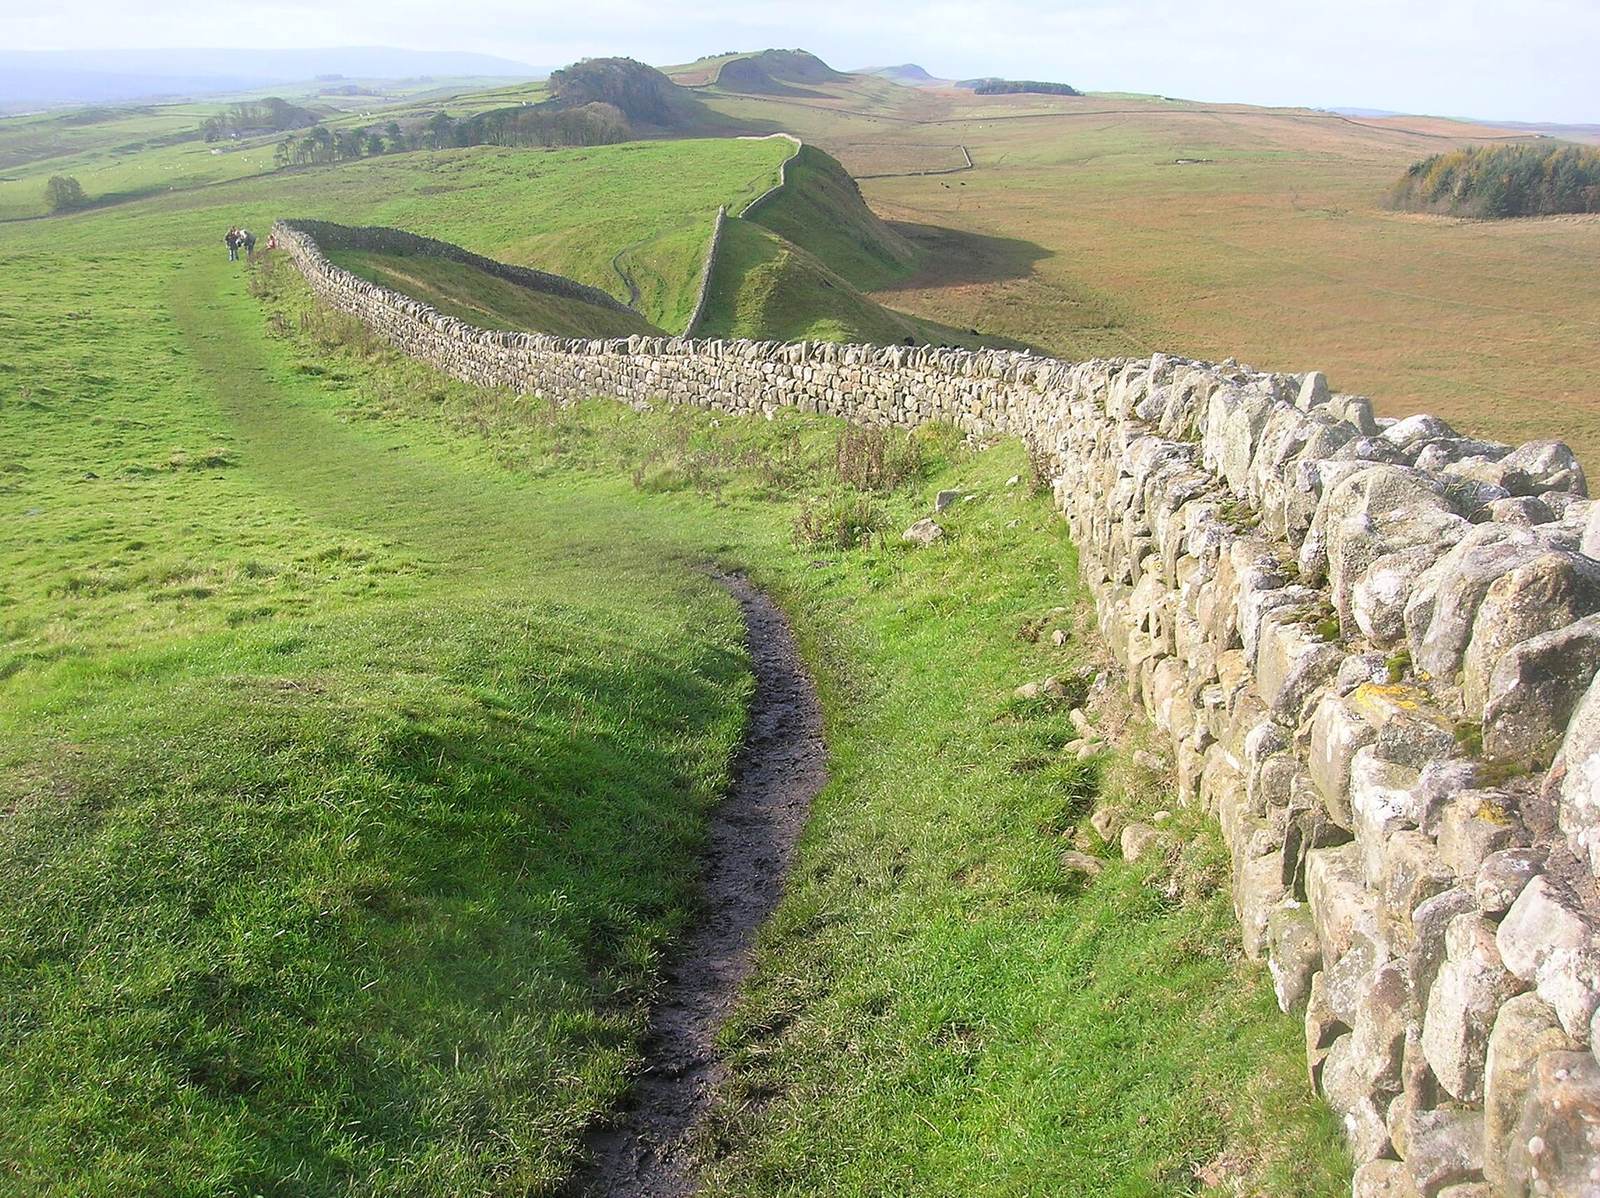
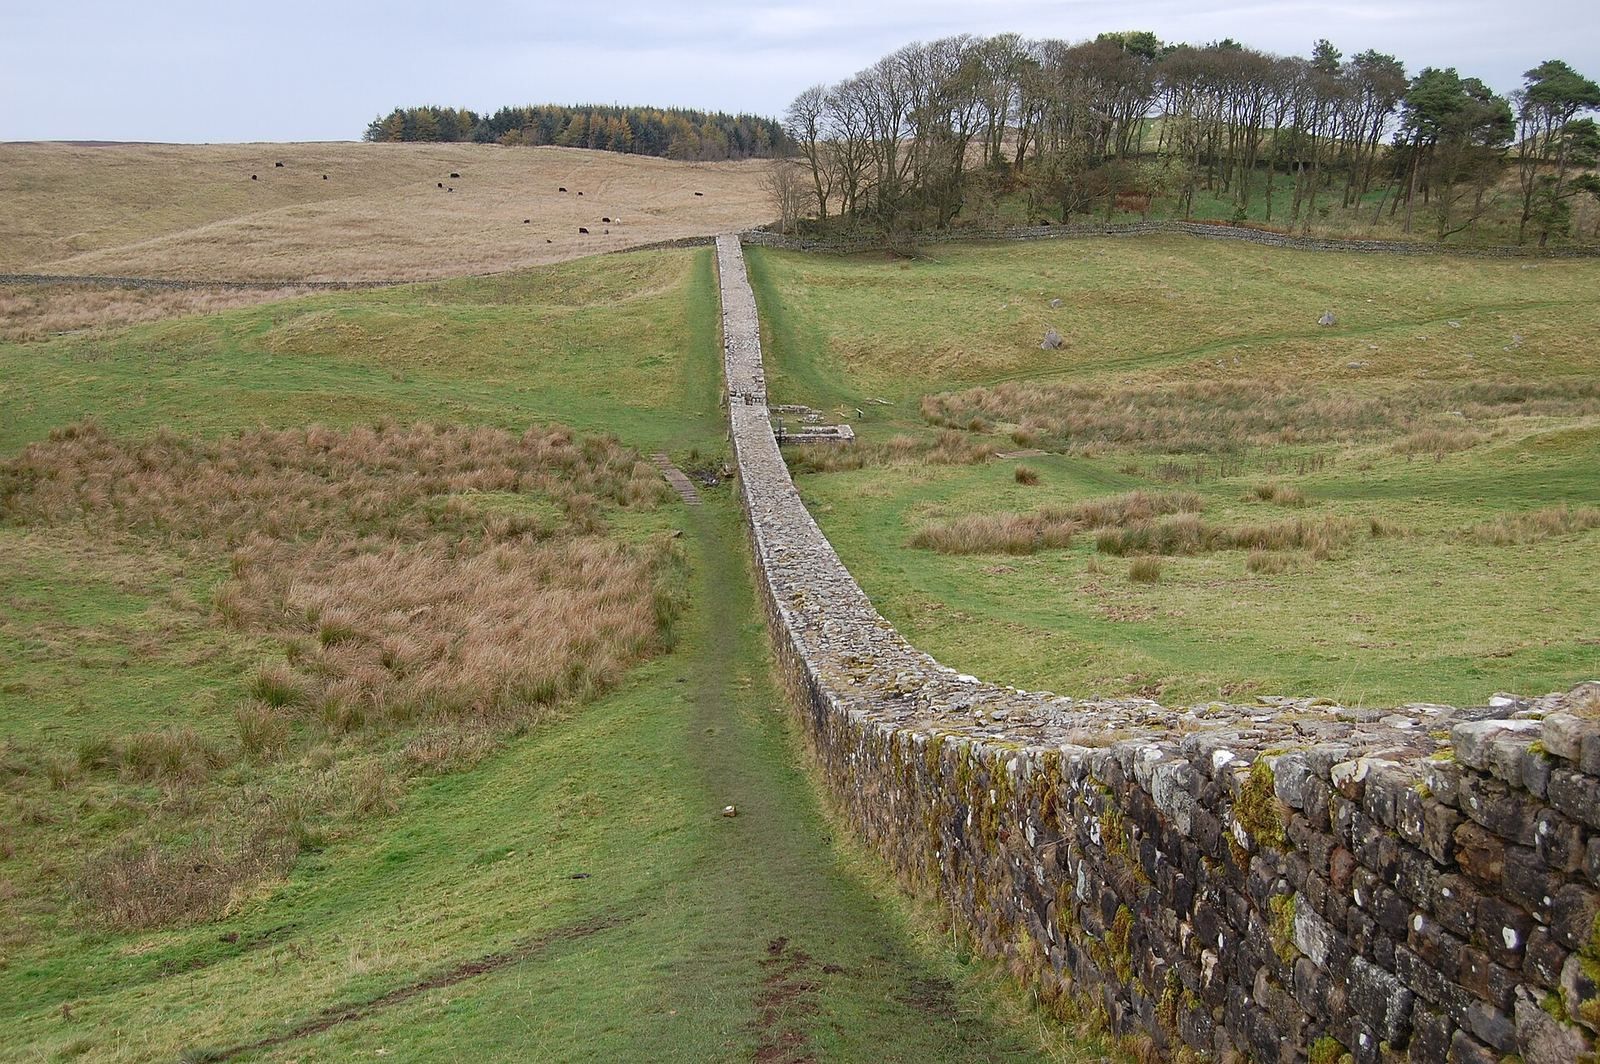
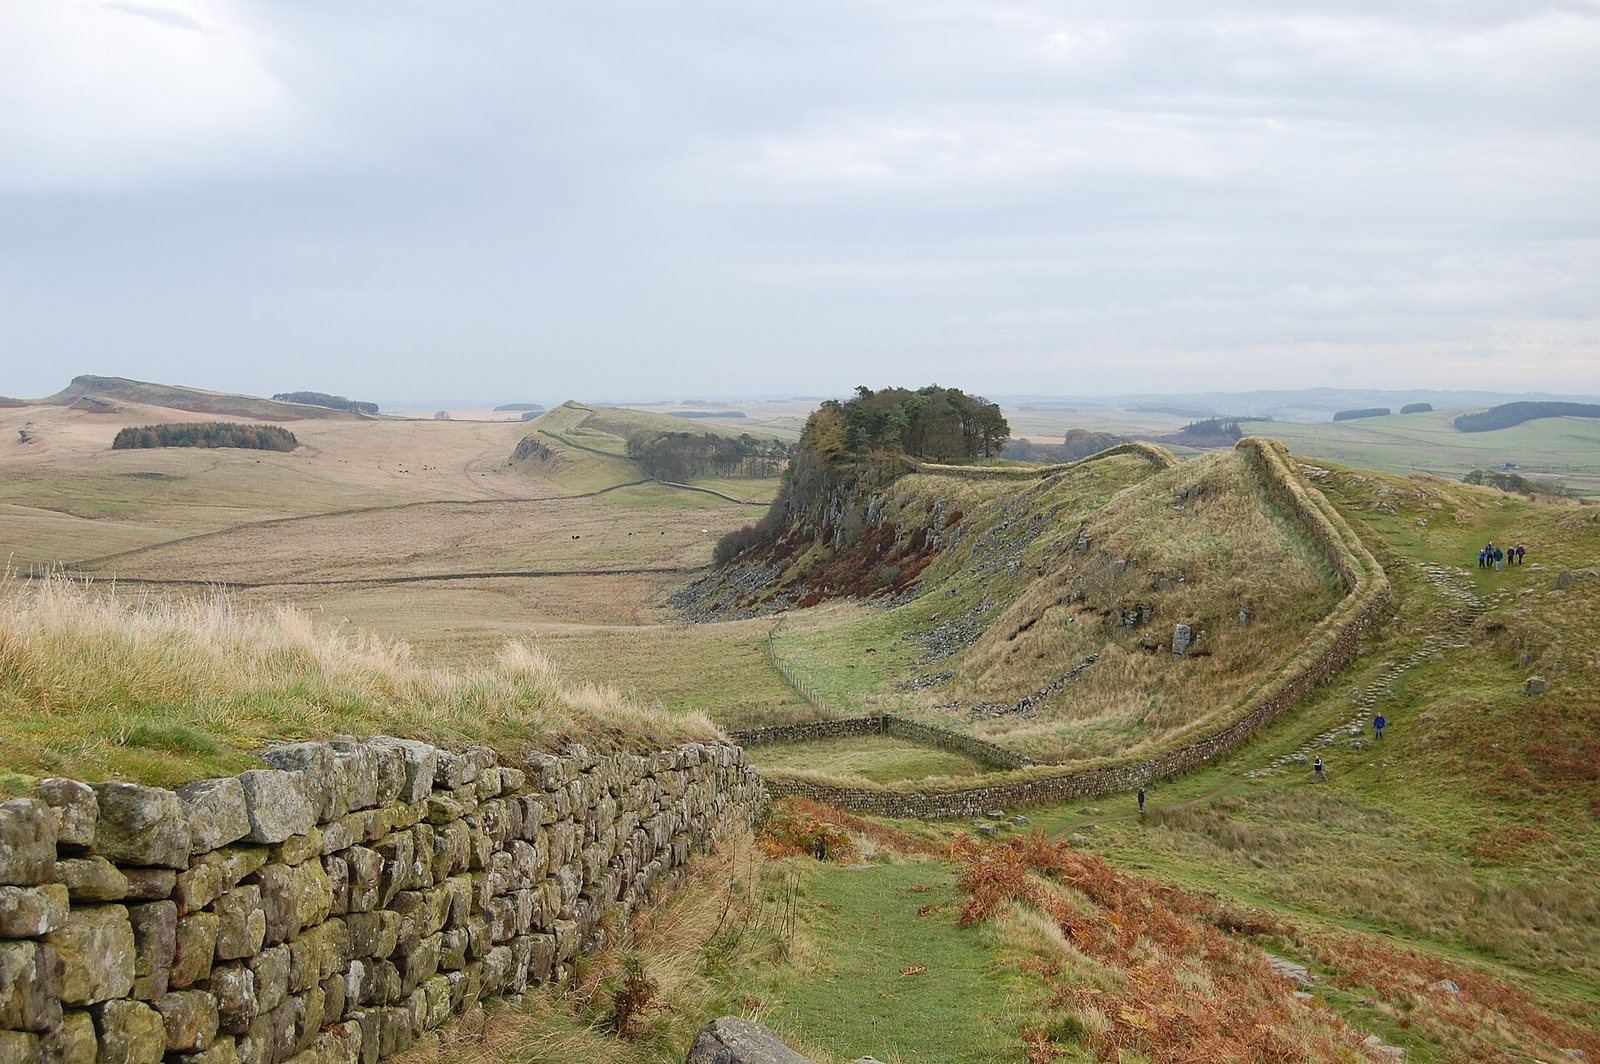
The frontier extends about 117.5 kilometres, or 80 Roman miles, from Segedunum at Wallsend west to Bowness-on-Solway. It crosses the central uplands, follows the northern sides of the Tyne, Irthing, and Eden valleys, and reaches the marshes of the Solway. The route averages about 150 metres above sea level and rises to roughly 680 metres at the Whin Sills, where the central section follows natural cliffs of volcanic rock.
The eastern section was built in stone from the outset. The western stretch, about 45 kilometres from the Irthing to the Solway, began as a turf-and-earth wall, possibly topped with a timber parapet. Its base was about six metres wide and it may have stood around 3.66 metres high. Turf blocks measured approximately 46 by 30 by 15 centimetres, and wooden piles supported construction in boggy ground. The turf section was replaced by stone in stages. A damaged stretch between Milecastle 49 and Turret 49A was repaired in stone during Hadrian’s reign, and most of the western wall was later rebuilt as a narrower stone structure, a process completed by the Severan period.
The wall’s width varies, reflecting changes in construction plans. Broad sections measure about 2.9 metres across, while narrower ones are about 2.3–2.4 metres wide; some narrow stretches stand on broader foundations. The eastern wall generally rose four to five metres, though its original upper profile is uncertain. Its stonework used rubble foundations and a footing of three or four courses beneath two outer faces and a rubble core. Small cut blocks, commonly about 20–23 centimetres square, formed the facing. Sand, lime, and animal blood were used in the mortar bonding the core. Local stone supplied much of the eastern route, with quarries about 10–12 kilometres away and lime burned near building sites. Estimates of the total stone used reach 3.7 million tonnes.
Drainage channels added during repairs passed beneath the wall at intervals of about 2.4 metres, carrying rainwater toward the northern ditch. The wall may have been plastered and painted with red lines to imitate masonry joints, although the extent of this treatment is uncertain. A reconstructed section at Wallsend, about five metres high, has a crenellated top.
Earthworks and associated defenses
Northern ditch and obstacles
A ditch on the northern side formed part of the defenses where the terrain allowed. It was generally about 8–10 metres wide and three metres deep, with a berm between it and the wall and an earth bank to the north. Steep ground made the ditch unnecessary in some places, and it was not present at forts south of the Irthing. At Limestone Corner near Teppermoor Hill, an unfinished stretch contains large volcanic blocks and traces of drilling and wooden wedges used in attempts to split the stone. In some areas, rows of pits added another obstacle, probably to hold sharpened branches. Pits containing thorn branches have been identified at Wallsend, and concealed traps may have held sharpened stakes and iron caltrops.
The Vallum
The Vallum is a large ditch-and-bank earthwork south of the wall. Its ditch was about six metres wide and as much as three metres deep, flanked by two low banks set back about nine metres from its edges. It extended approximately 112 kilometres from Newcastle to Bowness-on-Solway and had about 16 controlled crossings. It may have marked a military boundary around 36 metres wide, allowing troops to move east and west while limiting civilian access. Other proposed functions include protecting the construction area or preparing a route for a road; its purpose and construction sequence remain uncertain.
Military road
A military road ran along the wall’s southern side, generally between the wall and the Vallum. Built during the large-scale Severan repairs, it was about two to five metres wide and connected the forts. In places, steep slopes prevented wheeled traffic. The Stanegate remained the principal long-distance road along the frontier.
Forts and smaller posts
Milecastles
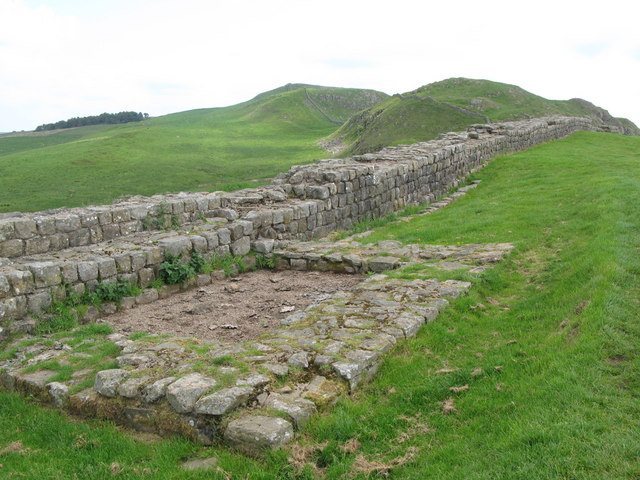
A milecastle was a small fortified post placed at roughly each Roman mile along the wall; the frontier had 80. Most were built in stone and integrated into the wall’s southern side, while those on the turf section began in turf. Each occupied about 270 square metres, had gates to the north and south, and often protected the northern entrance with a tower. Milecastles housed around 8–32 soldiers and contained one or two long buildings, commonly with a bread oven. Remains include Milecastles 34, 37, 42, and 48.
Turrets
Two turrets, smaller observation and signalling posts, stood between each pair of milecastles. These square stone structures covered about six square metres and may have reached nine metres in height, accommodating around eight soldiers. Entrances were usually on the south side; a central hearth served for heating and cooking, and a ladder probably gave access to an upper level. The form of that upper storey is uncertain. Named remains and reconstructions include Turrets 7B, 26B, 29A, 33B, 34A, 35A, 36B, 39B, 41A, 44B, 48A, 48B, 49A, 49B, 51A, 51B, and 52A, as well as the signal tower at Pike Hill. The original width of the wall can be seen near Turret 39B.
Forts
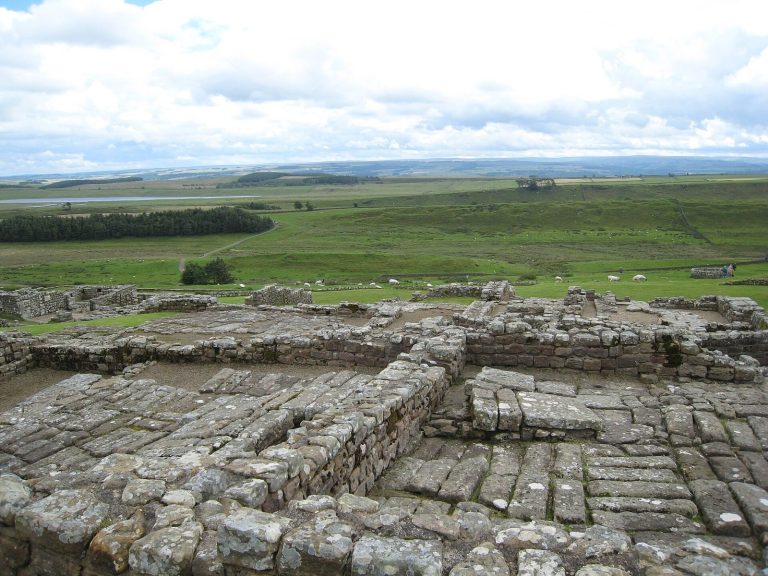
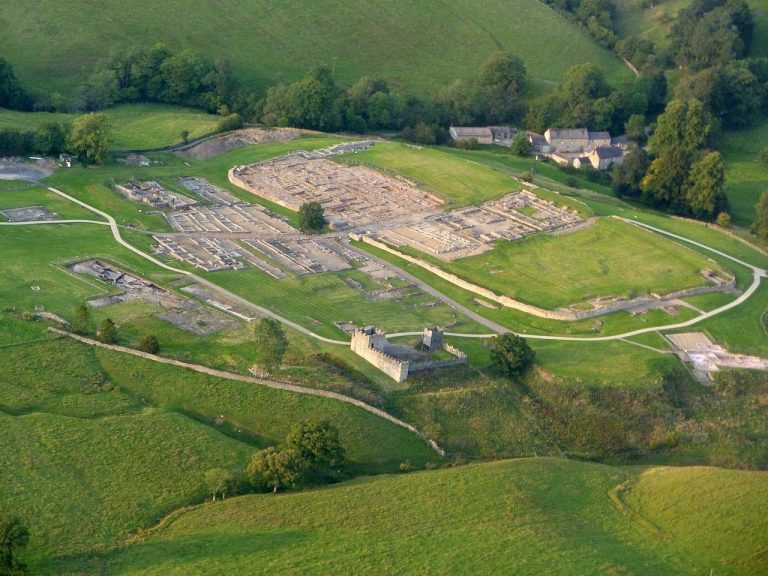
The principal forts were generally about seven Roman miles apart and accommodated roughly 500 soldiers each. Twelve were planned initially, with Carrawburgh and Drumburgh added later. Among them were Segedunum, Pons Aelius, Condercum, Cilurnum at Chesters, Vercovicium at Housesteads, Banna at Birdoswald, and Maia at Bowness. Most had a rounded rectangular plan, defensive ditches, gates, barracks, a headquarters, a commander’s residence, granaries, workshops, a hospital, ovens, and latrines. Some were attached to the wall, which formed their northern defense; others projected beyond it and often housed cavalry. Most forts had four gates, while those whose northern side was formed by the wall had a single opening through it.
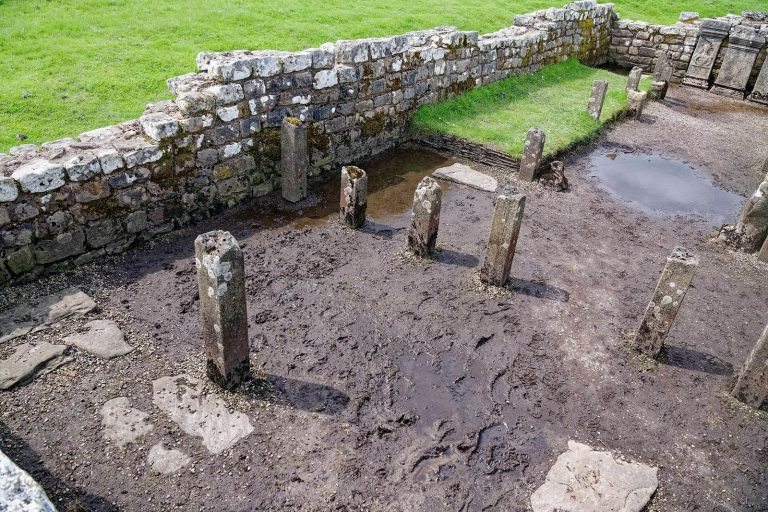
Surviving features give detail about individual forts. At Housesteads, the wall forms the northern side of the fort, and the latrine could accommodate 16 men. A granary and a latrine stand beside the southeast corner turret, while Chesters has a bathhouse. At Magnis, the northwest corner tower survives; the western wall of Housesteads and the north gate of Milecastle 37 are also among the recorded remains.
Gates, roads, and bridges
Crossings
Portgate, where the wall met Dere Street, was a fortified crossing and control point. Another wall gate stood at Knag Burn near Housesteads. Stone crossings carried traffic over the Vallum. At Benwell, an arch spanned the crossing, which could be closed by timber gates; comparable crossings have been observed near Housesteads, Great Chesters, and Birdoswald. A ditch crossing at Benwell also survives.
River bridges
Bridges carried the frontier across the Tyne, Irthing, and Eden at Chesters, Willowford, and Carlisle or Stanwix. At Chesters, an early narrow stone-arch bridge was probably replaced in the early third century by a four-arch structure 61 metres long and about nine metres high. A ramp about 12 metres wide approached it. The bridge had carefully laid squared stonework, gate towers at both ends, and stone parapets decorated with columns, statues, and small shrines. At Willowford, a three-arch stone bridge linked the western turf section to the eastern stone wall. Built in three phases, it had watchtowers at both ends; its eastern abutment survives.
Coastal defenses and settlements
Cumbrian coast
Beyond Bowness, a coastal defense system extended broadly to Maryport and possibly as far as Risehow. It probably comprised about 26 timber-and-earth milefortlets, small fortified posts, usually around 1.6 kilometres apart, with two watchtowers between them. Some towers had ditches, and traces of palisades occur in places. Six stone forts formed part of the coastal system. The Wampool and Waver estuaries interrupted its line of structures, and Maryport may have served as its garrison headquarters.
Civilian settlements
Civilian settlements grew around many forts. Their long, narrow buildings served domestic and commercial purposes, and settlements included shops, workshops, inns, temples, and sometimes bathhouses. Cemeteries generally lay beyond the forts and settlements.
Surviving remains and finds
Wall sections and inscriptions
Sections of stone wall survive at Heddon-on-the-Wall, Housesteads, Walltown, Willowford, and Birdoswald, while a stretch of turf wall remains west of Birdoswald. The south ditch can be seen at Downhill, Cawfields, and near Portgate. Other surviving features include the Sycamore Gap valley west of Milecastle 38. Inscriptions made by building units record responsibility for completed sections. Thirty-six are held by the museum at Carlisle; examples name the British fleet, Legio II Augusta, and the Fourth Cohort of Lingones. A relief found at Netherby may represent the spirit or guardian of the wall.
Decorated vessels
Several decorated bronze vessels found away from the wall preserve the names of its forts or images of its defenses. The Rudge Cup, discovered in a Wiltshire Roman villa well in 1725, lists five western forts and carries enamel decoration that includes a crenellated wall. Its original is at Alnwick Castle, with a replica at the British Museum. The Amiens Skillet, recovered at Amiens in 1949, depicts a wall and seven towers; its inscription names the forts on the Rudge Cup and also Aesica, but not Magnis. The Staffordshire Moorlands Patera, a shallow metal dish excavated in 2003, bears the names of four western forts and the phrase Rigore Vali Aeli. Its lettering was added after the vessel was made, and it is now held at the British Museum.