Forte Santa Caterina: A Habsburg Defensive Fort in Verona
Site at a Glance
- Rating
- 3.1
- Popularity
- Very Low
- Country
- Italy
- Primary era
- Modern
- Eras represented
- Modern
- Civilizations
- Austrian Empire, Habsburg
- Site type
- Military
- Remains
- Fort
On this page16 sections
History
Plans and construction
Forte Santa Caterina is a Habsburg fort in Verona, Italy, built from 1850 to 1852 as part of the city’s first entrenched camp, a fortified zone where forts and fieldworks formed a connected defense. The camp took shape between 1848 and 1856 as part of the Quadrilateral, the Habsburg system centered on Verona, Mantua, Peschiera and Legnago.
Franz von Scholl, a Habsburg military engineer, proposed three forts for a bridgehead at Santa Caterina in a plan drawn up between 1834 and 1838. Johann von Hlavaty devised a less expensive alternative: one larger fort that brought together the functions and design elements of the original scheme. Conrad Petrasch, head of Verona’s Imperial-Royal Fortifications Office, directed its construction.
The fort’s first military designation, Werk Hess, honored Baron Heinrich von Hess, an artillery general and chief of staff in Josef Radetzky’s army. Hess signed the Armistice of Salasco, the 1848 agreement that temporarily stopped fighting between Austria and Sardinia-Piedmont during the First Italian War of Independence. The Italian name Santa Caterina came from a chapel to Catherine of Siena that stood beside the road between the sixteenth-century San Pancrazio lazaretto and Porta Nuova.
A bridgehead in Verona’s defense system
Forte Santa Caterina was intended both to support defense of the Santa Lucia–San Massimo escarpment and to provide a base for offensive action. Troops could gather in a large fieldwork area between the fort and the Adige, then cross the river on a wartime bridge protected by the fort. From there, they could attack forces advancing toward the escarpment.
The fort’s guns covered the Campo del Matto, also known as Basso Acquar, Campo Marzo, the railway bridge, and the areas around Tombetta, Tomba and Palazzina. They also guarded roads leading toward Legnago and Zevio on the opposite banks. Weapons facing the fort’s rear, or gorge, side covered the San Pancrazio river bend, the Santa Caterina escarpment and the lowlands across the river toward Porta Vescovo station.
The fort served first the Kingdom of Lombardy-Venetia, a Habsburg-ruled realm in northern Italy, and later the Kingdom of Italy, the unified Italian monarchy of the nineteenth century. After a forward defensive line was added to Verona’s second entrenched camp in 1861, Santa Caterina continued to guard the double bend of the river at Campo Marzo and San Pancrazio. It remained armed and operational during the 1866 war.
Its armament included two rifled muzzle-loading guns of 9.5 centimetres, 29 smoothbore muzzle-loading guns and two mortars of 24 centimetres. The wartime garrison consisted of 525 infantrymen and 100 artillerymen, with provision for as many as 660 men in an emergency. Ammunition reserves included 520 barrels of powder, each weighing 112 kilograms.
Military use and decline
Between the world wars, the fort remained in military hands and served as a training ground for personnel working with explosives. Repeated blasts partly dismantled the structure. Near the end of the Second World War, an explosion at a nearby ammunition depot inflicted further severe damage.
After its military use ended, the fort was abandoned. Motocross activity in the 1970s brought further damage and changes to the site, followed by a long period of complete neglect. Later recovery and maintenance work returned the fort and its grounds to public use for cultural and leisure activities.
Remains
Set on the Santa Caterina terrace beside the Adige, on the river’s right bank, the fort was adapted to the escarpment above the San Pancrazio bend. Its broad, symmetrical plan took the form of a lunette, a projecting fort with two faces and two flanks. The sides angled outward toward the main front, while rounded shoulders met the straight rear front facing the river. Dry ditches organized the interior around a principal fighting work, two flanking works and a rear redoubt. Surviving masonry includes carefully laid polygonal tuff facing.
Central works and access
Principal redoubt
The principal redoubt, a fortified defensive work, had a curved outline and a central courtyard. Its design developed the form of a circular artillery tower on a larger scale. The structure had one storey and an earth-covered roof arranged for artillery in the open. A long ramp, carried on arches, rose from the court to the gun positions. Below, vaulted enclosed gun positions shared the ground floor with garrison rooms and two powder magazines.
Gorge redoubt
A smaller redoubt projected from the centre of the rear, or gorge, front. It had a single storey beneath an earth-covered artillery roof, with accommodation for soldiers, a powder magazine and enclosed gun positions. Straight, low structures joined the two ends of the principal redoubt to this rear front.
Portals and side courts
Four arched entrances with rusticated stonework and drawbridges pierced the gorge front. The two central entrances led into the principal redoubt’s large court. The other pair opened into side courts, which could also be reached from outside. Further entrances and drawbridges linked those courts across the large ditch in front of the principal redoubt.
Orillons
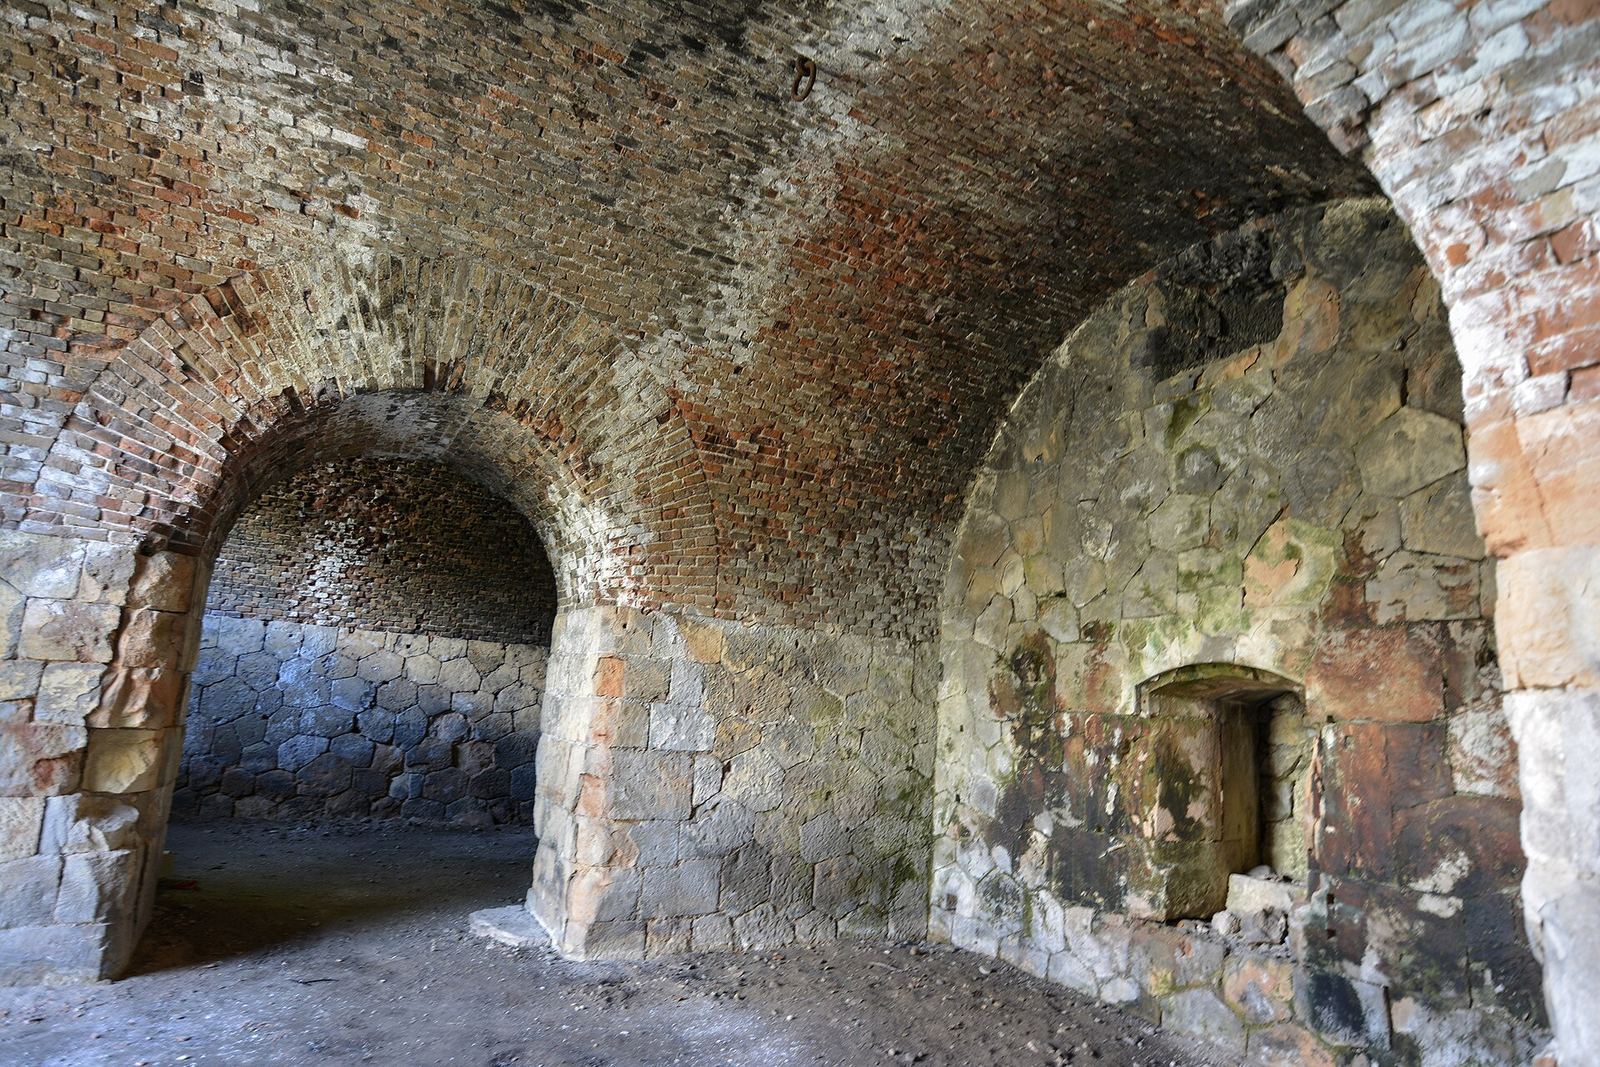
The side courts gave access to courts within the two orillons, rounded flank projections that shielded gun positions. A defensive wall pierced by rifle loopholes divided these works from the adjoining areas. Each orillon had two levels of fire: the earth-covered roof accommodated riflemen and occasional artillery, while ground-floor casemates, vaulted enclosed gun rooms, housed guns for close-range defense along the flanks. Their vaulted interiors also contained soldiers’ quarters and a powder magazine.
Fighting positions and outer defenses
Inner fighting work and caponier
The principal fighting work enclosed a broad inner courtyard and consisted of an earthwork with artillery positions. A large internal ditch separated it from the redoubt and interrupted the earthwork along the flanks. Removable wooden bridges linked the gun positions to the orillons across this ditch.
From the central point of the main front, a caponier, a protected work designed to fire along a ditch, projected toward the outer defenses. It had gun openings and rifle loopholes. A small passage, or postern, led to it from within the fort. Powder magazines and two branches of rifle galleries behind the faces of the main projection provided additional firing positions.
Ditch, glacis and fieldworks
A dry ditch encircled the fort. A high scarp wall faced the earthwork, while the opposite counterscarp was made from naturally sloping ground, with masonry facing beside the caponier and orillons. Along the main front and flanks, a glacis, or sloping outer bank, descended from the ditch’s outer crest toward natural ground.
Two lines of earth fieldworks outside the gorge front bounded a large assembly area for troops arriving from the opposite bank. Counterattacking troops could leave through two side openings in the fieldworks or use ramps from the ditch in front of the orillons. The outer fieldworks were later levelled, in part during the late nineteenth-century straightening of the Adige.
Water, construction and surviving fabric
Wells
Five wells supplied water reserves. One, with two shafts, lay beneath the principal redoubt’s ramp. Each orillon court held another, and two more stood in the inner courtyard near the earthwork.
Masonry and surviving remains
The fort’s stonework includes high-quality tuff blocks set in polygonal patterns. Sloping courses of rough cobble masonry line parts of the counterscarp beside the caponier and orillons, using a building tradition associated with the Scaligers, Verona’s medieval ruling family.
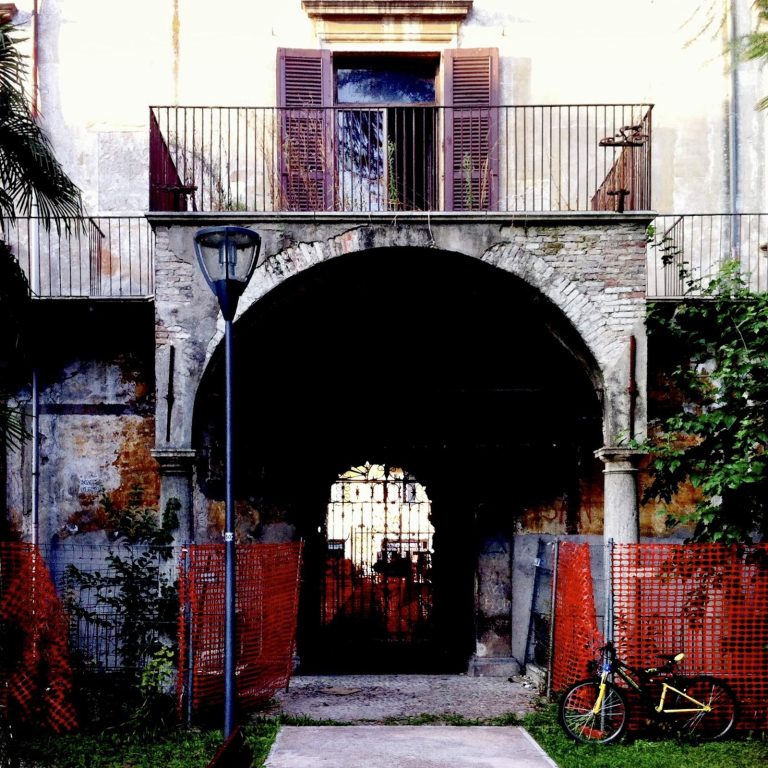
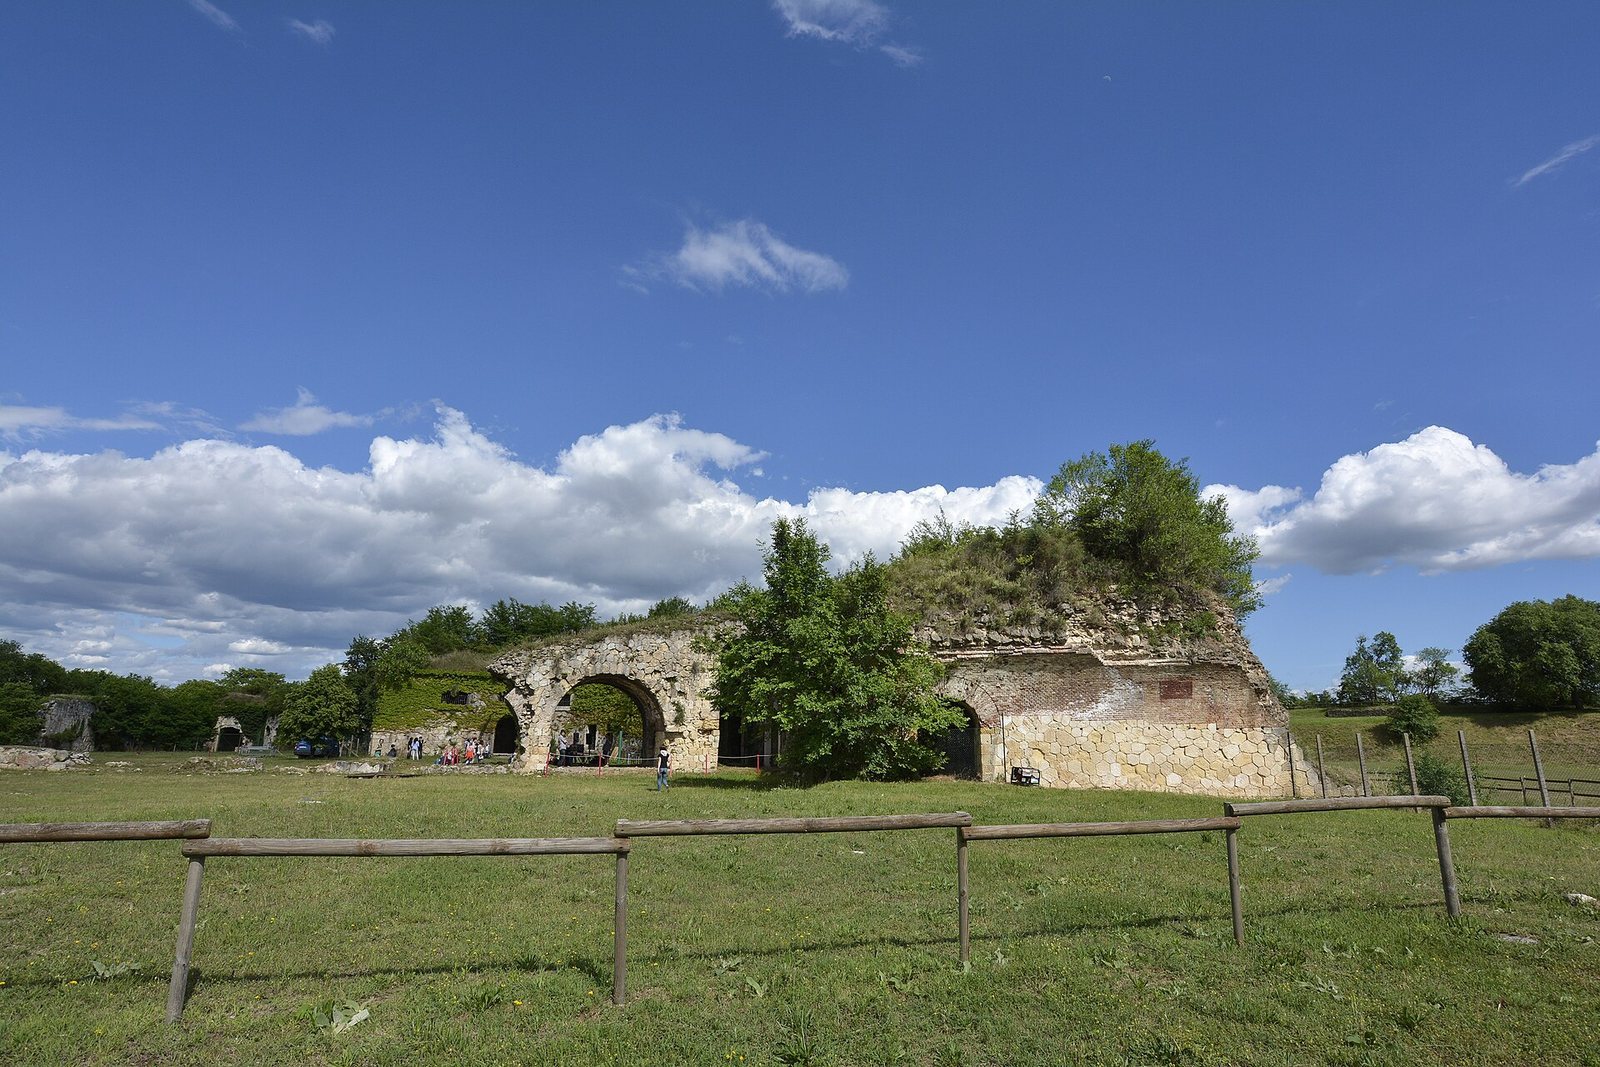
The fort now survives in ruins. Part of the principal redoubt, its connecting structures and a section of the artillery ramp have been lost, as have stretches of the gorge front and its four entrance portals. Sections of the postern and caponier are also gone. What remains still conveys the fort’s extensive layout and the relationships among its principal defensive works.