Aesepus Bridge: A Late Antique Roman River Crossing
Site at a Glance
- Popularity
- Medium
- Country
- Turkey
- Primary era
- Classical
- Eras represented
- Classical, Medieval
- Civilizations
- Byzantine, Roman
- Site type
- Infrastructure
- Remains
- Bridge
On this page10 sections
History
The Aesepus Bridge is a late antique Roman stone bridge over the Aesepus River, now called the Gönen Çayı, in Gönen district, Turkey. Late antiquity describes the transition from the Roman world to the early medieval period. The bridge carried a road through Mysia, an ancient region in northwestern Asia Minor, to the coastal city of Kyzikos.
Roman road and early dating
Parts of the road remained a preferred route between Bandırma and Boghashehr in the nineteenth century. Frederick William Hasluck published the earliest investigation of the bridge in 1906. Comparing its hollow-chamber construction with the White Bridge, the Makestos Bridge, and Constantine’s Bridge, he assigned the group to the early fourth century, during Constantine the Great’s rule from 306 to 337. This was the period when Byzantium became the capital of the Eastern Roman Empire.
Proposed Byzantine rebuilding
Another interpretation sees the alternating brick and stone courses in the arches as evidence of rebuilding in the early Byzantine period, the first centuries of the Eastern Roman Empire. Galliazzo placed this work probably in the second half of the fifth century or the first half of the sixth, during Justinian I’s reign from 527 to 565. He considered the pier foundations and the abutments with their smaller arches to be Roman with greater certainty.
Remains
Setting and overall layout
The bridge crosses the Aesepus River near the point where its narrow valley opens onto a broad plain at the river mouth. It stands about 8 km north of Sarıköy and 5.6 km upstream from the Sea of Marmara. The stone structure is approximately 158 m long and 5.60 m wide, with four main arches and seven smaller openings used as floodways. The third and seventh openings each span about 12.20 m.
Bridge structure
Main arches and hollow chambers
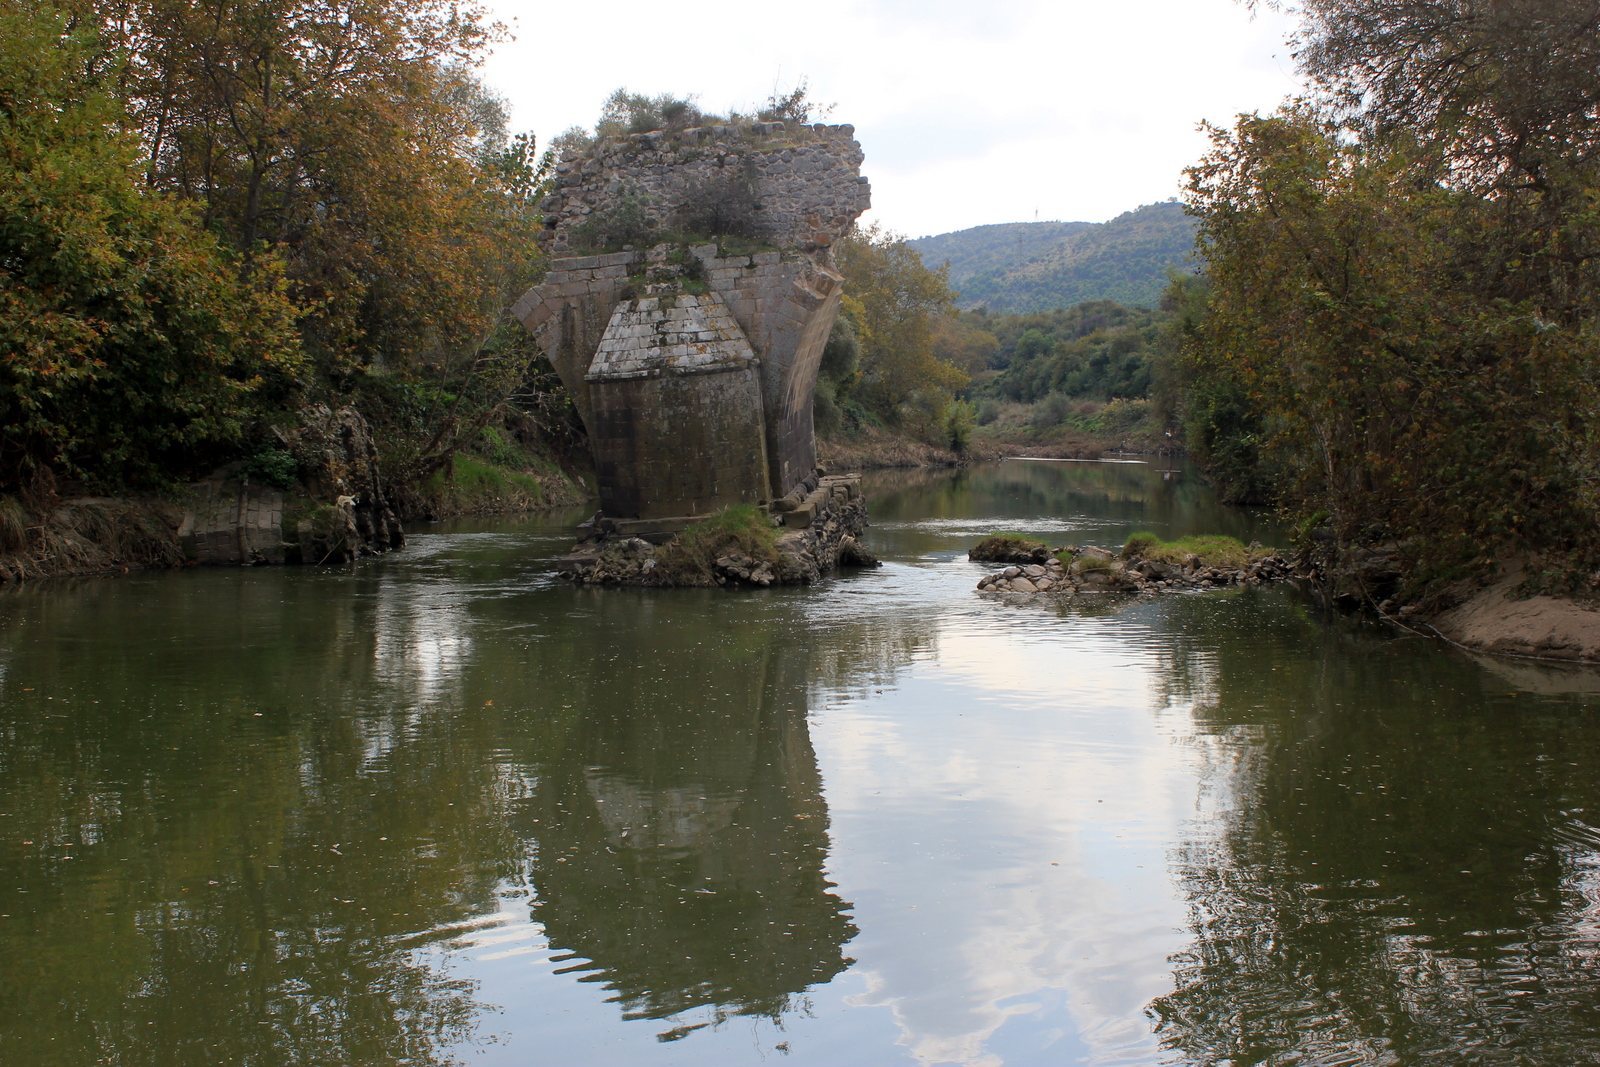
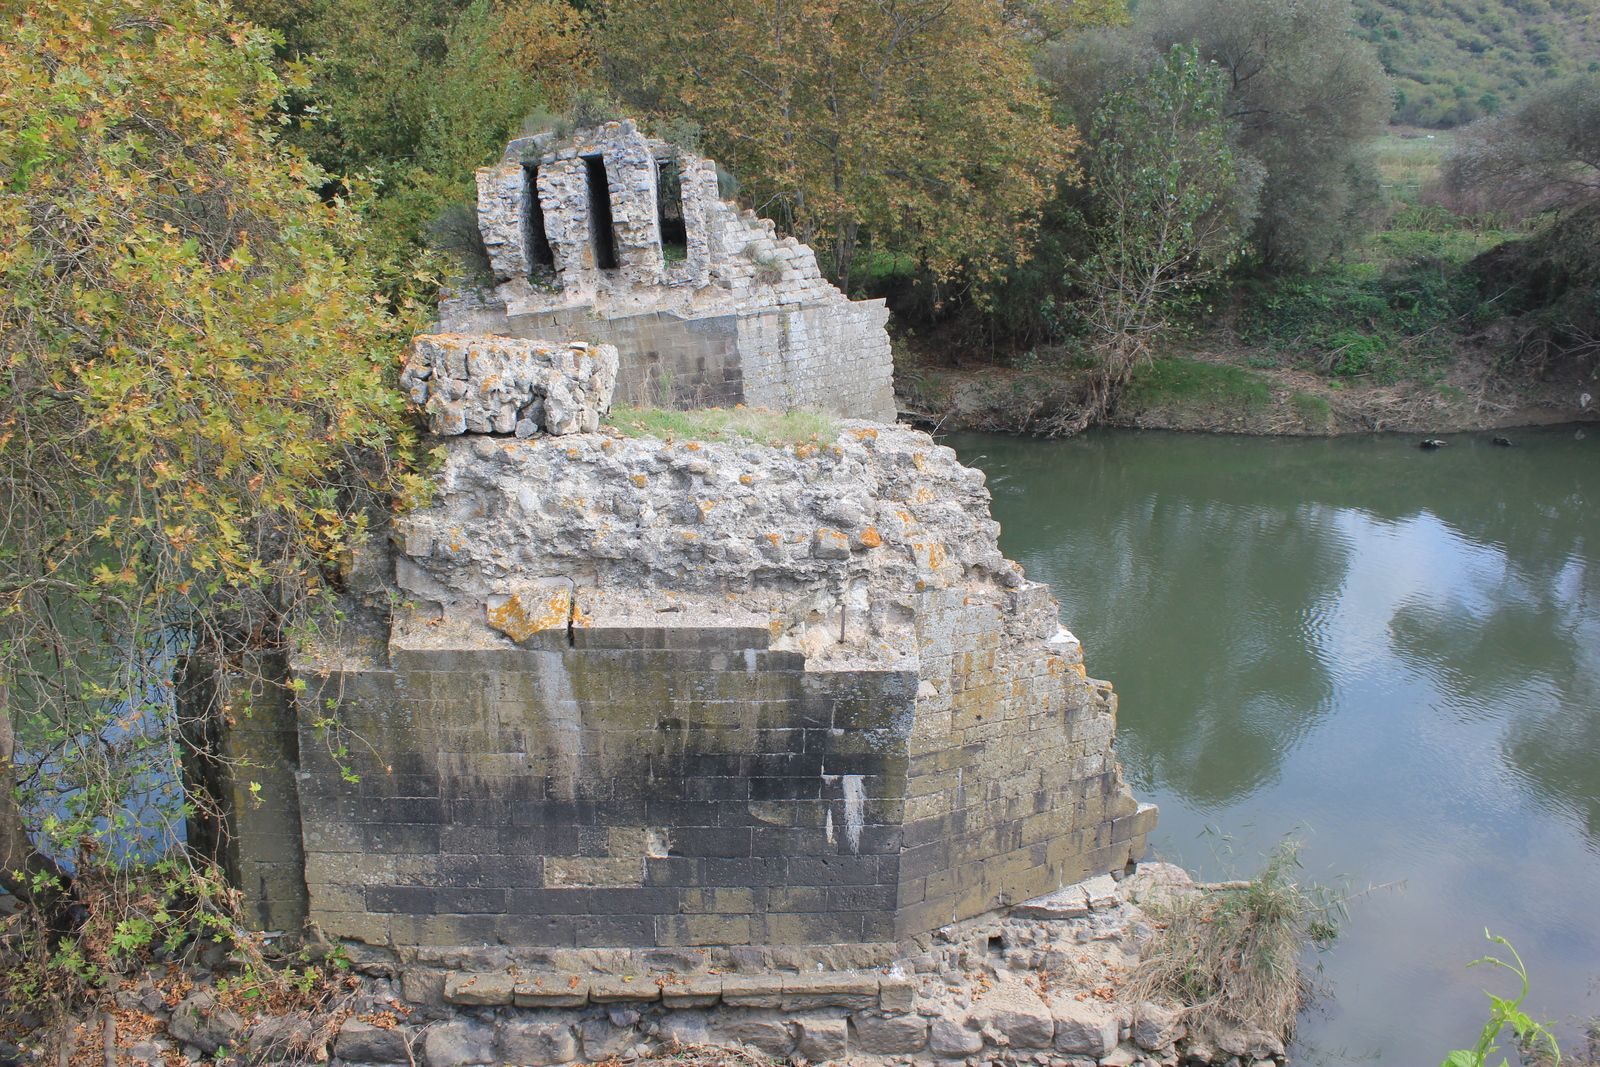
Four parallel, narrow cavities run through the upper parts of the piers beneath the roadway. This hollow-chamber design reduced the weight carried by the arches. Pointed cutwaters, projections that deflect the river current, protect the piers on both sides. The outer facing, including the cutwaters, consists of granite blocks, while rubble set in mortar fills the interior.
Roadway and surviving condition
Large stones, some squared, formed the roadway surface and rested on slabs above the cavities. Parts of the Roman road retained paving made from rounded stones 13 to 15 cm deep. At Hasluck’s visit in the early twentieth century, all four main arches had collapsed, but both approaches, nearly all the piers, and seven smaller arches still stood. Today, two pier stubs can be identified in the riverbed, while the condition of the rest of the bridge is difficult to determine.
Western abutment
The western end support, or abutment, is short because the river runs close to the valley’s western slope. Its two arched openings were built of brick, and one has a semicircular shape. The outer arch stones alternate between stone and brick.
Eastern ramp and roadside features
The eastern ramp extends for 58 m and rests on five arches that decrease in size. Hasluck proposed a ninth arch beneath vegetation, though this reconstruction was uncertain. Near the approach, the road forks around the remains of a brick exedra, an open or recessed architectural space often curved in form. A cylindrical stone 80 cm high stands beside it and may have marked repairs.