Bradleys Head Fortification Complex: Sydney Harbour Defences and Naval Memorial
Site at a Glance
- Country
- Australia
- Primary era
- Modern
- Eras represented
- Modern
- Civilizations
- British
- Site type
- Military
- Remains
- Fort
On this page18 sections
History
Bradleys Head Fortification Complex is a coastal defence site and naval memorial on Sydney Harbour in Australia. Its first battery was completed by the colonial government of New South Wales by 1842, and later works made the headland part of Sydney’s changing harbour defences. The complex also preserves the story of HMAS Sydney I and its foremast, installed here as a memorial.
Colonial harbour defences and the first battery
Early colonial batteries at Dawes Point and Bennelong Point guarded the entrance to Sydney Cove. Marines who arrived with the First Fleet manned them until soldiers of the New South Wales Corps, a British Army regiment stationed in the colony, arrived with the Second Fleet in 1790. In 1801, Governor Philip Gidley King established additional batteries at Garden Island and Georges Head during the Napoleonic Wars, major European conflicts that renewed concern about coastal defence. Work on Fort Phillip began on Observatory Hill in 1804, and the fort received its name in 1805. Governor Lachlan Macquarie later concentrated the settlement’s defences at Fort Phillip, Dawes Point and Bennelong Point. These positions remained the backbone of the system until the 1840s.
On 30 November 1839, two American warships entered Sydney Harbour without warning. Although their visit was described as a courtesy call, it exposed the settlement’s vulnerability and sharpened concerns about its distance from Britain and its wealth. Governor George Gipps’s engineer, Captain George Barney, proposed stronger defences, including batteries and permanent blockhouses, which were small isolated forts, at several colonial ports. Work began at Bradleys Head and Fort Denison in August 1840, using convict labour. The British Board of Ordnance, responsible for military weapons, fortifications and stores, rejected a funding request that October, then approved a later application in March 1842.
Construction at Bradleys Head from 1840 to 1842 produced a gun position and firing wall. Muzzle-loading 24-pounder guns, loaded through the front of the barrel, had been installed by 1840. By 1850, Bradleys Head was the only completed battery among three proposed after the 1839 alarm. Its sandstone wharf brought soldiers’ equipment and supplies from Circular Quay, and the stockades used to house convict workers were later removed.
Expansion and changing defence policy
Plans for batteries at Inner South Head, Middle Head and Georges Head were drawn up in 1853, with work starting later that year. The Crimean War, a major conflict that renewed concern about Sydney’s security, prompted further planning. Governor William Denison’s revised 1855 scheme prioritized positions nearer the city, including Fort Denison, Dawes Point, Fort Macquarie, Kirribilli Point and Mrs Macquarie’s Point. The plan was approved, and its works were virtually complete by 1858. Bradleys Head’s earlier fort stopped operating in 1859.
After the last British troops left the colony in August 1870, New South Wales had to maintain its own defences. Government reports in 1865 and 1870 had already emphasized an outer line of defence, and new works at Bradleys Head began in late 1870, above the earlier emplacement. Under Colonial Architect James Barnet, the position grew to include gun sites, a riflemen’s gallery and connecting tunnels, trenches and passages. Guns were in place by 1871, and a sandstone barracks was added under Barnet’s direction.
British military engineer Sir William Jervois recommended improvements to weapons and facilities in 1875. Work on the outer defences and their armaments continued through the 1880s. Breech-loading guns, loaded from the rear of the barrel, were installed at many harbour positions during the 1880s and 1890s. Bradleys Head ceased operating as a fort in 1903. By the outbreak of the First World War, the inner defences, including Bradleys Head, were largely inactive, although only minor improvements to weapons were needed to maintain the outer harbour positions.
During the Second World War, Sydney’s harbour defence depended on coastal batteries facing the sea. The inner-harbour positions were dismantled after the war. By 1961, jet aircraft and guided missiles had made coastal batteries obsolete, and many former military reserves passed to the New South Wales National Parks and Wildlife Service for conservation and public recreation. Bradleys Head now serves as a war memorial and recreational area. The complex was added to the New South Wales State Heritage Register in 2010 for its evidence of changing harbour-defence policy and technology, the rarity of the completed fort, and the naval memorial’s importance.
HMAS Sydney I and the memorial mast
HMAS Sydney I was a Chatham-class light cruiser, a relatively fast warship used for duties such as patrol and escort. Built in Glasgow and delivered to the Royal Australian Navy in 1913, it first served in New Guinea and Pacific waters. In October 1914 it escorted the first Australian troopship bound for the Middle East. On 9 November, it was diverted to answer a distress call from Direction Island in the Cocos Keeling Islands. There it defeated the German raider SMS Emden, which ran aground on Keeling Island. The encounter was the Royal Australian Navy’s first ship-to-ship engagement and victory. It became a source of national pride, not least because Emden had intended to attack the troop convoy.
From September 1916, Sydney served with the Royal Navy’s Grand Fleet, its principal fleet during the First World War, in the North Sea. It carried out patrol, escort and screening duties. On 4 May 1917, the German airship L43 dropped ten to twelve bombs on the cruiser but did not hit it. Sydney returned heavy anti-aircraft fire, and the airship escaped undamaged. Later that year, the ship received an aircraft-launching platform and a Sopwith Ships Pup fighter. On 1 June 1918, a fighter launched from Sydney destroyed a German reconnaissance aircraft. The cruiser attended the German High Seas Fleet’s surrender on 21 November 1918, returned to Australia on 19 July 1919 and continued routine fleet service until it was paid off in 1928.
The memorial mast is Sydney’s former foremast. Installed aboard the cruiser in 1917, it replaced a timber mast whose rigging collected ice during North Sea patrols. The rigging also added weight and reduced the ship’s stability. The steel mast was aboard for the German fleet’s surrender, but it was not on Sydney during the 1914 battle with Emden. After the cruiser was decommissioned and broken up at Cockatoo Island, the mast was removed in 1928.
In 1934, the Mayor of Mosman purchased the mast and had it erected astride the earlier fortifications as a memorial to those killed in the Emden action. Local resident Norman Ellison had proposed the installation, which gained support from local, charitable, historical, naval and military associations. The dedication was arranged around the visit of the Duke of Gloucester; a plaque gives the date as 24 November 1934. On 12 November 1964, the mast was rededicated to all who served in the Royal Australian Navy and to the nineteen naval ships lost in service. Trees were planted for HMAS Sydney II, HMAS Perth and HMAS Canberra, lost in 1941 and 1942. A further memorial with plaques was installed opposite the mast in 1991 for those who served aboard the HMAS Sydney ships and those who died in service. A separate HMAS Sydney memorial followed in 1996.
In June 2007, the Royal Australian Navy announced that Australian and foreign naval vessels entering Sydney Harbour would render ceremonial honours to the mast. Crews stand at attention while it is piped, or saluted with a prolonged boatswain’s whistle. A ceremonial Australian White Ensign began flying there permanently in December 2007. The Navy regards the mast as Australia’s premier naval monument and the only Australian memorial that passing naval ships are required to honour. The ceremony is considered comparable in importance to honours paid by passing ships to HMS Victory at Portsmouth.
Remains
The complex occupies the rocky tip of Bradleys Head, where successive fortifications were cut into sandstone or built from sandstone blocks. The earlier battery lies below later gun positions, which were constructed higher on the headland. Trenches and a defensive ditch divide parts of the later works, while the memorial mast stands at the southern tip, across the earlier fortification.
Early batteries
1840–42 battery
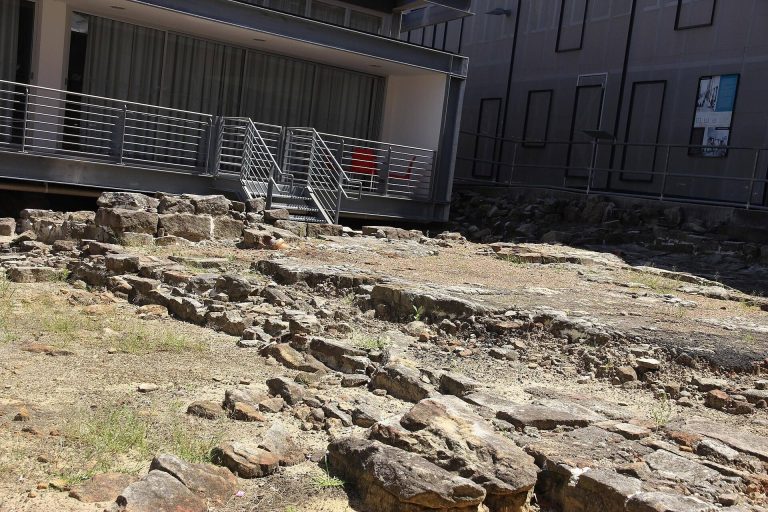
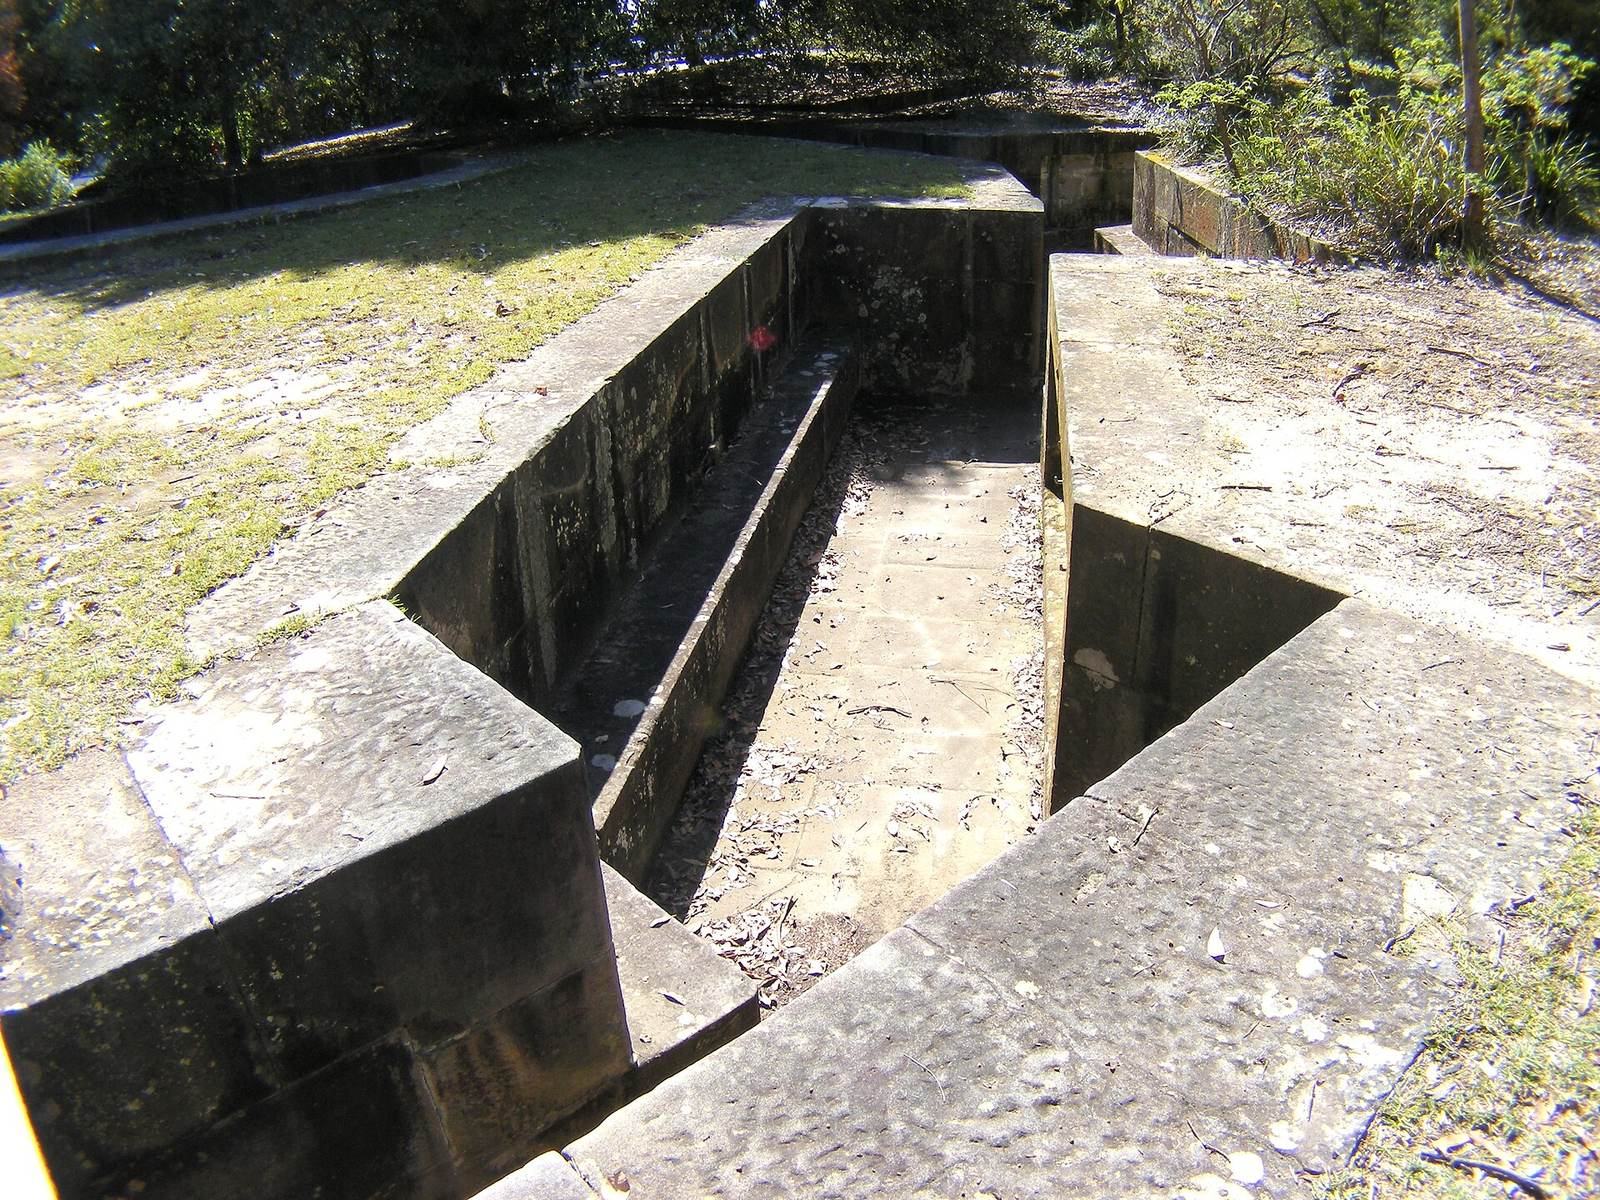
The first battery was cut into sandstone bedrock at the headland’s tip. Its eastern end held a gun pit designed to fire over the protective wall. About half of the semicircular parapet was cut from bedrock, with the remainder built from sandstone blocks. The parapet measures 38.83 metres along its inner face and 23.4 metres across the arc. Its top slopes, while the outer surface is rough apart from limited stone dressing intended to make climbing difficult. A firing step runs along its base; the level inner area and a rear wall also survive. A later two-metre extension at the western end is made of poorer stonework and cement. The parapet and firing step remain visible.
Section identified as the 1854 fort
This section has a small circular projecting defensive position at its eastern end, as well as a surviving parapet wall and firing step. A circular depression in the floor marks the pivot for a gun carriage. The mortar in the parapet is soft and contains shell and rounded quartz grains. Mortar in the projecting position is harder and similar in colour, but its visible composition differs; its stonework is also executed differently and appears poorer in quality.
Later gun positions and support works
68-pounder battery
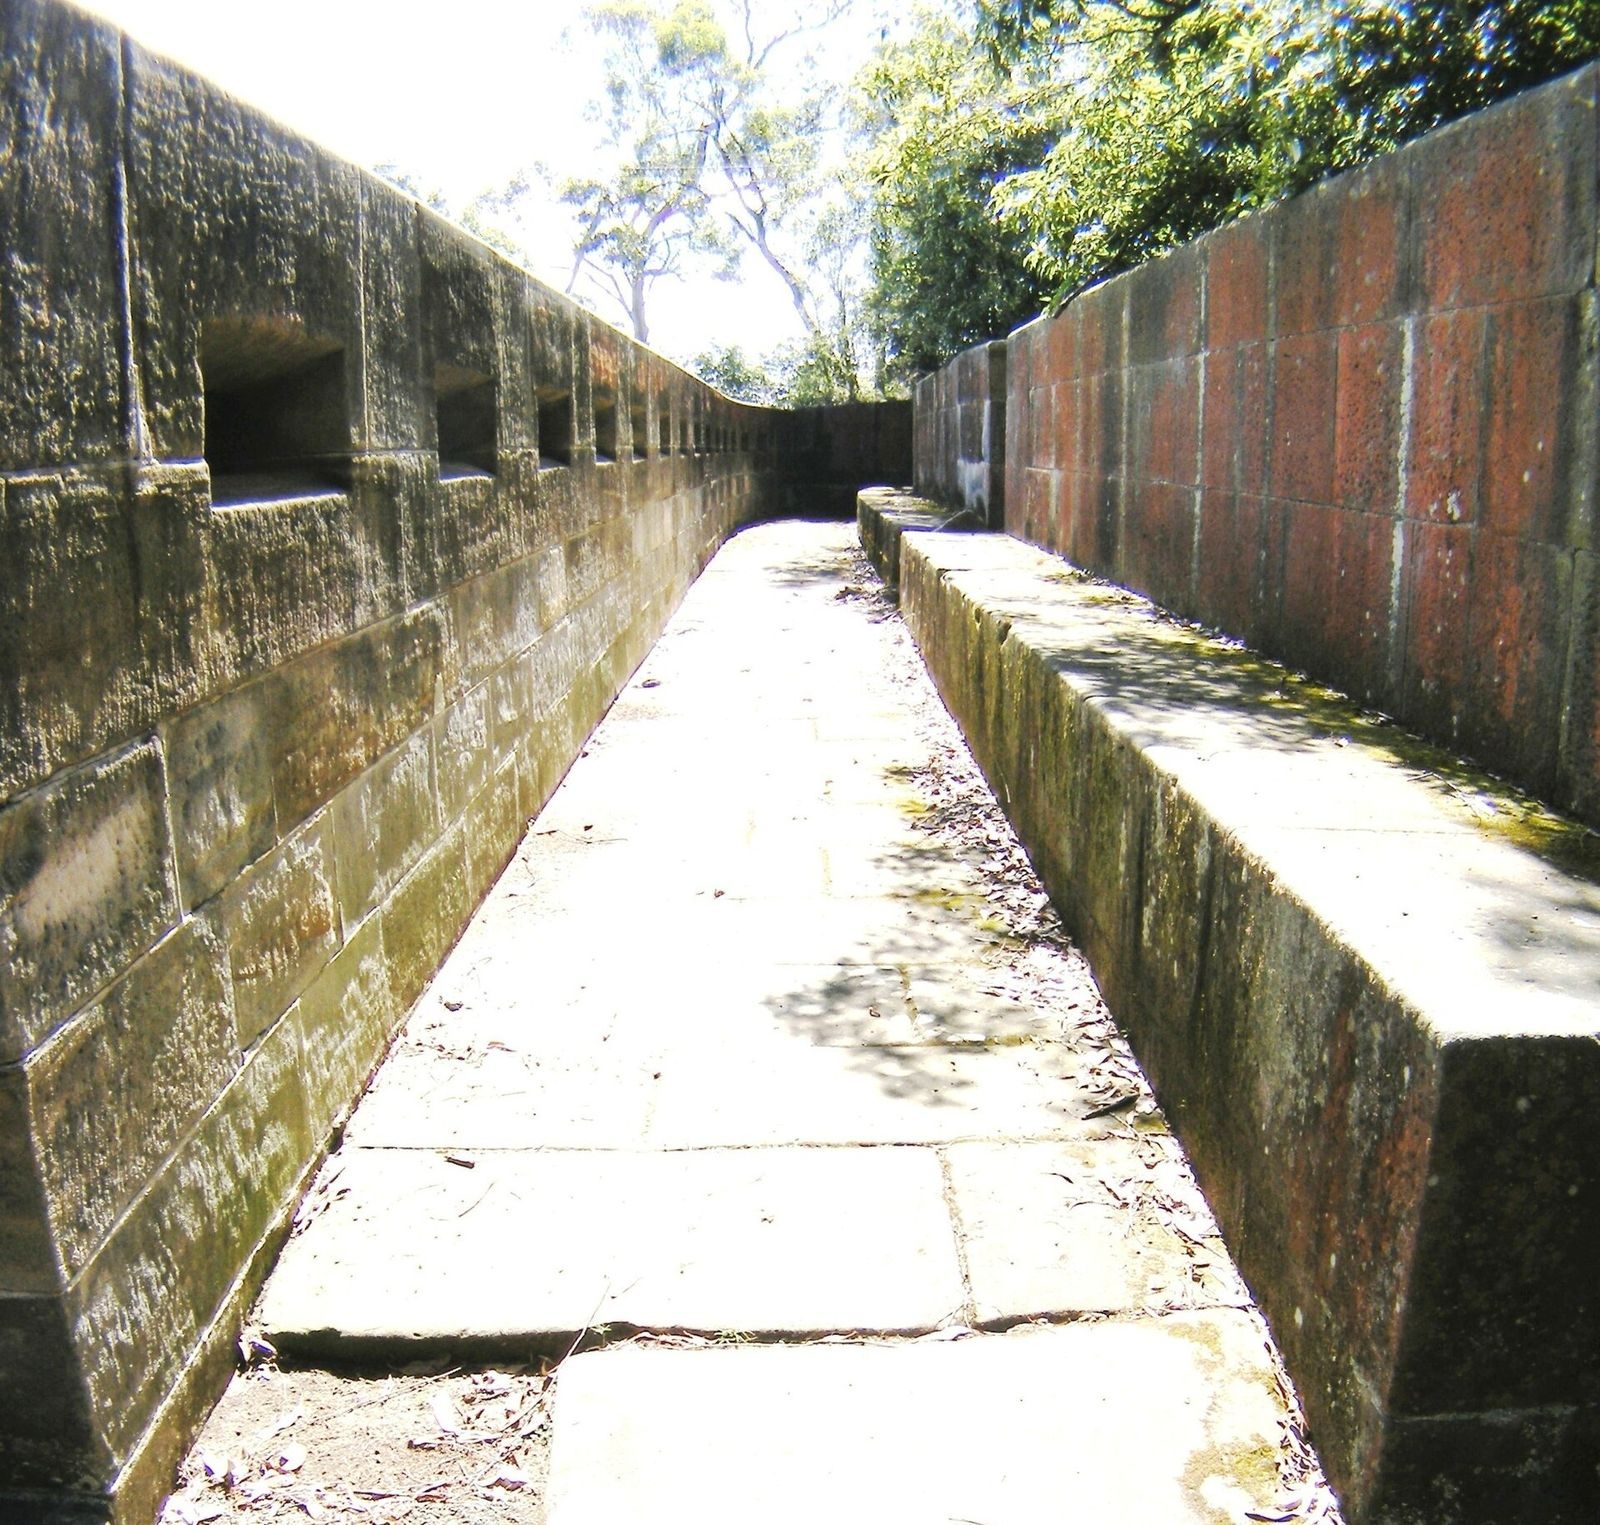
The battery comprises five circular gun pits linked by open trenches cut into bedrock or built up in stone. Each pit is 6.18 metres in diameter and contains two circular tracks, 5.48 and 2.20 metres across, on which a gun platform could turn. Five recessed pulley rings are set into each pit wall, and each pit carries the cut inscription "V R 1871." Iron fittings are generally complete, and recesses for gun arms and equipment remain. The pits held 68-pounder guns on turning platforms. One platform appears to be original, although its original position is uncertain; two others are replicas.
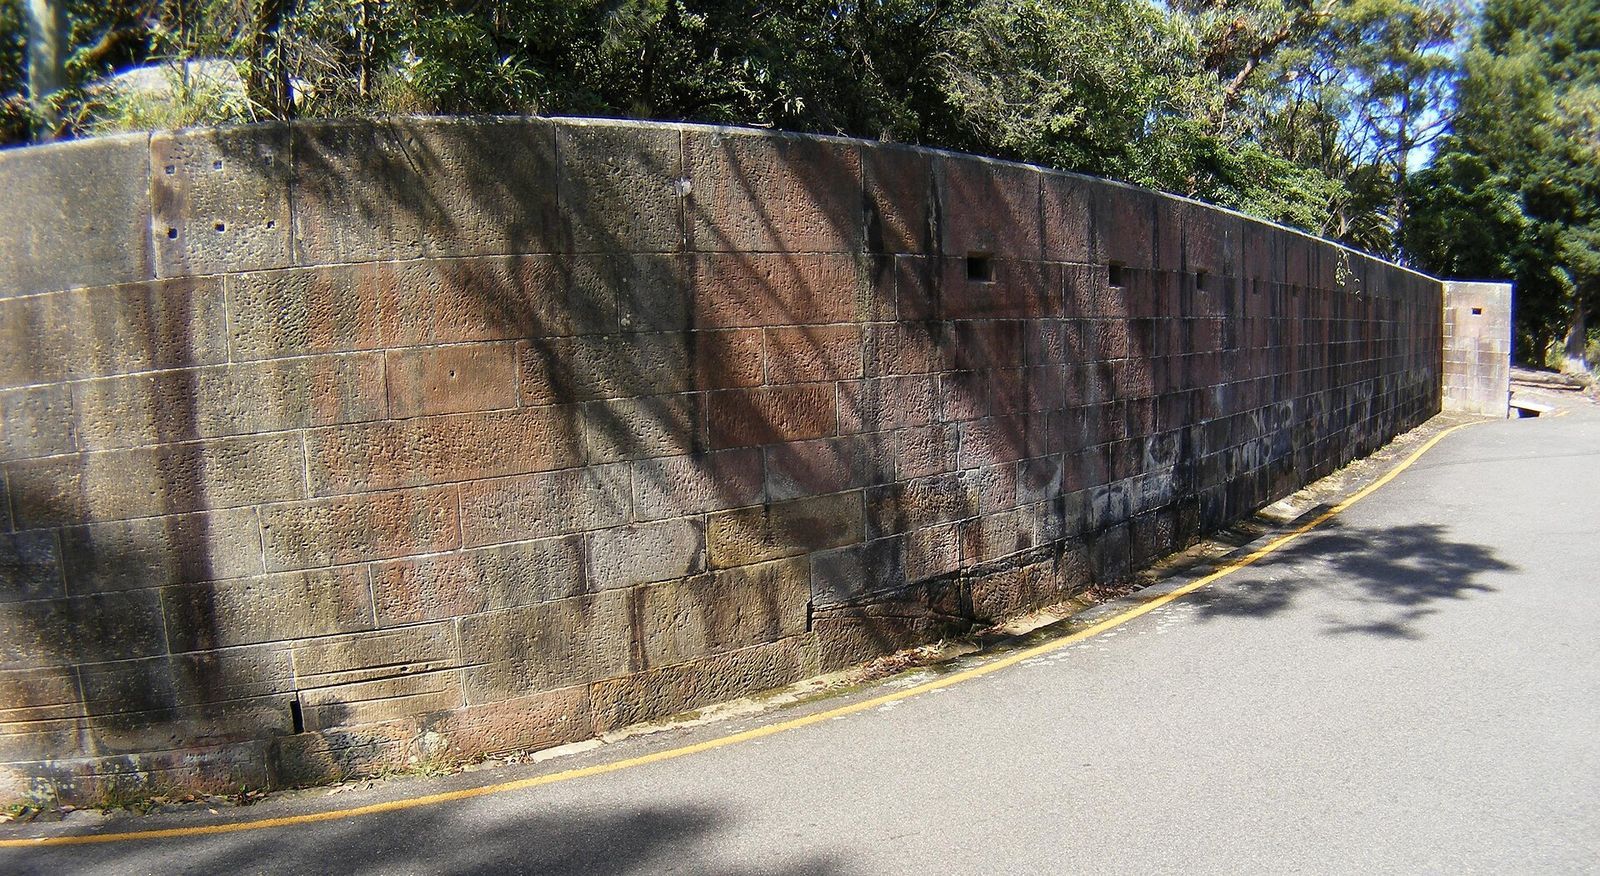
A well-cut, L-shaped sandstone wall with fifteen openings for rifle fire guards the northern road entrance. The underground entrance is roofed over, and later landscaping lowered the surrounding ground below parapet height. Paths run around the gun pits.
Defensive ditch and blockhouse
A ditch, probably part of the 1871 works, cuts through bedrock and soil to separate the battery from the rest of the headland. It averages about six metres wide at the top and is approximately four metres deep, with some variation in width. Northeast of the battery, a blockhouse cut from sandstone stands within the ditch and commands two stretches of it.
Barracks and water supply
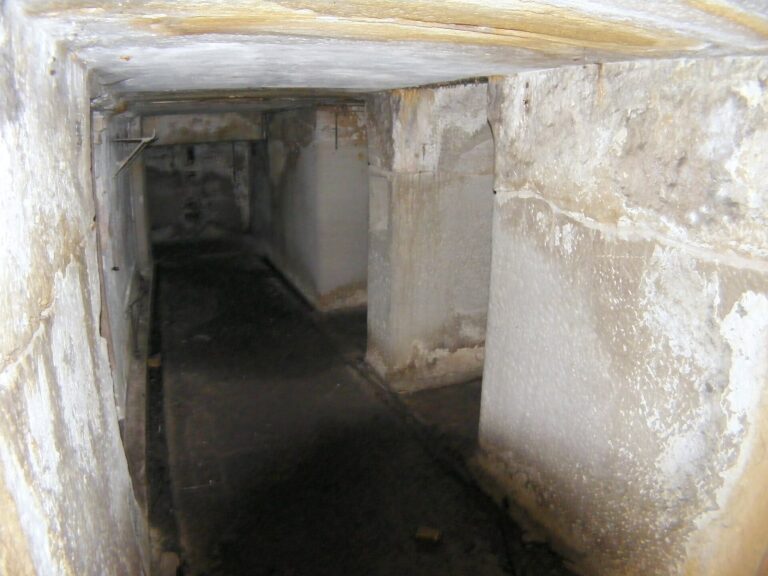
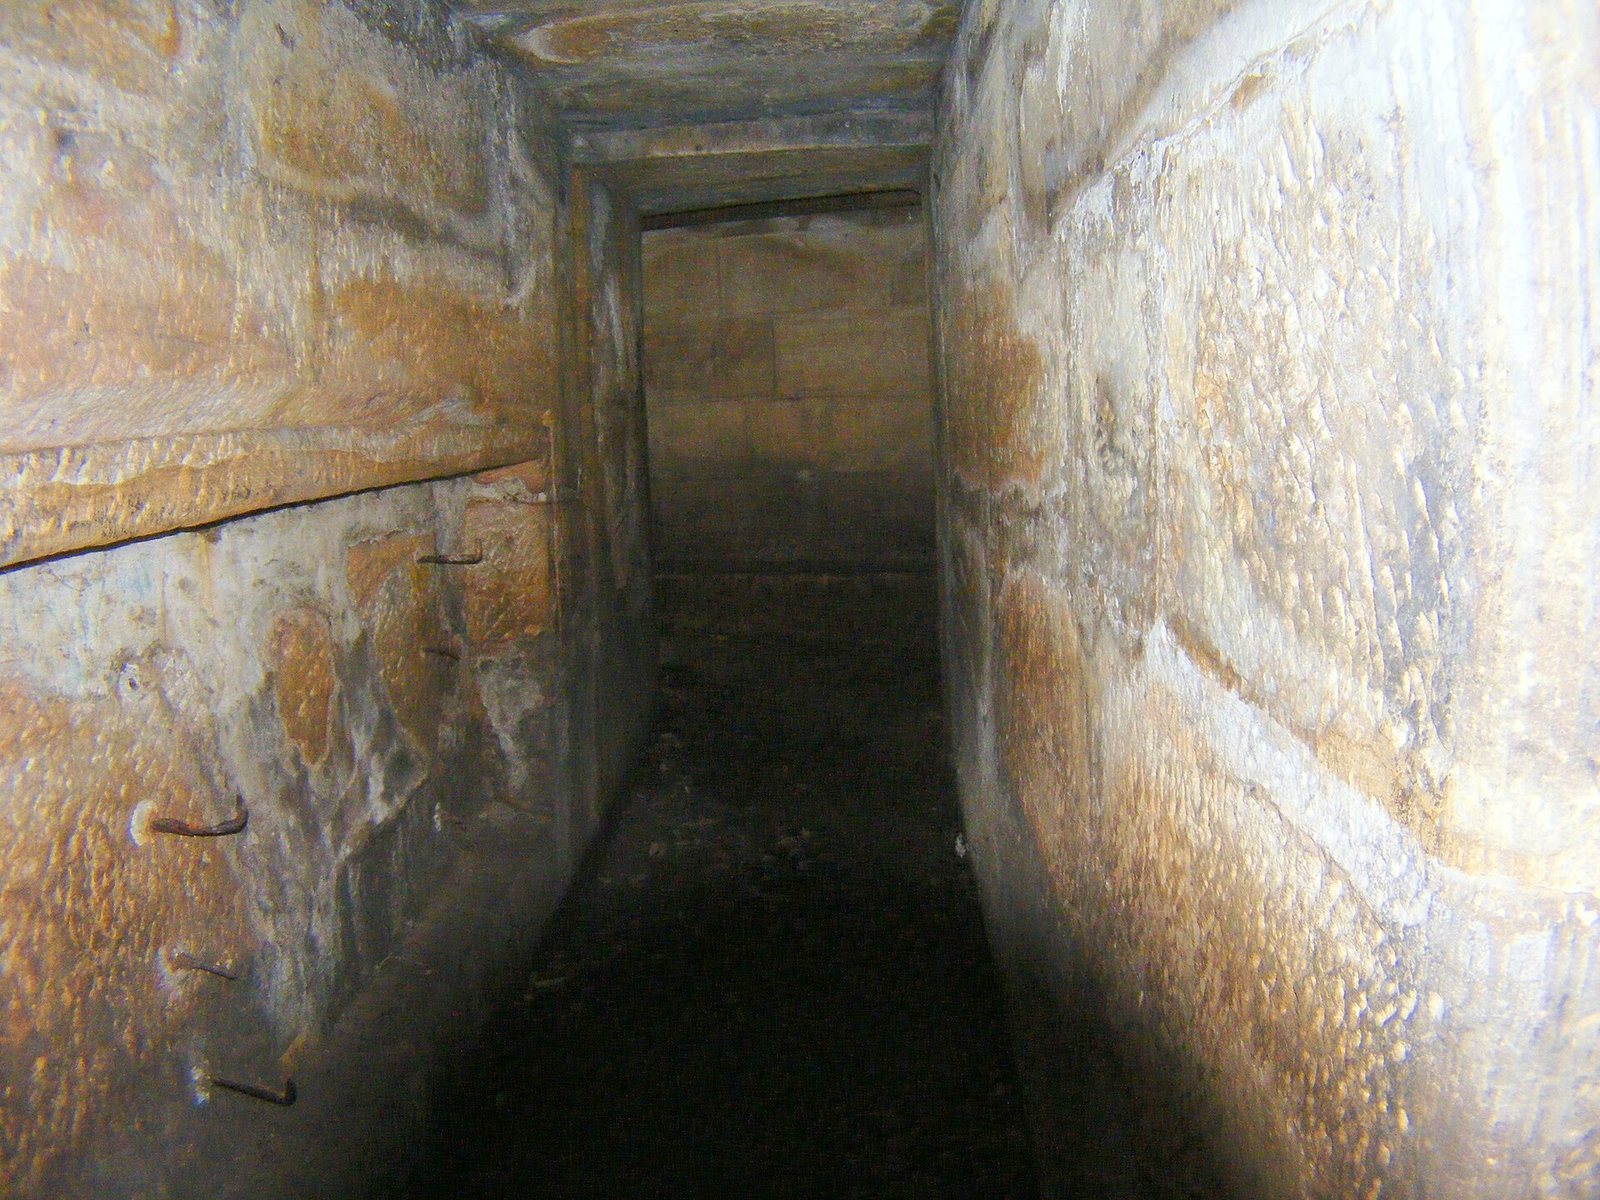
The 1871 barracks were built from large sandstone blocks and partly cut into the headland’s natural rock. The surviving spaces include a corridor and a deeper room, with a trench leading towards the gun platform and underground rooms. Near the battery, a cement patch with an iron cover probably marks the remains of an early water tank.
Wharf
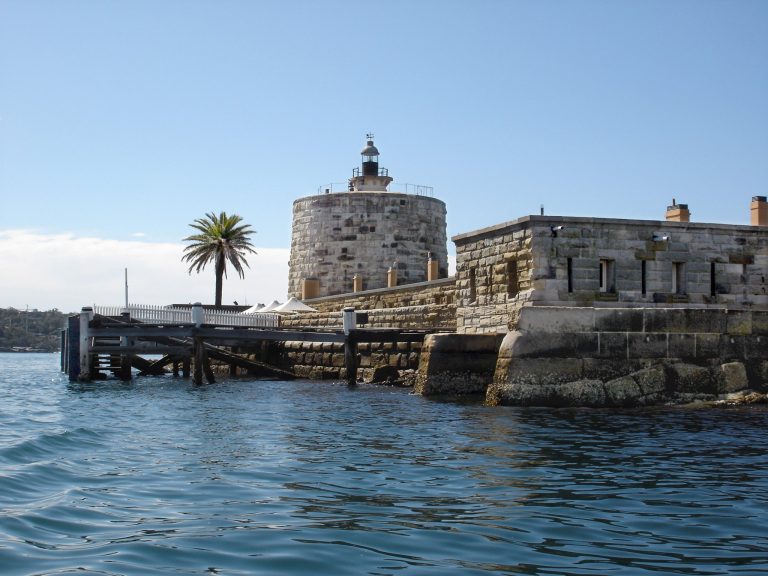
A sandstone-rubble structure with a concrete deck occupies the site of the original wharf, which connected the headland with the city and carried materials to Bradleys Head.
Memorial mast and associated features
Mast
The mast stands in a curved landscaped area between the harbour shore to the south and Bradleys Head Road to the north. Across the road are a car park, bushland and surviving fortifications. About 17 metres high, the mast is a riveted mild-steel tripod supporting a sheltered gun-direction platform and a raised observation post. Its framing uses riveted bulb-shaped steel sections reused from scrap, and its deck is welded steel plate. Deep brackets on the tripod legs remain from the mast’s former attachment to the ship; the irregular metal around them is prone to corrosion.
A topmast and flag-hoisting crosspiece were fitted in 1993, with lines for raising flags rigged from the crosspiece. Steps lead to a viewing platform at the base. Two shortened naval-style steel ladders provide access, their form indicating that they could once be stowed. Four lights installed on the structure illuminate the mast at night.
Plaques, trees and ship memorial
Two metal plaques on the mast name the four HMAS Sydney crew killed in the Emden action: Petty Officer P. Lynch, Able Seaman R. Sharp, Able Seaman A. Hoy and Ordinary Seaman R. Bell. Another plaque records the 24 November 1934 dedication by the Municipality of Mosman and Ashton Park Trust, and names Mayor D. Carroll and chairman Colonel Alfred Spain.
Three brush box memorial trees stand near the pedestrian path, each on a small sandstone base with a plaque for HMAS Sydney II, HMAS Perth or HMAS Canberra. The original Canberra tree died and was replaced. Nearby, a memorial to the four HMAS Sydney ships consists of four circular bronze plaques set into a square of pink and white granite. A cross aligned with the mast divides the square, and four raised pink-granite nameplates identify the ships.
Harbour markers
A stone column from the old Sydney Post Office stands nearby, exactly one nautical mile from the tower of Fort Denison. North of the site, an offshore electric beacon and foghorn date to 1905. They were originally powered by a submarine cable from the Fort Macquarie electric light station.
Repairs and condition
The mast was taken to Cockatoo Island for repairs on 29 May 1964 and re-erected six weeks later. In 1993, its topmast and flag-hoisting crosspiece were replaced, and the structure was repainted in place. Work in 2000 included further repainting, repairs to corroded metal and stairs, new handrails and lighting. The lower platform received a non-slip surface, and some protruding screws, metal strips and corroded brackets were removed.
By May 2010, regular maintenance had left the mast generally in good condition, while conservation work had also kept the fort in good condition. Poor drainage around the earlier fort had contributed to corrosion in one mast support. Although some parts, including the viewing-platform deck plating, had been replaced, the mast and memorial retained a high degree of integrity.