Muang Sema: An Ancient Fortified Settlement in Thailand
Site at a Glance
- Rating
- 4.4
- Popularity
- Very Low
- Country
- Thailand
- Primary era
- Medieval
- Eras represented
- Medieval
- Civilizations
- Dvaravati, Khmer
- Site type
- City
On this page19 sections
History
Muang Sema is an ancient fortified settlement near Sung Noen in Nakhon Ratchasima Province, Thailand. Its occupation began in the late prehistoric or early historical period, followed by development under Dvaravati cultural influence during approximately the seventh or eighth centuries and later incorporation into the Khmer Empire. The settlement preserves evidence of changing Buddhist and Brahmanical traditions within a large urban complex.
Early settlement and Dvaravati development
The earliest phase of Muang Sema continued traditions associated with late prehistoric communities in the Mun River basin. The city later developed strong connections with communities in the Mun, Chao Phraya, and Lopburi-Pa Sak river basins. These links are reflected in pottery, beads, religious objects, and architectural remains found across the settlement.
During its Dvaravati phase, Buddhism became prominent at Muang Sema. Both Theravada and Mahayana traditions were present, and Buddhist monuments and objects were established in the inner and outer city. Dvaravati was a network of early historic Buddhist polities in central and northeastern Thailand, known for religious buildings, boundary stones, stucco decoration, and stone Dharma wheels. Muang Sema’s surviving monuments and objects reflect this wider cultural world.
Three broad phases can be recognized in the settlement’s development. The first retained traditions of earlier communities in the Mun basin. The second was marked by strong Dvaravati influence and the construction of Buddhist monuments. In the later phase, Khmer culture, Brahmanical worship, and Khmer ceramics became increasingly prominent. The urban area expanded northward from the inner city, and an additional rectangular moat was dug. Chinese ceramics from the Song and Yuan periods also indicate connections beyond the immediate region.
Khmer authority and changing religious traditions
Muang Sema was incorporated into the Khmer Empire between approximately the tenth and thirteenth centuries. The Khmer Empire, centred at Angkor, extended political and cultural influence across much of mainland Southeast Asia, including present-day Thailand. The Muang Sema Inscription, dated approximately to 971 CE, indicates that the city was under the authority of the Angkorian kingdom by that time.
Khmer influence was combined with the earlier Dvaravati tradition rather than replacing every earlier feature. From approximately the fifteenth Buddhist century, Shaivite Brahmanism became prominent. Shaivism is a Hindu tradition centred on Shiva. Its presence at Muang Sema is indicated by linga fragments, images, architectural elements, and the conversion of some Buddhist sites into Hindu shrines.
The inscriptions found at the settlement illustrate these changing practices. One face of the Bo Ika Inscription, dated approximately to 868 CE, records the establishment of a golden linga. Another face records a king of Sri Canasa donating cattle and servants to a monastic community. The Muang Sema Inscription describes a shrine whose principal image was changed several times between a Buddha image and a Brahmanical image. Together, these records indicate that Buddhist and Brahmanical worship existed at the site across different phases.
Sri Canasa and proposed historical identifications
Several scholars have proposed that Muang Sema was the centre of Sri Canasa, a polity known mainly through inscriptions whose political centre has not been established with certainty. This interpretation connects the Bo Ika Inscription at Muang Sema with the Sri Canasa Inscription found at Ayutthaya. The Bo Ika Inscription is considered more likely to have remained near its original location.
Muang Sema has also been identified with several other historical places, although these proposals remain uncertain. In 1929, the Thai historian and administrator Damrong Rajanubhab argued that Muang Sema was the older Nakhon Ratchasima. He associated another nearby settlement south of the Lam Takhong with a second predecessor city and linked the later relocation of the urban centre during the reign of King Narai, a seventeenth-century Ayutthaya monarch, with the formation of the name Nakhon Ratchasima from the names of the two earlier cities.
A later interpretation identifies Muang Sema with Muang Rat, associated with Pho Khun Pha Mueang in the Sukhothai inscriptions, while identifying Sung Noen with the older Koramapura or Korat. Pho Khun Pha Mueang was a thirteenth-century ruler associated with the formation of the Sukhothai polity. This identification, like the proposed association with Sri Canasa and the earlier Nakhon Ratchasima, is not certain.
Abandonment and archaeological investigation
Muang Sema was abandoned after the eighteenth Buddhist century. The first recorded archaeological investigation described here took place in 1885, when the French explorer Etienne Aymonier identified the settlement as a city of the ancient Khmer period.
The Fine Arts Department registered Muang Sema as an ancient monument in the Royal Gazette on 30 September 1952. The registered area covered approximately 2,475 rai, and the site is included among the ancient monuments of Nakhon Ratchasima Province.
In 1990, Fine Arts Unit 6 surveyed Muang Sema, prepared a plan, marked the monument boundary, and excavated a 3-by-3-metre test trench in the southwestern part of the inner city to investigate occupation and chronology. Further surveys and excavations in 1990 and 1999 identified 11 ancient monuments. Stabilization and excavation work in 1999 treated nine monuments, while eight were ultimately excavated and restored.
The archaeological material includes black-polished or Phimai Black pottery, Roi Et pottery, spouted water jars, monochrome glass beads, terracotta lamps and tokens, ridge pots, Khmer ceramics, and Chinese ceramics from the Song and Yuan periods. These objects correspond to the settlement’s successive cultural phases and its connections with communities inside and beyond the region.
Remains
Fortifications and urban layout
Muang Sema is organized as two superimposed urban zones, conventionally called the outer city and the inner city. The overall complex covers approximately 3 by 4 kilometres. The oval urban area measures about 1,400 by 2,000 metres, while the moat and embankment system extends approximately 1,700 metres from north to south and 1,500 metres from east to west. The Lam Takhong flows south of the settlement, and Huai Phai flows to its west.
A single line of earthen embankment and moat encloses the city. The embankment averages 3 to 4 metres in height, while the moat is approximately 10 to 20 metres wide. Water remains in parts of the southern and western moat. Sections of the northern inner-city moat are silted, and later settlement, cultivation, and roads obscure portions of the eastern and western embankments. The plan is irregularly oval rather than geometrically regular.
Eleven ancient monuments were identified within the inner and outer urban zones. Monuments 1 through 6 lie in the inner city, while Monuments 7 through 9 are in the outer city. Their remains combine Buddhist buildings associated with Dvaravati traditions and structures influenced by Khmer architecture. Two further ancient monuments lie outside the city, the Chedi at Ban Kaen Thao and the reclining Buddha temple at Wat Dhammachak Semaram.
Inner-city religious monuments
Monument 1 and the Bo Ika complex
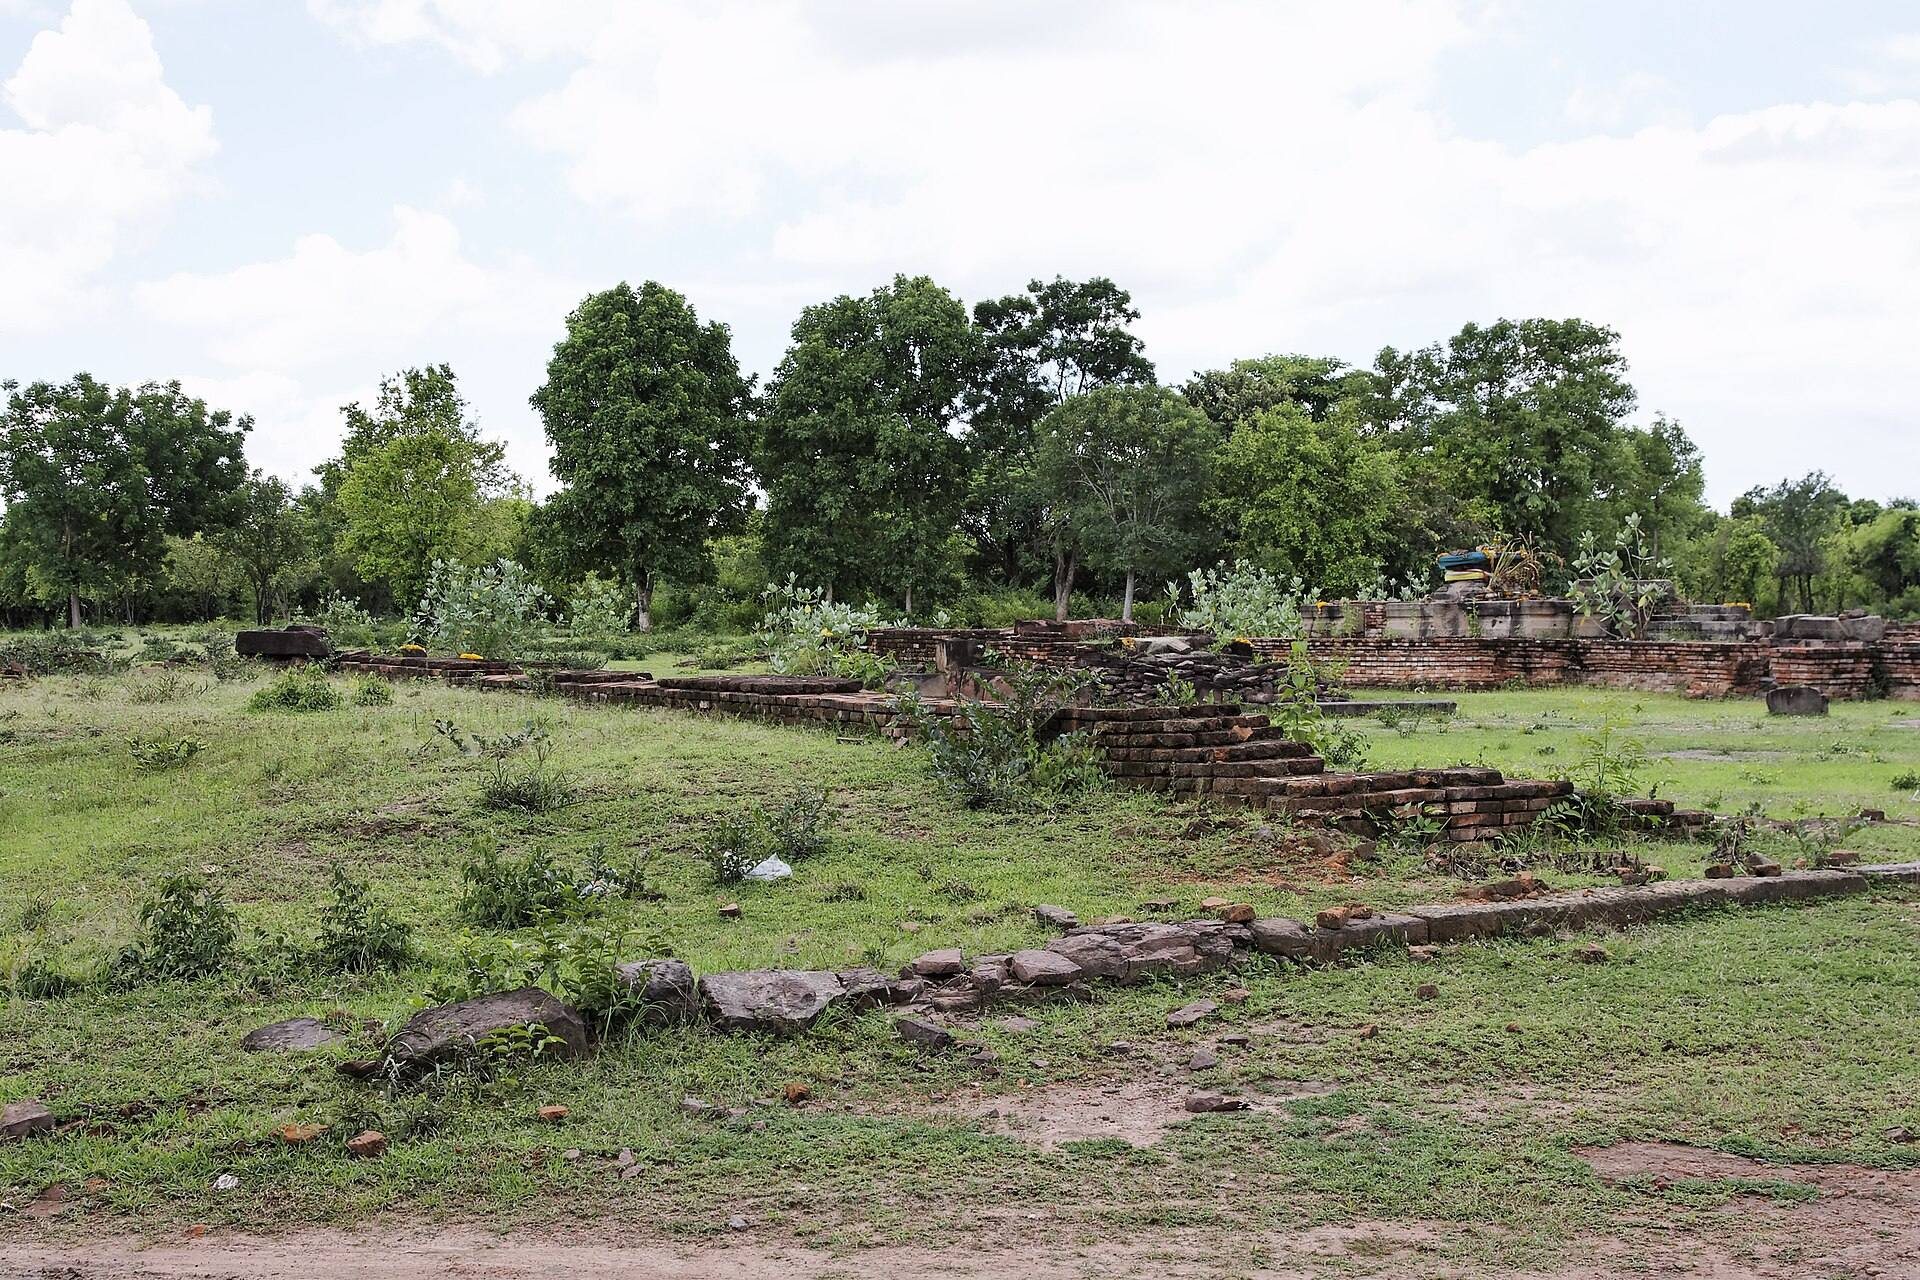
Monument 1, also called the Bo Ika monument, occupies the northern inner city. It is a Khmer-influenced religious complex built mainly of brick and sandstone. The complex measures approximately 45 by 50 metres and faces south. Its surviving foundations rise about 1 metre above the ground and include a principal sanctuary, two flanking halls, a southeastern building base, and an enclosing wall.
The principal prasat, a towered or temple-like sanctuary, measures approximately 8.8 by 22 metres and survives mainly as a moulded brick base. Its southern entrance was connected by an antechamber to a cruciform mandapa, an attached hall with stairs on the south, west, and east. Sandstone steps and fragments of sandstone door frames remain around the entrance. The elevated chamber had a square plan with chamfered corners and held an image pedestal. A long drainage channel extended eastward from beneath it.
Two halls stood about 4 metres east and west of the principal sanctuary. Each survives mainly as a brick foundation measuring approximately 6 by 12.30 metres. Both had projecting front porches and two entrances. About 10 metres in front of the eastern hall is a plain rectangular brick base, approximately 3.8 by 5 metres and about 50 centimetres high.
The enclosure wall measures approximately 43.40 by 48.60 metres and is about 1.20 metres thick. Its southern side preserves a moulded brick base on a sandstone foundation. Some foundation stones were reused inscription stones. A cruciform sandstone-and-brick gopura, or monumental gateway, stood at the centre of the southern wall, with sandstone stairs and a projecting brick entrance passage. A rectangular room measuring approximately 6.80 by 20 metres runs along the southwestern corner of the enclosure and has a staircase at its northeastern corner. A similar arrangement occurs at the enclosure of Prasat Mueang Khaek, about 6 kilometres to the east.
Objects from Monument 1 include stone linga fragments, deity heads, other image fragments, sandstone circular image bases, fragments of Nandi, architectural ornaments, inscriptions, and a drainage element associated with a linga. Nandi is Shiva’s bull mount, while the drainage channel carried ritual liquids away from the base of a linga. A sandstone Buddha fragment was reused in the enclosure foundation. It shows a standing figure in a thin robe and resembles Dvaravati sculpture influenced by Gupta and post-Gupta Indian art.
The monument was built chiefly from relatively fine brick without rice-husk temper, a construction method associated here with Khmer-influenced building. Its lower inner foundation includes larger rice-husk-tempered bricks characteristic of Dvaravati construction. The architecture, sculpture, and inscriptions indicate a Shaivite Brahmanical sanctuary, probably converted from an earlier Buddhist establishment. It is tentatively dated close to the second half of the fifteenth Buddhist century.
Monument 2
Monument 2 is a Buddhist structure, probably the base of a stupa. Its square plan measures approximately 7.90 by 8 metres, and its damaged foundation survives slightly more than 1 metre high. The southern foundation is best preserved and includes a projecting stair or passage. A smaller brick spread with postholes to the southwest may represent a subsidiary building.
Excavation in 1999 recovered a sandstone Dharma wheel broken into two pieces. The Dharma wheel represents the Buddha’s teaching and the turning of Buddhist law. This wheel is carved on both faces with fern-like borders, circular floral and diamond motifs, lotus designs, and stem-and-flower patterns. It is dated approximately to the twelfth or thirteenth Buddhist century and resembles examples from other Dvaravati centres. A fragment of a stucco hand, probably from a bodhisattva image, and animal stucco fragments were also recovered.
Monument 3
Monument 3 consists of an octagonal stupa base and a small hall, probably built between the twelfth and fifteenth Buddhist centuries. The unplastered brick stupa survives to about 70 centimetres high, although its eastern side has collapsed. Each side of the base has a stair or passage, and the structure may originally have been a circular, bell-shaped stupa.
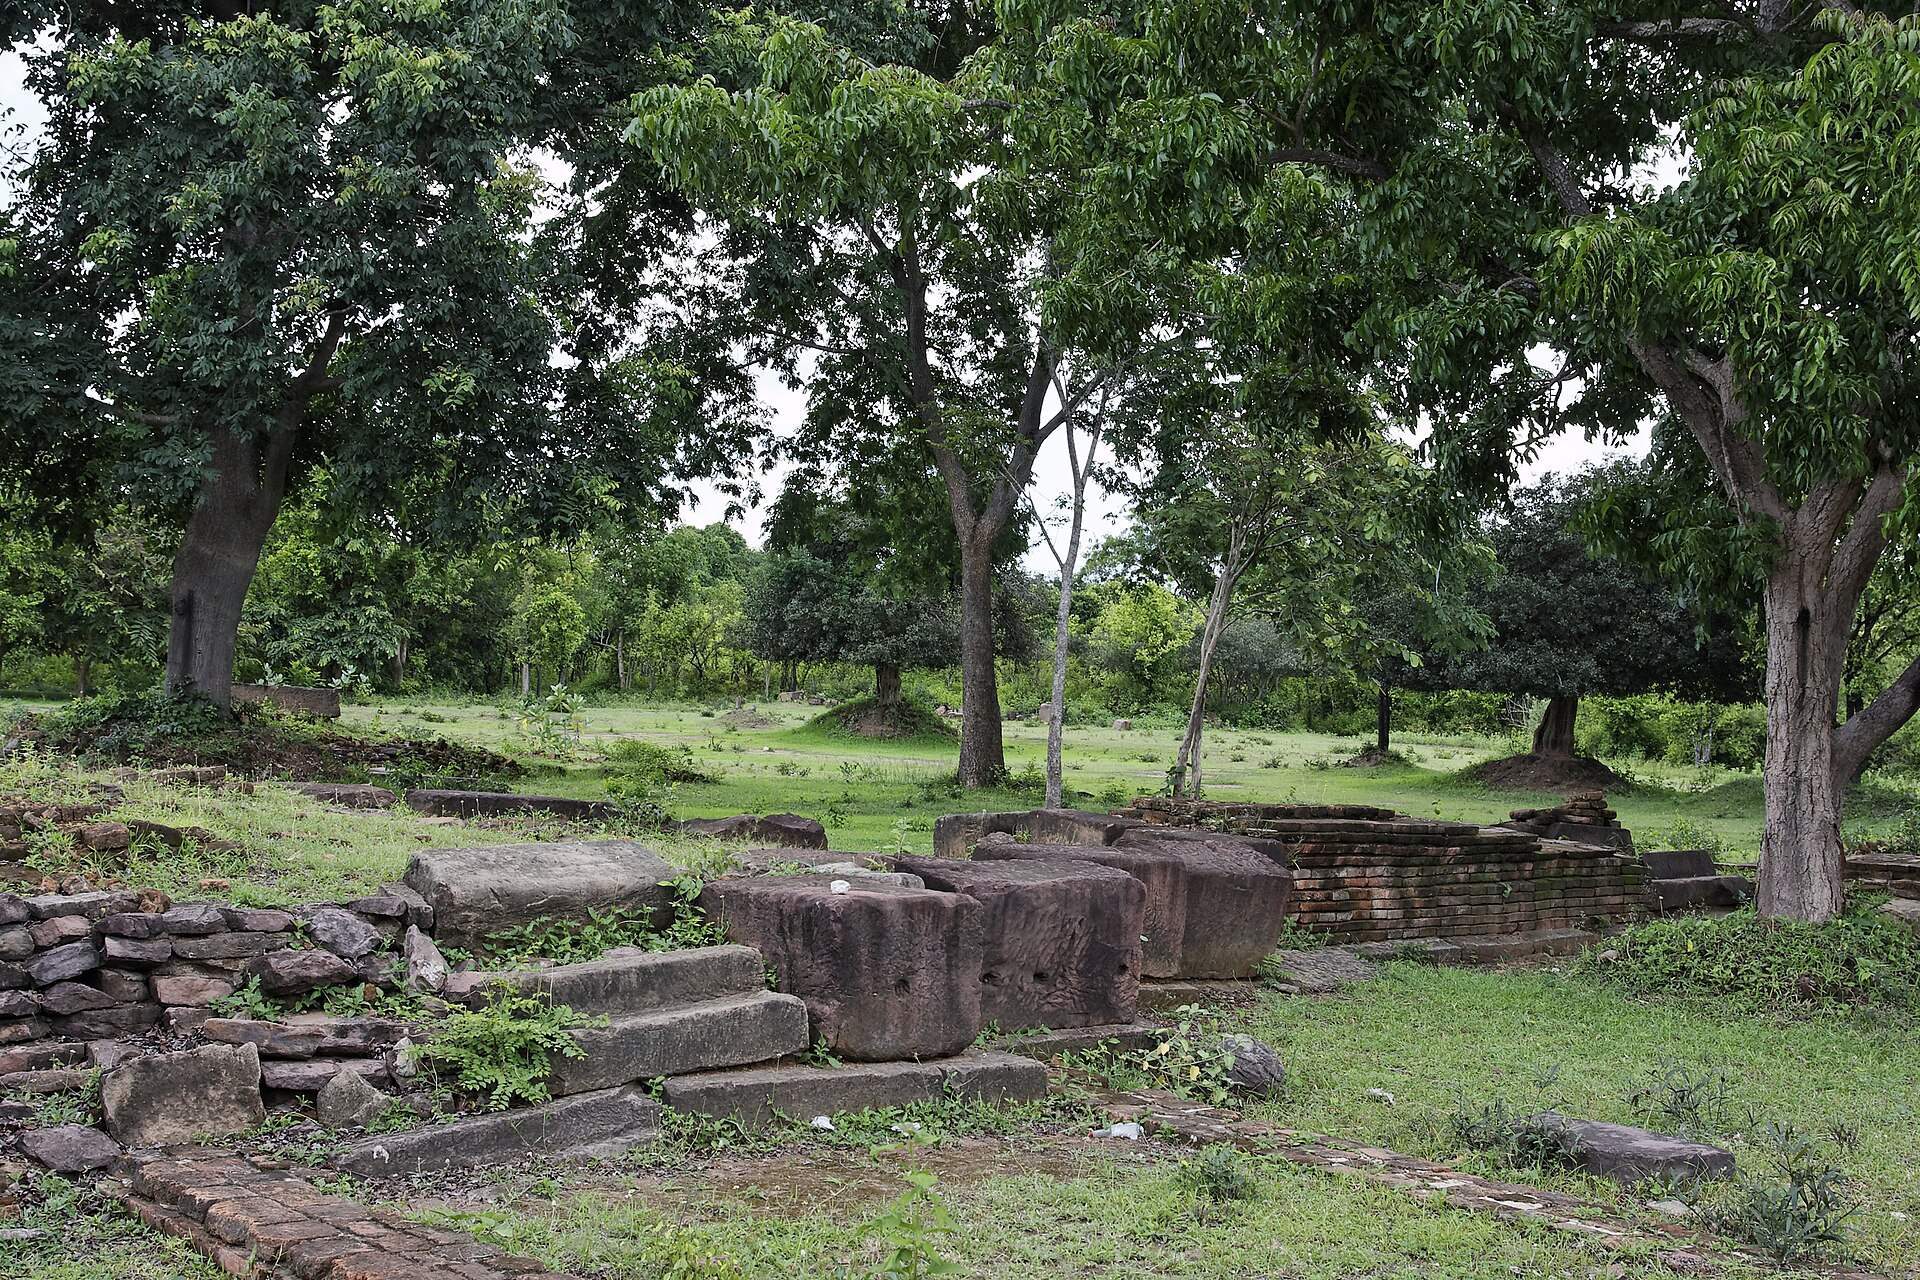
The hall lies north of the stupa and survives as a rectangular brick outline measuring approximately 6.70 by 10.90 metres. A raised brick feature occupies the rear interior. Large, roughly worked sandstone sema stones were installed in paired sets around the hall. Surviving examples occur on the west, southwest, northwest, and south sides, and some are broken. Sema stones are Buddhist boundary markers that define the sacred area of a monastery or hall. The stones probably originally marked all eight directions.
Monument 4
Monument 4 is probably a Buddhist hall dating approximately to the twelfth through fifteenth Buddhist centuries. Its rectangular plan measures 8.25 by 13.50 metres, and its brick foundation survives about 1.20 metres high. The building faces east and has a three-step entrance. The lowest step is shaped as a semicircular platform, while postholes occur beside the upper step and around all four sides of the floor.
Two recessed rectangular bays occupy each of the north and south sides, and traces of stucco decoration survive. The interior floor consists of thick layers of brick. Large, roughly worked sandstone sema stones were installed in paired sets around the hall on five sides. Excavation recovered architectural fragments, stucco, image fragments, and a sandstone image base carved with lotus-petal motifs.
Monument 5
Monument 5 has a square plan measuring approximately 6.12 by 6.40 metres and survives as a brick foundation about 1 metre high. It is probably the base of a circular stupa dating approximately to the twelfth through fifteenth Buddhist centuries. Large rice-husk-tempered bricks were laid without mortar to form walls about 70 centimetres thick around a central core filled with sand and small purple stones.
Outer-city religious monuments
Monument 7
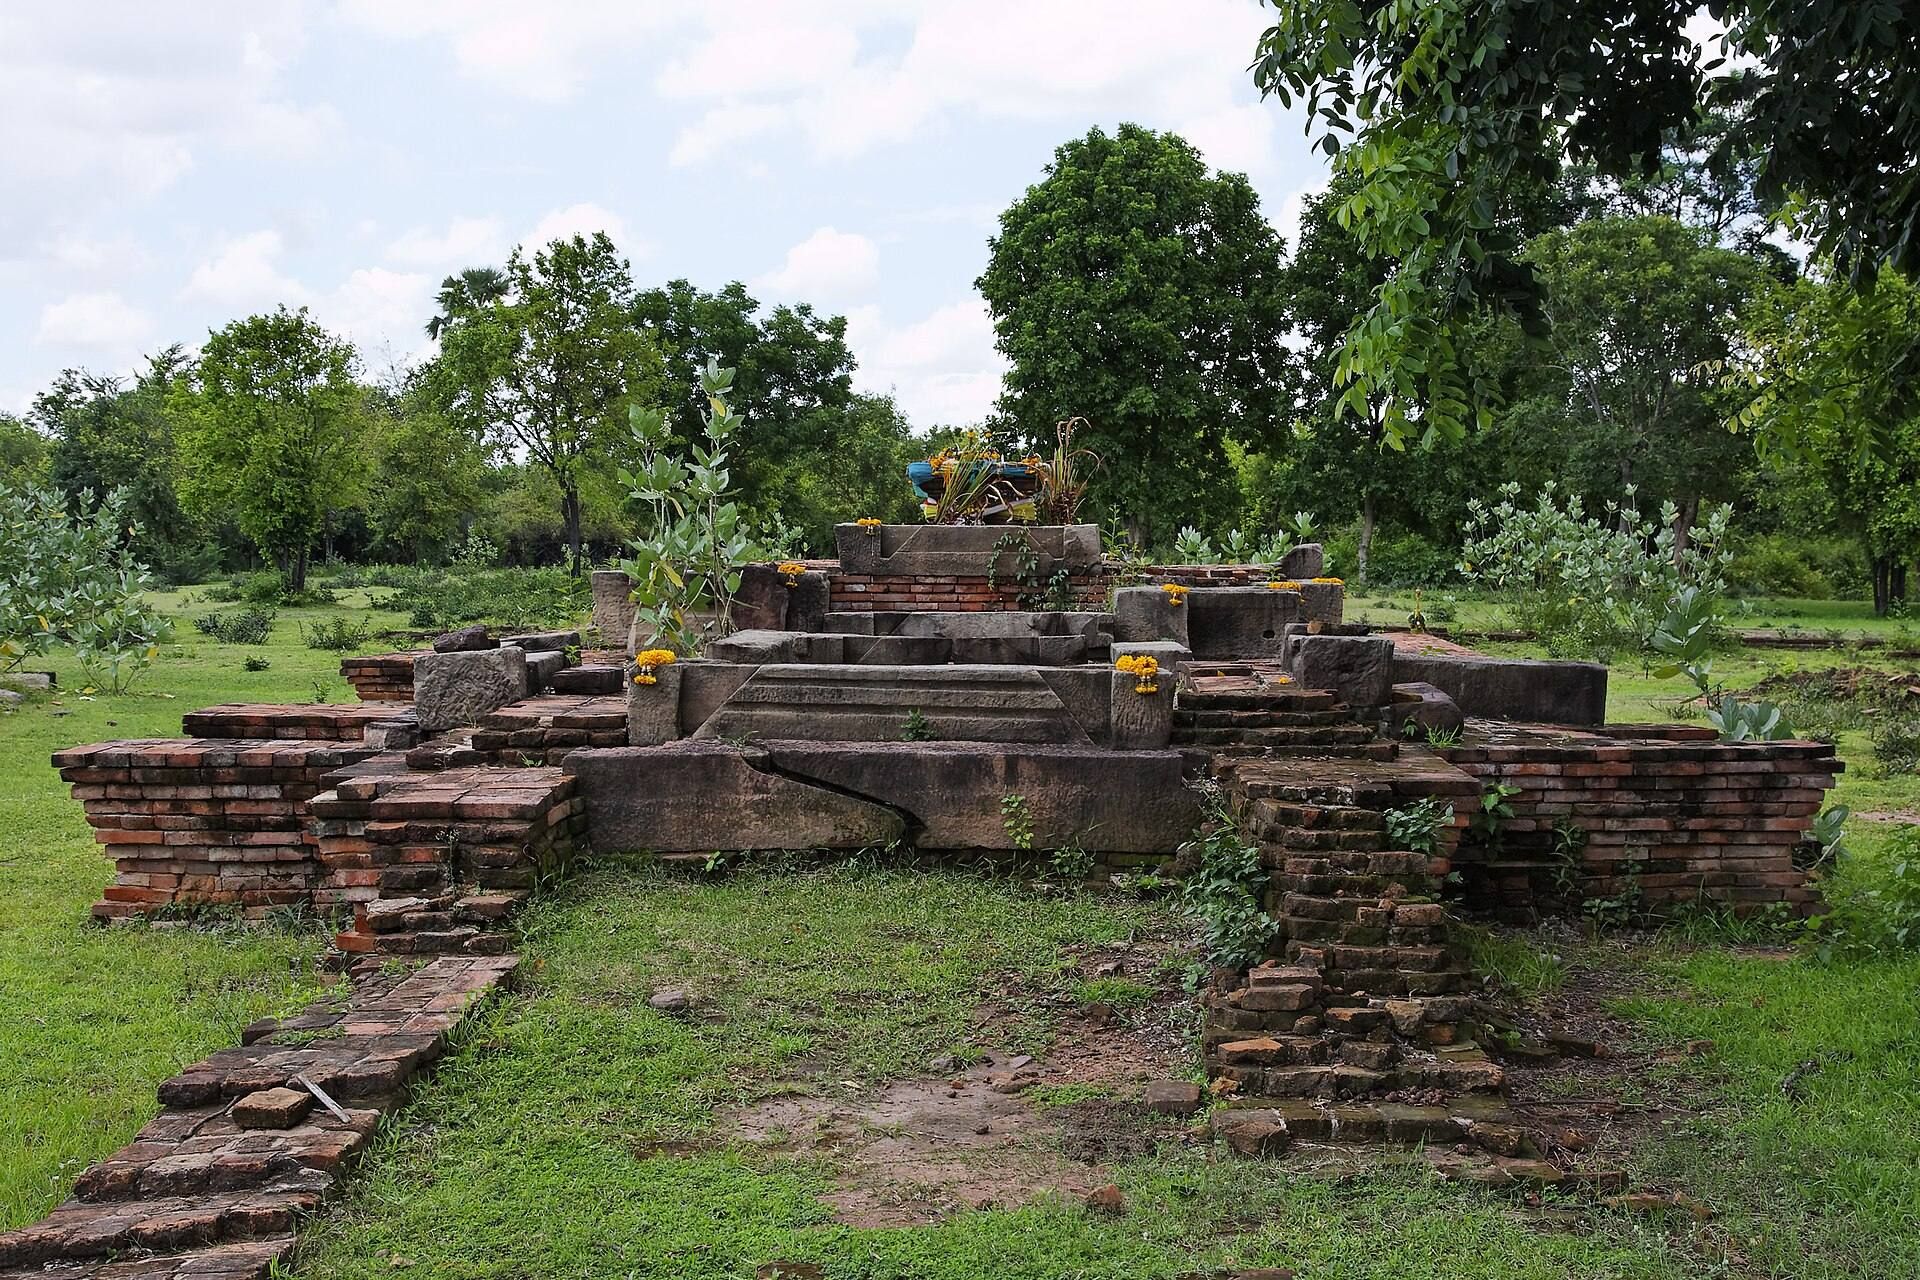
Monument 7 is a brick, prasat-like building in the outer city. Its square plan measures 9.60 by 9.60 metres, and its damaged base survives about 1.80 metres high. Large corner projections and a southern entrance stair remain visible. Stairs also lead to false doors on the other three sides. The northern false door probably contained an image niche, while recessed rectangular panels beside the stairs were likely decorated with stucco.
The interior is a square chamber filled with successive courses of sandstone and finished with a white-plastered floor surrounded by another brick layer. Large rice-husk-tempered bricks, laid without mortar, form the structure, which carried substantial stucco decoration. Excavation in 1999 recovered many stucco fragments and sandstone Buddha fragments. These remains support its interpretation as a Buddhist sanctuary. Its form may represent a South Indian-style prasat within the Dvaravati tradition.
Monument 8
Monument 8 has a circular plan 7.70 metres in diameter and survives as a foundation about 50 centimetres high. It is probably a circular stupa dating approximately to the twelfth through fifteenth Buddhist centuries. Large rice-husk-tempered bricks, laid without mortar and covered with plaster, form a wall about 70 centimetres thick around a central core of sand and small purple stones.
Monument 9
Monument 9 has a rectangular plan measuring 4.10 by 8.10 metres and survives as a foundation about 70 centimetres high. Its southern entrance and plan indicate that it probably served as a Buddhist hall dating approximately to the twelfth through fifteenth Buddhist centuries. Large rice-husk-tempered bricks, laid without mortar and plastered, form the walls around a central core of sand and small purple stones.
Wat Dhammachak Semaram
The reclining Buddha at Wat Dhammachak Semaram is assembled from large red sandstone blocks laid along a north-south axis. The damaged image is approximately 13.3 metres long and 2.8 metres high. It reclines on its right side, with the head toward the south and the face turned east. A brick platform supports the image beneath the back.
The face consists of four superimposed sandstone slabs. It has an angular form, raised joined eyebrows, lowered eyes, a broad nose, a slightly upturned mouth, and damaged spiral curls of hair. The back of the head is roughly carved, while the supporting hand survives. The neck is a round sandstone element about 90 centimetres in diameter. The body was carved from a large sandstone slab, and the lower body is badly broken. The feet remain together and are comparatively well preserved, with the toes and soles clearly visible.
The image is attributed to approximately the fifteenth Buddhist century and combines Dvaravati influence with local artistic features. Its south-facing head and position within a narrow structure have been compared with the reclining Buddha at Polonnaruwa, a major medieval capital of Sri Lanka known for monumental Buddhist sculpture.
A sandstone Dharma wheel was found in front of the Buddha’s face. It measures approximately 1.2 metres in diameter, with a hub 31 centimetres across, and is carved as a solid wheel with four spokes. Its lower section bears a kala-like face or foliage motif, and its style is comparable to wheels from ancient Nakhon Pathom. Excavation also found a crouching deer and the wheel’s pillar, indicating that the wheel originally stood on the pillar with the deer in front.
Other material remains
Across Muang Sema, the surviving material includes Buddhist sema stones, sandstone Buddha fragments, stucco animal and floral decoration, stone Dharma wheels, Brahmanical images, and architectural elements. Ceramic, glass, and terracotta objects include black-polished or Phimai Black pottery, Roi Et pottery, spouted water jars, Khmer ceramics, Chinese ceramics, monochrome glass beads, terracotta lamps, terracotta tokens, and ridge pots. Together, these remains correspond to the settlement’s changing religious traditions and its successive connections with communities within and beyond the region.